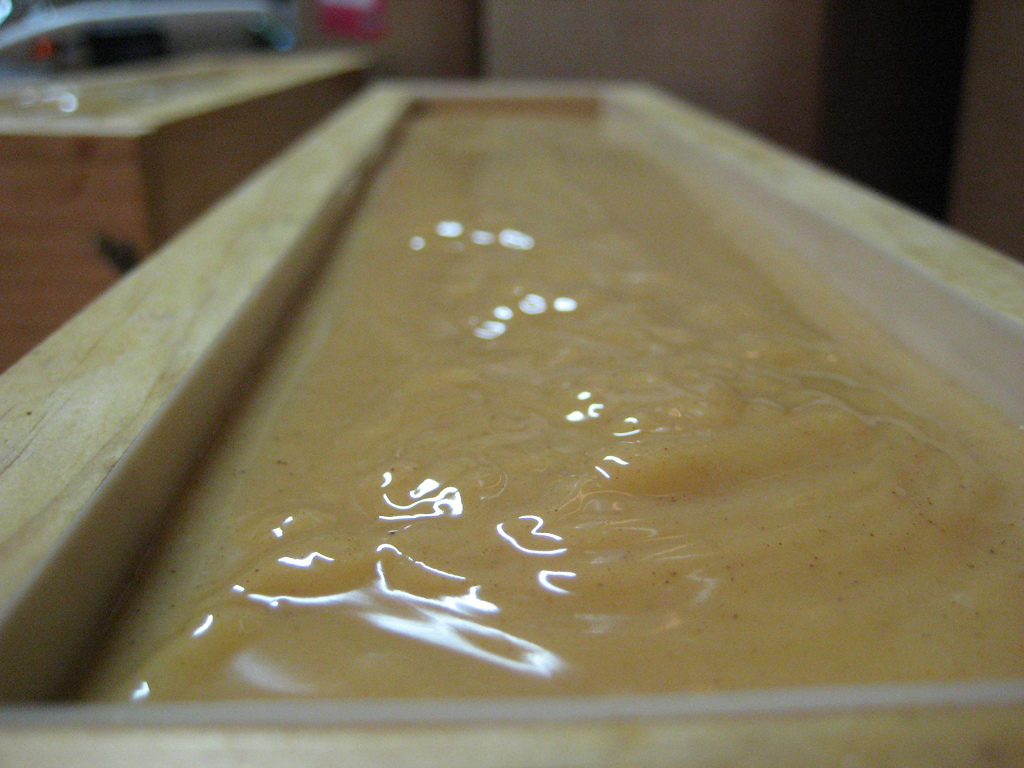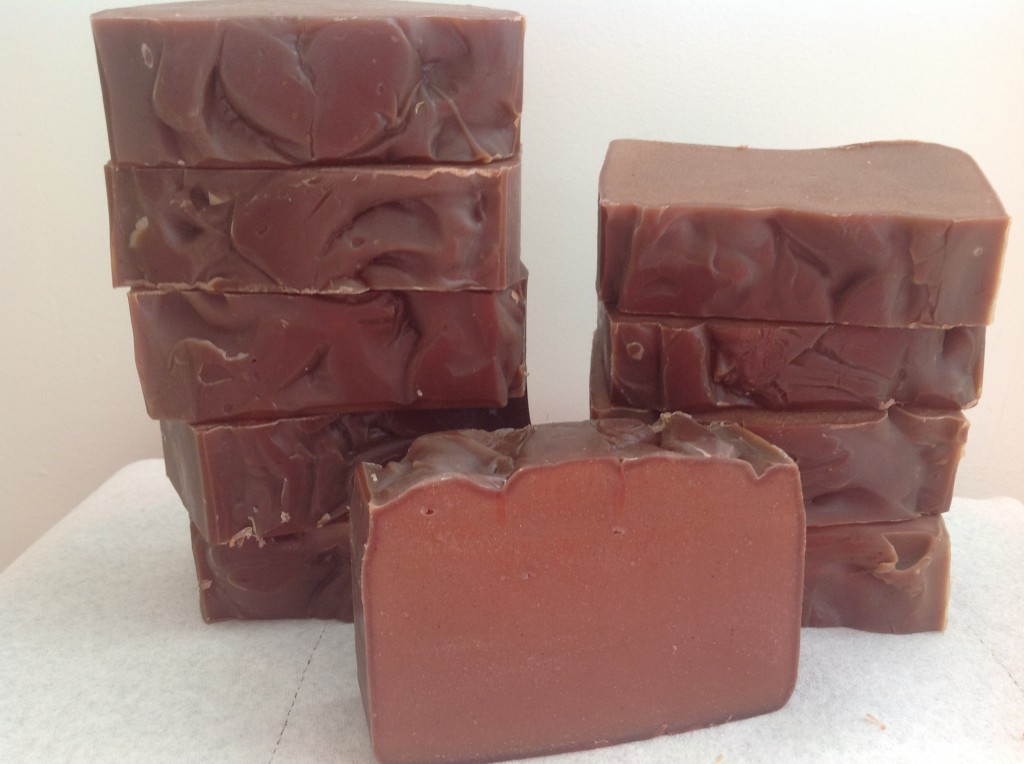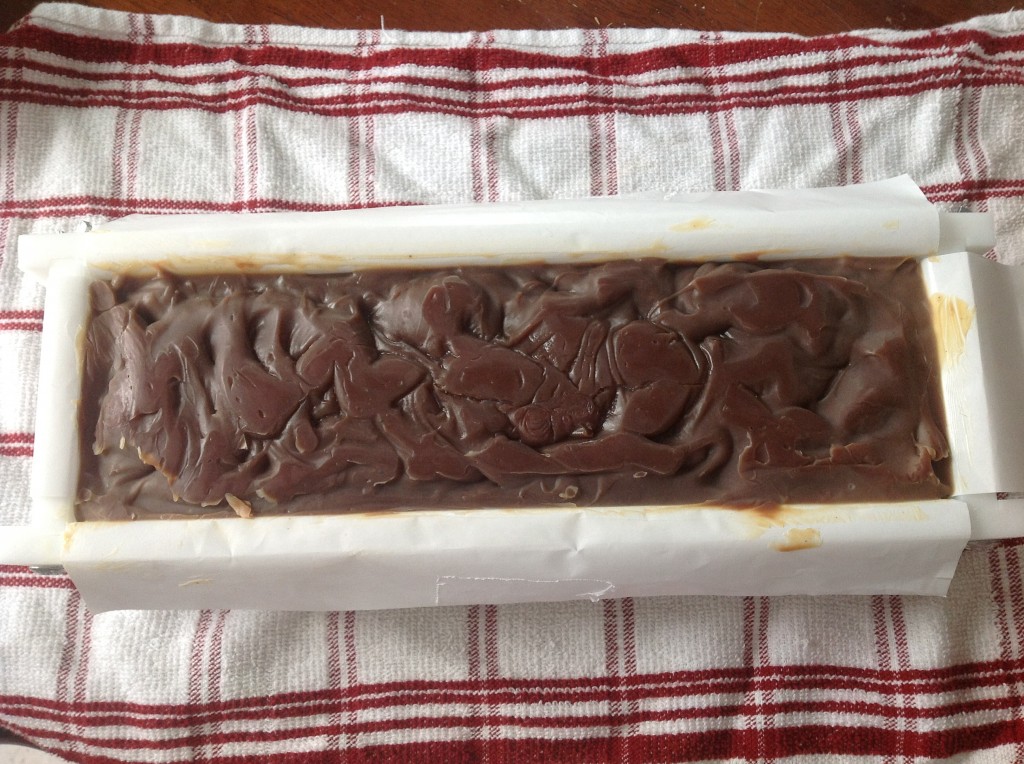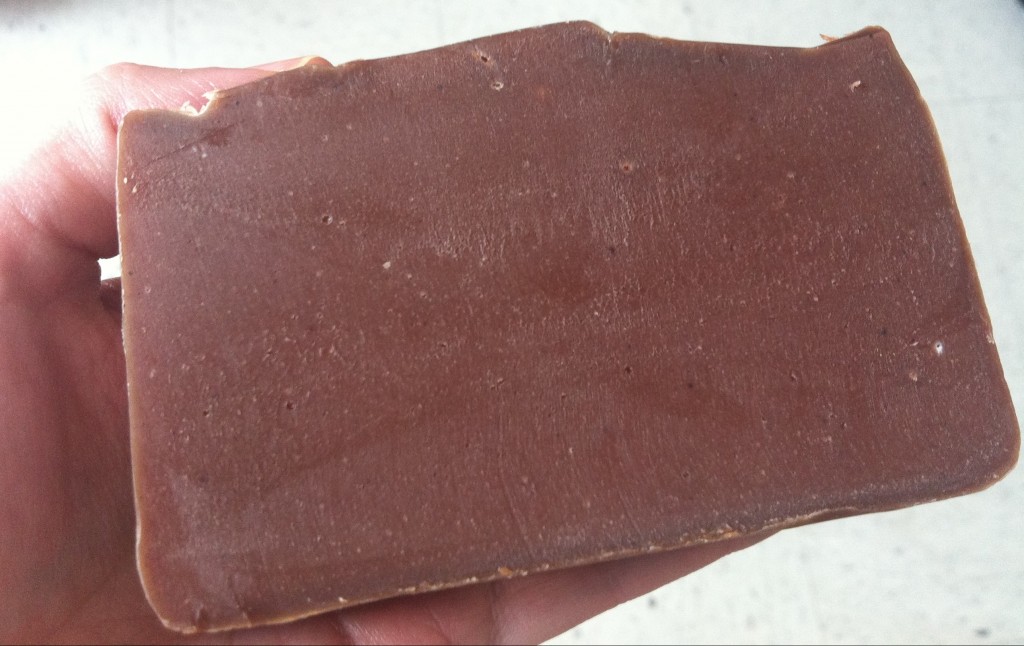
Spotlight on Ingredients: Heavy Cream

Cream Drop
Cream Drop by Kyle May

Do you ever read over recipes or watch soaping videos and wonder why soapmakers use the ingredients they use? After all, the only essentials for a good bar of handmade soap are oils, water, and lye. However, certain additives do impart some nice qualities to your soap, and in a series of posts, I wanted to share some of the “extra” ingredients I use in soap and why I use them.

Heavy cream has a lot of fat in it—36% fat or more. Goat milk typically has 4-5% fat. Cream is very rich and smooth. While the benefits of milks—especially goat milk—are widely known, not as many soapers use cream, possibly because of the expense. I wouldn’t try substituting all of the water in a recipe with cream, and not only because of the cost, but also because of the high fat content. The cream will likely congeal fairly quickly, even if you freeze it first, because the lye will react to the fat in the cream. If you have made milk soaps, you may have noticed that if you set the milk and lye mixture aside for a few moments, it does start to thicken as the lye reacts to the fats in the milk. Another reason you might not want to use cream as a total water replacement is that the high fat content might really throw off your superfat percentage.

So how do I use cream in soap? I usually add about 4-5% of the amount of oils to a batch of soap. So, for example, if I make a batch of soap that is 500 grams (I always measure in grams; it’s more precise than ounces and easier to convert), then I would add about 22 grams of cream to the batch. I admit this is approximate because I usually add a round number of grams of cream to my soap. For example, my typical batch is about 2.5 pounds of oils, or 1120 grams, and I usually add about 50 grams of cream to a batch that size. I would recommend using heavy cream at a rate of about 3-5%. You really don’t need to use a lot. When I use cream in my soap, I remove the same amount of water from the recipe. For example, in my batch with 50 grams of cream, I remove 50 grams of distilled water from the recipe. If you use full water and cream, you might find your soap takes a little longer to harden. I have not experimented with using full water and cream.

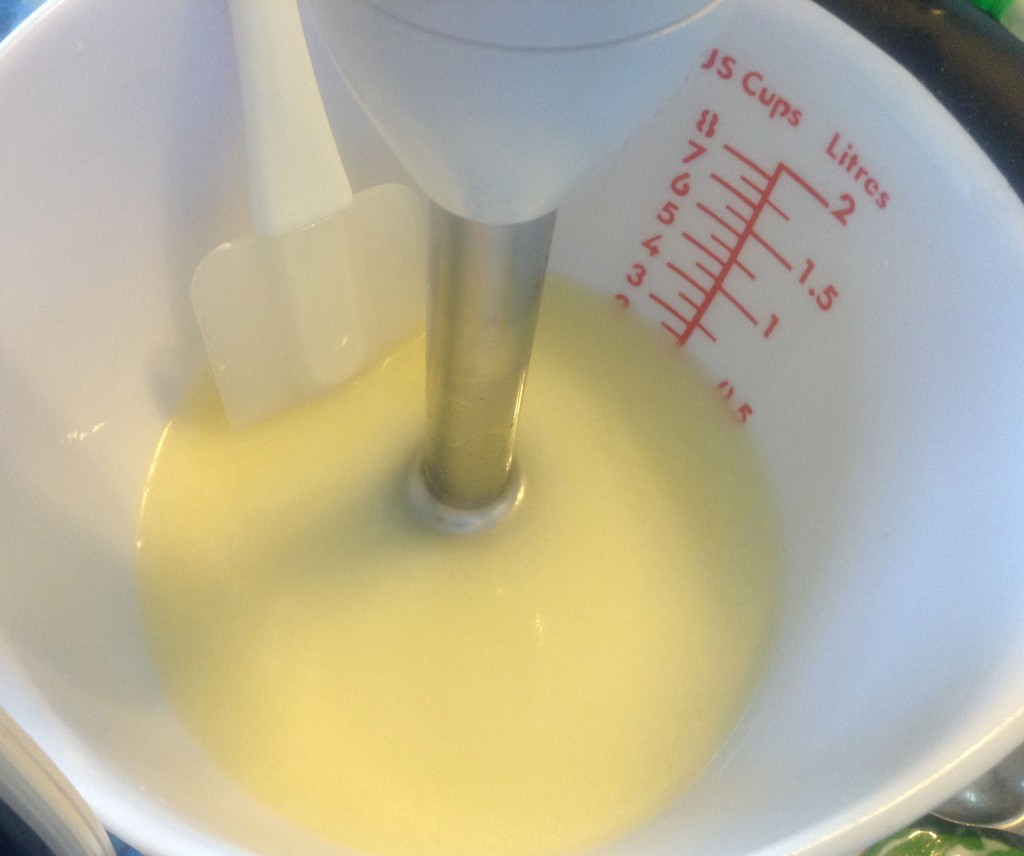
Before I add the cream to the oils, I warm it up a bit so that it is the same temperature as the oils (more or less). Then, I add my cream directly to my oils and stick blend it before adding the lye. I have noticed that it will not emulsify completely with the oils. Typically there are tiny white flecks of cream floating on the top of my oils. I usually give the oils one more quick stick blend before adding the lye water, but it probably isn’t necessary because once the lye water is added, it will all blend.

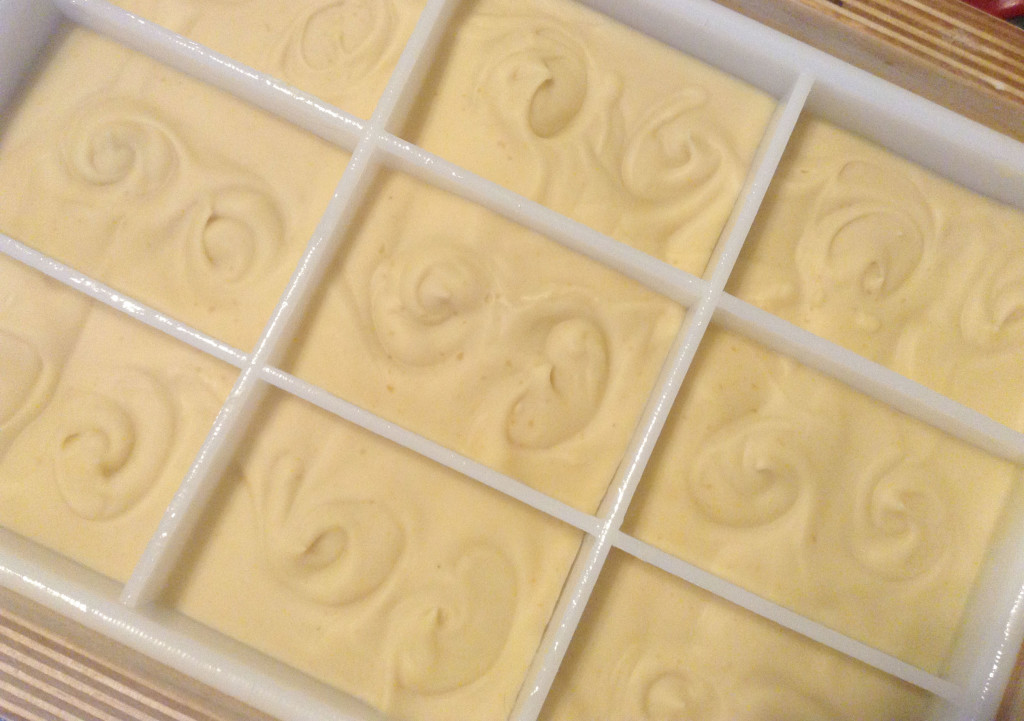
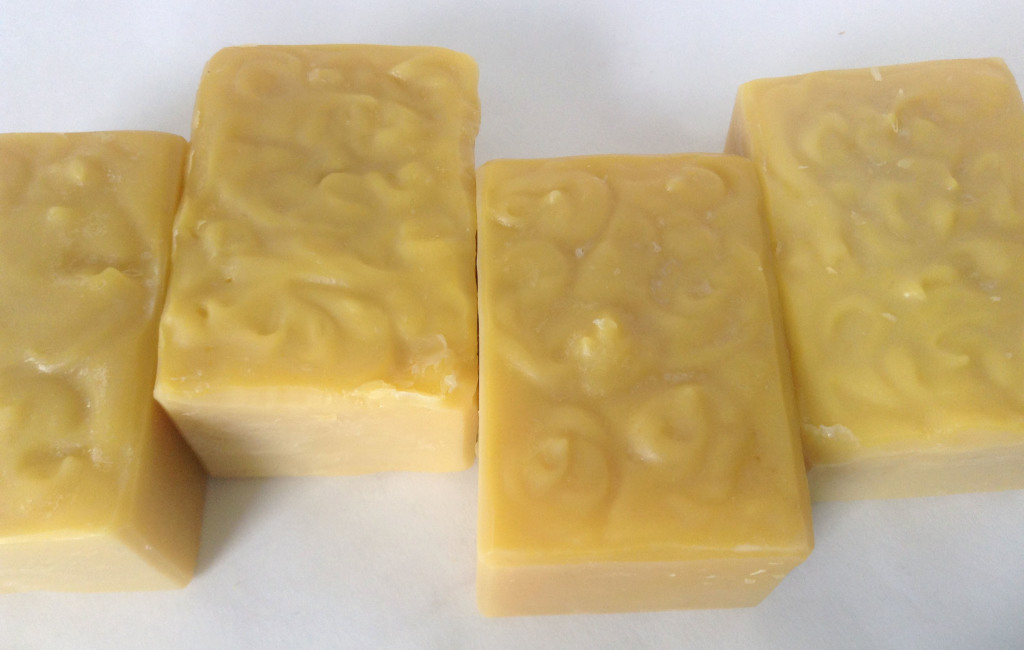
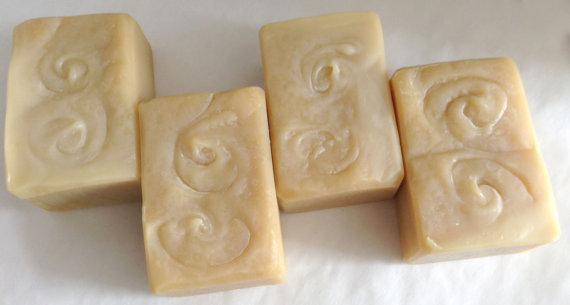
I first noticed the benefits of using cream in soap by accident. I made a batch of Creamy Coconut soap with coconut milk and cream.
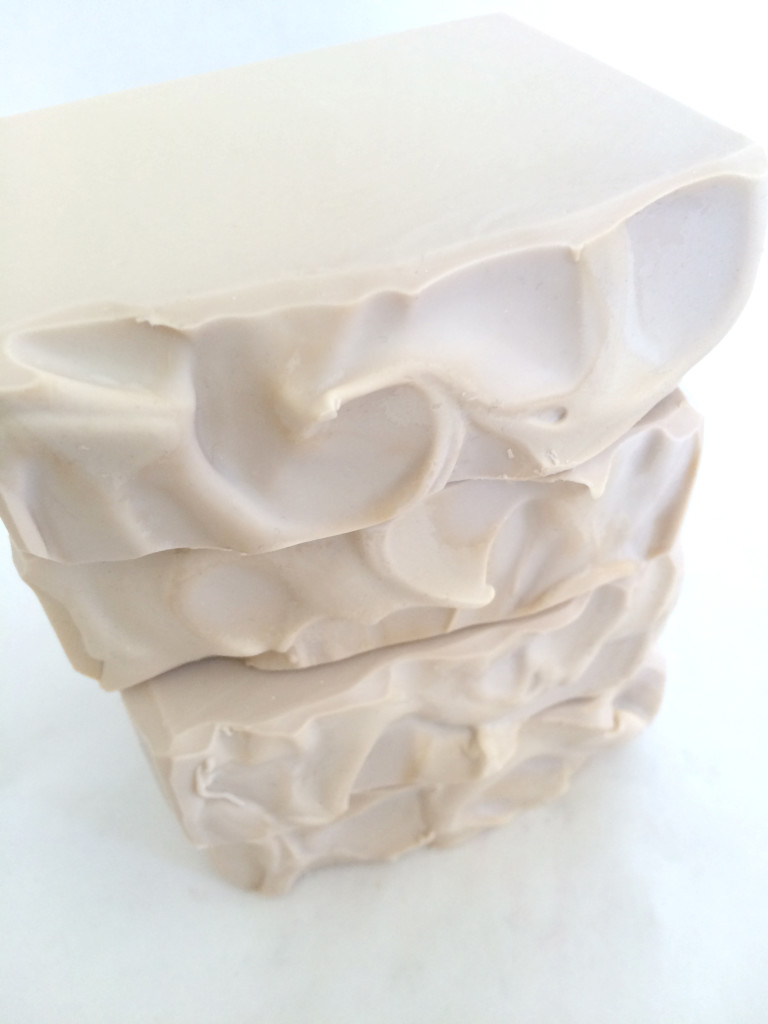
Creamy Coconut

I mainly added the cream because I felt it would be in keeping with the name of the soap to have both real coconut milk and real cream in it. When I used it in the shower, I noticed how smooth the bars felt. If you can believe it, I didn’t immediately realize this smoothness was because of the cream. I thought it might have been the coconut milk.

I started noticing that other soapmakers used cream in their soaps, and when I ordered soaps from these soapmakers, I noticed how smooth their bars were. At first, I wasn’t sure why their soaps were so much smoother than mine either because there are so many variables—oil recipes, other additives, and the like. But eventually I realized it was the cream in the soap that added smoothness. I have used cream in almost all of the soaps I have made since that discovery (I typically do not use it in milk soaps, with the exception of Creamy Coconut).

In addition to smoothness, cream adds some of the same benefits as other milks in soap—extra conditioning being the main benefit imparted by heavy cream. I mainly enjoy the feel of soap with cream in it. It is definitely smoother than soap made just with water. It feels silky on the skin. I typically do not have to use much lotion at all because of the conditioning oils and butters in my soap, but I have noticed even less of a need to use lotion in those soaps made with cream.

Adding just a little bit of cream can add some great qualities to your soap. With my recipe of just 50 grams, I am adding 18 grams of fat, so my superfat percentage will not be drastically different from my calculation.

As usual, David Fisher has experimented with cream and shared his results. You can see what will happen if you add lye to cream in his tutorial. I personally have not found it necessary to freeze the cream I use in my own recipes. In addition, I have never noticed any discoloration as can happen when you use goat milk in place of water. I actually haven’t tried using just a small amount of liquid goat milk and adding it directly to the oils as I do with heavy cream, so you might find that solution works just as well for you.

Creamy Soap
Print Recipe
Make your own version of my creamy soap.
Servings Prep Time
1.4 pounds soap 1 hour
Servings Prep Time
1.4 pounds soap 1 hour
Creamy Soap
Print Recipe
Make your own version of my creamy soap.
Servings Prep Time
1.4 pounds soap 1 hour
Servings Prep Time
1.4 pounds soap 1 hour
Ingredients
Servings: pounds soap
Instructions
  1. Dissolve the lye in the distilled water and set aside to cool.
  2. Melt coconut oil and palm oil.
  3. Add olive oil and castor oil to melted hard oils.
  4. Add heavy cream to oils and blend.
  5. Combine lye water with blended oils when both reach about 100ºF. The temperature doesn't need to be exact, but it should be close.
  6. Blend with stick blender until you reach trace.
  7. Add fragrance or essential oil and stir well until thoroughly combined.
  8. Pour into a mold, cover mold with plastic wrap, and drape with towel. One pound of oils will make approximately 1.4 pounds of soap.
  9. Let soap go through gel phase and saponify for about one day before unmolding.
Recipe Notes

Note: you can substitute coconut milk, like I did, for the water simply by using 151 grams of frozen coconut milk and slowly adding the lye to the milk until the lye is dissolved. You can also use colorants. I have not had issues with this soap overheating or acting strangely in gel phase, but keep and eye on it, and remove some insulation if it appears to be getting too hot. Also, you can opt not to gel this soap and instead put it in the freezer overnight. The cream might make the soap heat up in the refrigerator, so it might need the additional chill of the freezer to prevent gel phase if you choose not to gel.

Share this Recipe
 
Powered byWP Ultimate Recipe

Spotlight on Carrot Buttermilk Soap

Carrots are great for your skin. They contain beta-carotene, which is believed to relieve dry skin and reduce fine lines. Buttermilk is also great for dry skin and has alpha-hydroxy acid, thought to remove dead skin cells. Many beauty products on the market contain alpha-hydroxy acid.

I originally tried a carrot-based soap well over a year ago, and I wasn’t 100% happy with the results. It was a fine soap, and those who tried it even complimented me on it and said they loved it. It just didn’t look like it had carrots in it.

Carrot Silk

I made this soap based on a recipe I found at Soaping 101. To be honest, I think I combined the carrot soap recipe in the video with a facial soap recipe. I suspect it was another Soaping 101 recipe, but I am just not sure anymore where I found it. I do know I didn’t formulate the recipe, though I may have tweaked it. My recipe for this soap was as follows:

  • 35% olive oil
  • 30% palm oil
  • 15% coconut oil
  • 10% palm kernel oil
  • 5% sunflower oil
  • 5% castor oil

I used full water, which probably wasn’t necessary, and a superfat of 7% (I typically use 6%). I also added kaolin clay and powdered goat milk, and substituted 2 oz. of water for pureed carrots. I also used tussah silk, but I use tussah silk in a lot of my soaps. The recipe has a lot more palm oil and a lot less coconut oil than I typically use. I also used palm kernel oil, which I do not typically use and have actually discovered I don’t like much.

I was happy with how the soap looked in the mold.

Carrot Silk

However, I noticed that it heated up rather a lot, and it began to look a little bit like brains. If you haven’t experienced this phenomenon in soapmaking, check it out and scroll to Alien Brains. The resulting soap, as I said, was fine. And it was hard as a rock. I just didn’t think it looked like I wanted. I was put off using carrots for a while.

I really liked the look of some other carrot soaps I had seen. For instance, Rocky Top Soap Shop has a beautiful carrot soap, and Chagrin Valley has a very nice Carrot and Honey soap. Both soaps contain carrot juice rather than pureed carrots.

I decided to try Amanda’s advice and use carrot baby food. After trying baby food, I am convinced the trick to a good carrot soap is to use pureed carrot baby food or carrot juice to replace some or all of the water instead of making your own carrot puree. It may be that when I pureed my own carrots, I was not using enough carrots as compared to water, and though I have a blender, I had trouble making a very fine puree like you might find in baby food. You have to be careful with using fruit or vegetable purees in soap. Sometimes, they go brown (strawberries, peaches). Other purees seem to be fine (bananas).

I searched for an organic baby food that listed its ingredients as only carrots or only carrots and water, and I found one. I discovered when I used the carrot baby food, the resulting color was much closer to what I was looking for.

Carrot Buttermilk I completely scrapped my other recipe. I used two ounces of carrot baby food, removing two ounces of water from my recipe and reduced the total amount of liquid in the recipe from 38% (which SoapCalc figures as “full water”) to 33%. I superfatted at my usual 6%. As I said, I am not a fan of palm kernel oil, and I decided to simplify with fewer oils. I also used two teaspoons of powdered buttermilk, removing about a tablespoon of water from my recipe before adding the lye and using it to reconstitute the buttermilk. Buttermilk is just wonderful in soaps. I used two teaspoons of kaolin clay as well. I did not add the carrots to the lye water, as Amanda described, but rather to the oils. I blended the kaolin clay, reconstituted buttermilk, and carrots well with the oils before I added the lye water.

The recipe fit well in my 9-bar mold. I left the soap unscented as I intended it to be used on the face and/or sensitive skin. In my opinion, the new recipe, which I formulated myself, is much more face-friendly than the one I borrowed—there is an excellent case to be made for creating your own recipes instead of following others’ recipes right there. Nonetheless, here is what I used:

  • 40% olive oil
  • 25% coconut oil
  • 25% palm oil
  • 5% apricot kernel oil
  • 5% castor oil

I had noticed that my old standby facial soap, Provence, which is a Marseilles-style soap made with olive oil, coconut oil, and palm oil, was making my face feel a little tight after I finished using it. I decided to pull out a bar of my Carrot Buttermilk soap to see how I liked it. I didn’t just like it, I LOVED it. It had a smooth, creamy lather that I didn’t expect to see because of the amount of coconut oil and castor oil I used, which usually produces a lather that is bubbly. Carrot Buttermilk will bubble up quite a bit more if you lather it up for a little longer. It actually feels like a soap that has more olive oil in it than it does (though it has a significant amount, and more than the Carrot Silk soap had). I suspect the difference is the apricot kernel oil. My face absolutely does NOT feel tight after I wash with it, and I am now in love with this little bar of Carrot Buttermilk soap.

You can purchase Carrot Buttermilk from the shop, and it’s even on sale for a limited time.

Creative Commons License
Carrot Buttermilk Facial Soap by Dana Huff is licensed under a Creative Commons Attribution-NonCommercial-NoDerivatives 4.0 International License.

Inspiration Soap Challenge

When I saw Kenna’s Facebook post about her Inspiration Soap Challenge, I pounced quickly, knowing her 15 challenge kits would be snapped up by eager soapmakers. I was lucky enough to be in the first 15 claimants, and I received my kit and challenge in the mail.

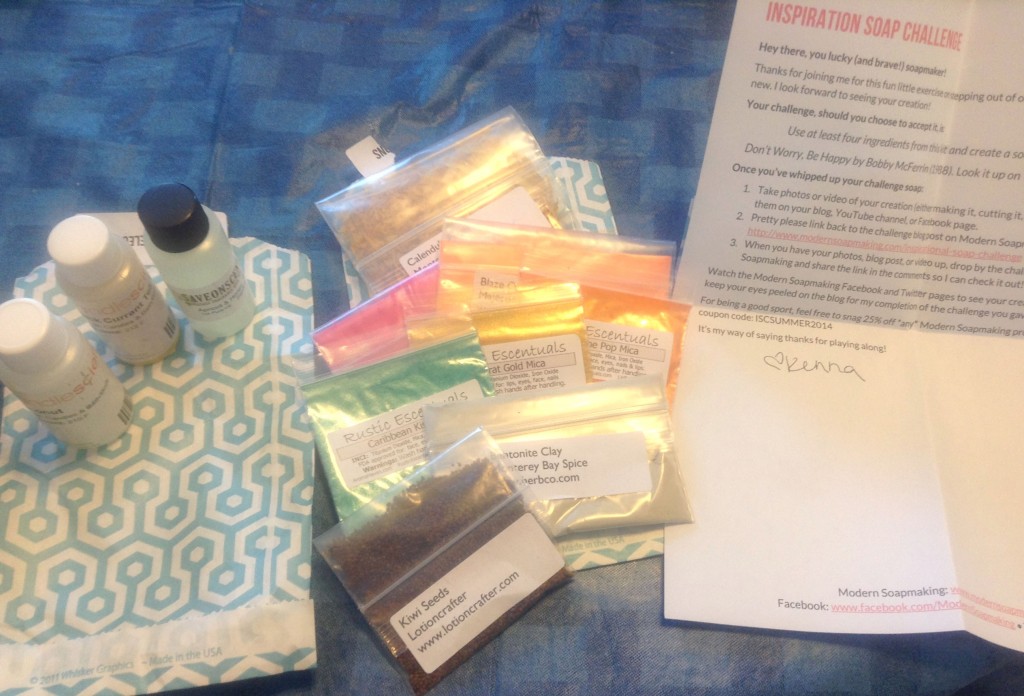
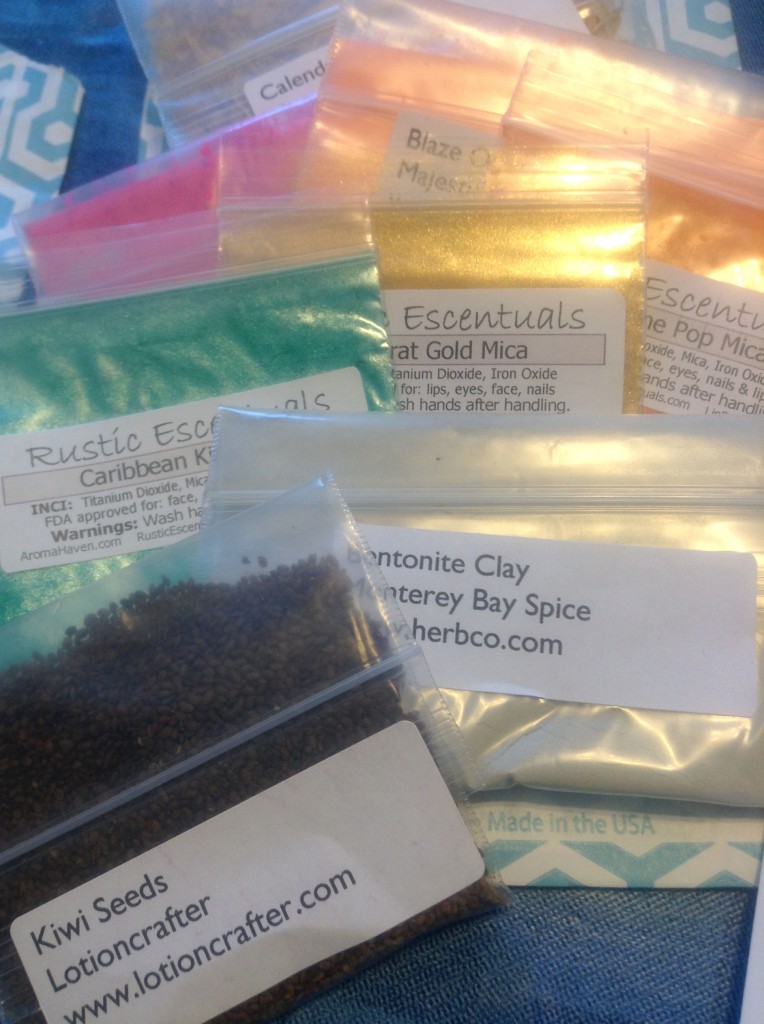
Challenge KitHere is what I received:

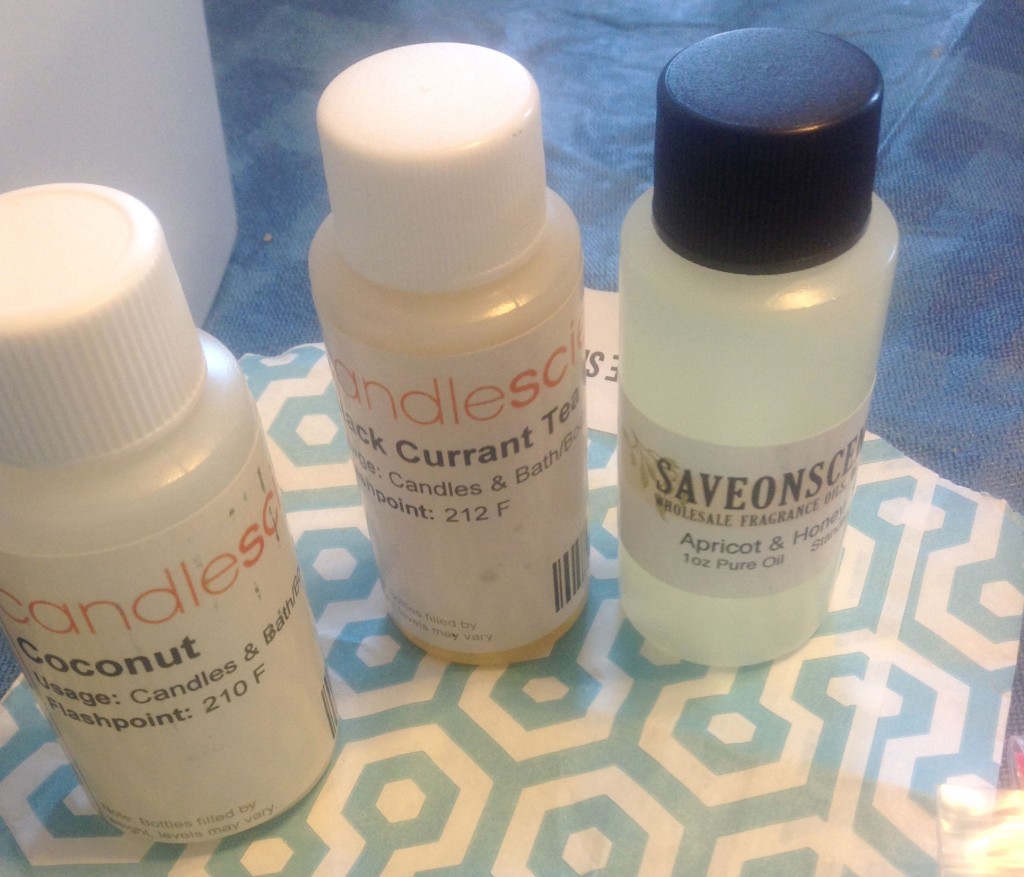
One ounce each of three fragrances—Save on Scents’ Apricot Honey, Candle Science’s Coconut, and Candle Science’s Black Currant Tea. All three of them smell great.

FragrancesAdditives: kiwi seeds from Lotioncrafter, bentonite clay from Monterey Bay Spice, calendula petals from Monterey Bay Spice, Blaze Orange Day-Glo color from Majestic Mountain Sage, Corona Magenta Day-Glo color from Majestic Mountain Sage, 24-Karat Gold mica from Rustic Escentuals, Caribbean Kiss mica from Rustic Escentuals, and Clementine Pop mica from Rustic Escentuals.

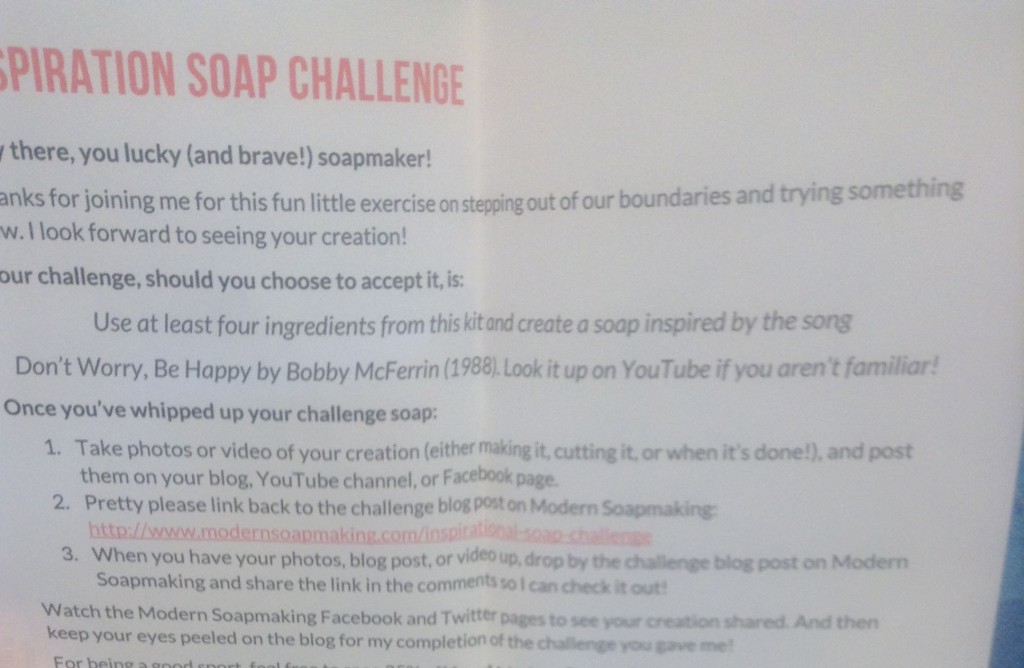
AdditivesMy mission? To craft a soap inspired by Bobby McFerrin’s song “Don’t Worry, Be Happy” using at least four of these ingredients.

Here is Kenna’s note:

LetterThinking of this song, the three Rustic Escentuals micas, the Apricot Honey fragrance, and the calendula petals immediately jumped out at me. The song reminds me of summertime, and those colors and fragrance screamed summer. I decided not to wait and set to work immediately.

I used my one-pound shea butter recipe, which has 40% olive oil, 25% coconut oil, 25% sustainable palm oil, 5% shea butter, and 5% castor oil. I also added cream, kaolin clay, and tussah silk.

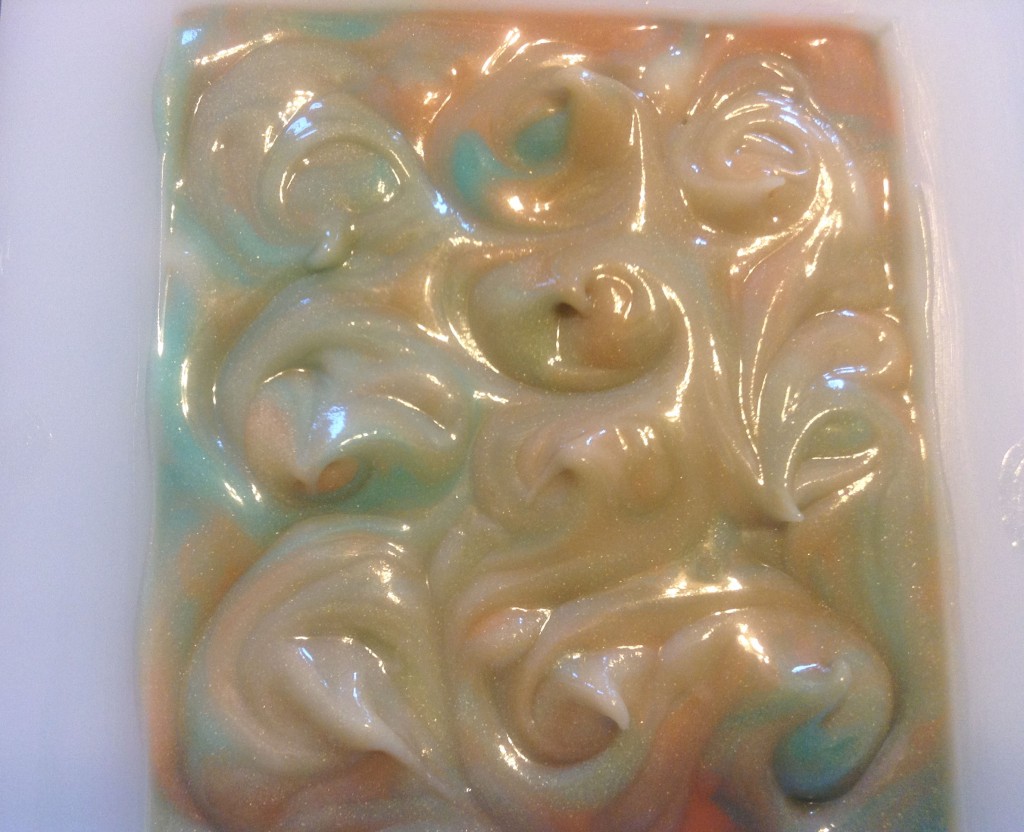
Soap BatterI decided I would leave part of the batter uncolored. I would pour the uncolored batter into the mold first. I would use the three mica colors and do an ITP swirl, then pour those into the uncolored batter to do a Holly swirl. It didn’t quite work according to plan.

Part of working with an unknown fragrance is the surprise it might offer—will it discolor? Will it accelerate trace? I had no way of knowing, really, as the reviews on the site didn’t say. I plunged ahead. I suspected it would accelerate mostly because of the fruity (almost floral) nature of the scent, which I LOVE, by the way. I don’t smell the honey as much as the sweet apricot fragrance.

It did accelerate a bit, as it turns out. I was still able to swirl my soap, but I had to move quickly. Everything was going smoothly as I poured the uncolored batter into the mold.

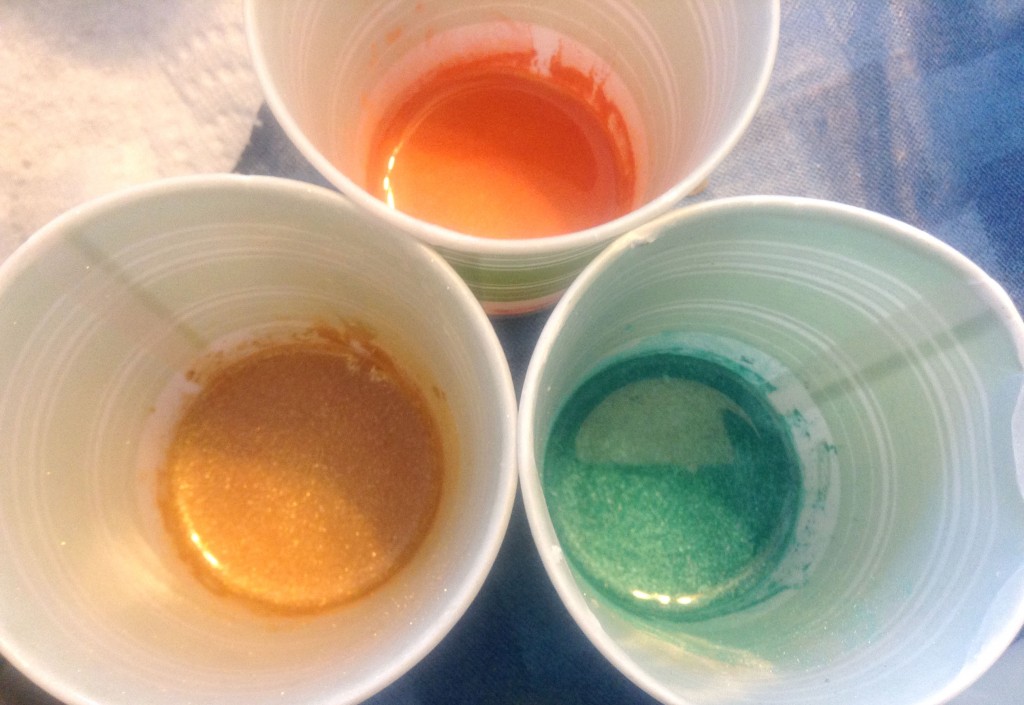
Uncolored BatterI had already prepared my three micas and decided to pour the soap directly into these cups.

Prepared MicasAren’t they beautiful?

The soap was thickening up by the time I was done mixing the colors.

ITP swirlSo, my ITP swirl was not as fluid as I envisioned it. I knew it wouldn’t drop swirl easily into the uncolored batter, either. What to do?

I poured it from high so that it would penetrate, then I spoon-swirled it.

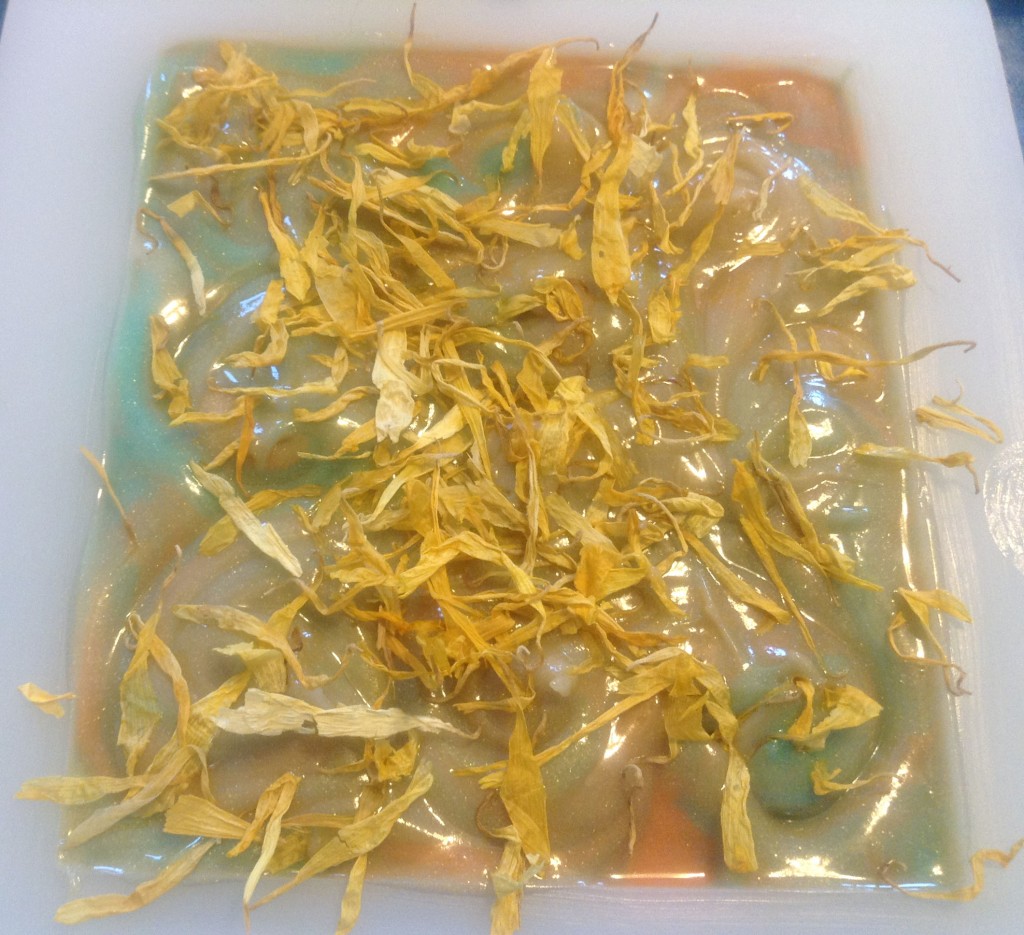
Soap in MoldAnd the pièce de résistance? The calendula petals.

Calendula Petals on TopI put the soap to bed to gel. I checked on it a few times, and I can tell you that it moved fast and became quite hot pretty quickly. It was over 140°F one time when I checked it, and keep in mind this was probably within the first hour after I made it. Just a warning about that fragrance! I hoped that the fragrance would stick OK, but the flashpoint is 200°F, so I crossed my fingers.

As it turned out, the fragrance made it through saponification just fine. After I cut it, I could smell the honey notes much more than I could out-of-the-bottle. It really smells delicious. I’m telling you, you couldn’t worry when you smelled it—it would make you happy! I just hope it’s going to remain strong through the cure.

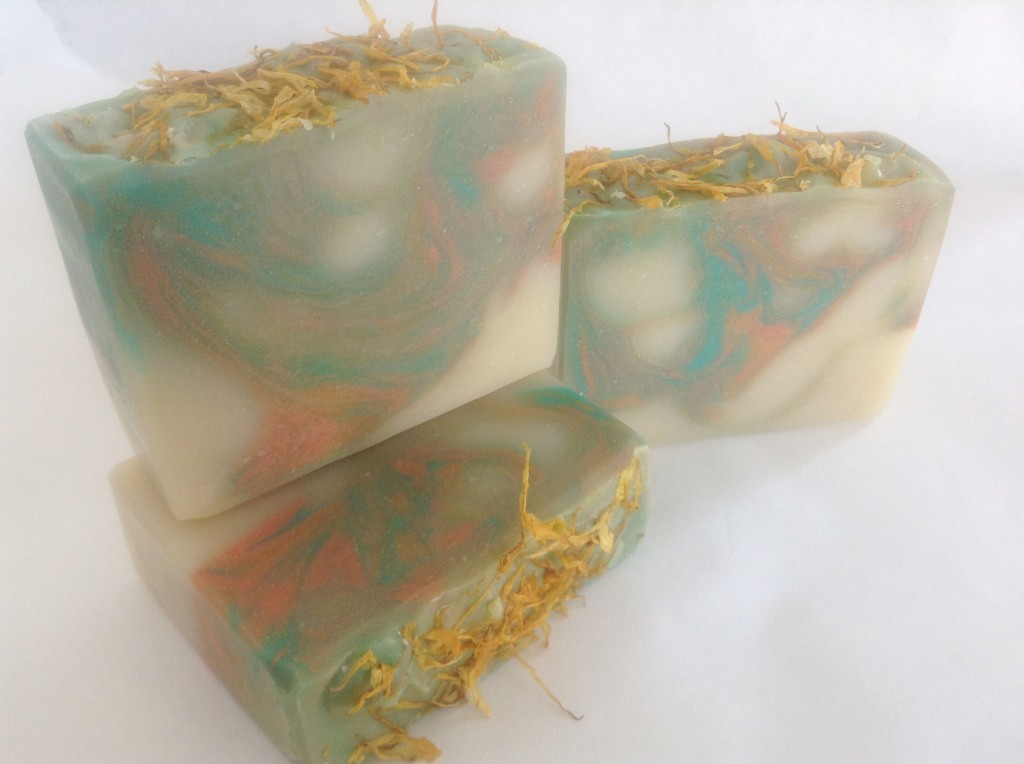
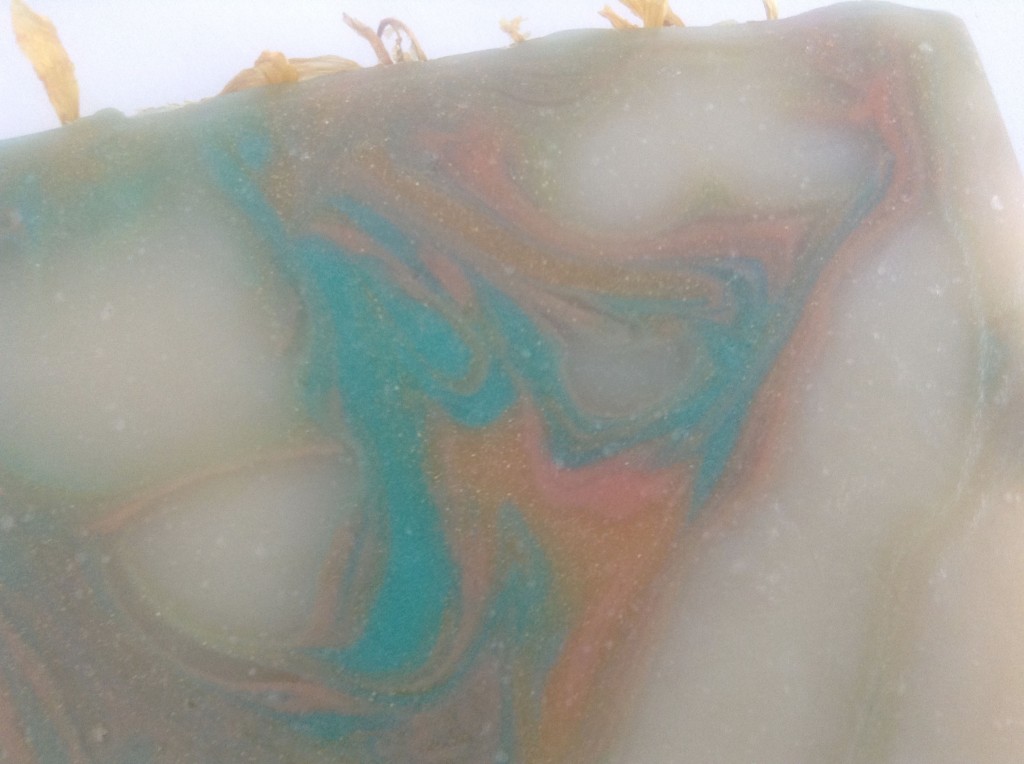
Don't Worry, Be Happy SoapHere is a close-up of one of the bars so you can really see how the colors came out. The Caribbean Kiss mica is a perfect Caribbean water shade, and the Clementine Pop mica really matches the apricot notes in the fragrance, while the 24-Karat Gold mica ties in the element of honey in the scent. As it turns out, the swirl looks great—perhaps better than it would have looked if I had just done a drop swirl with the swirled colors.

Close UPAs you can see, the natural soap did not discolor either, so while this fragrance accelerates, it does not discolor, which means it is great for whatever colors and design you want to try (given you can work with the acceleration).

I’m really pleased with how the micas turned out as well. I didn’t know if the 24-Karat Gold mica would look like much in CP soap, but it honestly pops pretty nicely—you can see the sparkles throughout. It’s hard to tell from the pictures, but the sparkles really do catch your eye if you can see the soap in person.

A couple of interesting notes about this challenge:

  1. It was fun trying to use the kit to make something based on the challenge idea, and I found the idea came to me immediately. Kudos to Kenna for the great idea.
  2. I really fell in love with the Clementine Pop mica, and I’m going to have to order some more of that. I liked the other two a lot as well. I do not have as much experience with micas, and so I feel shy ordering them (for some reason) because I’m not sure what I’m going to get. I was so happy when I checked Rustic Escentuals’ site and found they were all CP stable.
  3. I really liked all three fragrances. Coconut does scream summer, but even without checking, I figured it would discolor more than the Apricot Honey, so I went with my gut on that one.
  4. Almost all the materials I received were new to me. I have used calendula petals and bentonite clay in soap before, but I had not used anything else. I had never even purchased from any of the companies except Rustic Escentuals and Majestic Mountain Sage. It was fun to learn about some potential vendors and try their products before I buy them.
  5. After watching the music video for “Don’t Worry, Be Happy” again, I discovered the colors I used (or at least similar ones) appeared in the video! I see them mostly in the background. Isn’t that wild? I wonder if my subconscious somehow dredged that up (as many times as I saw that video in the 1980s!), but… nah.

This soap will be ready to use on August 2, 2014. I decided to give one bar away. Here’s the catch: no fair entering the contest from multiple Twitter or Facebook accounts. You can certainly enter more than once using one of each kind of social media account, but if you try to game the system, I will disqualify all your entries. I was disappointed to learn someone tried to do that with my last giveaway. I want someone who really wants this soap to win it, not someone who just enters freebie contests, so please—your social media accounts should contain tweets besides giveaway announcements. Aside from those caveats, go for it!

a Rafflecopter giveaway

Vanilla Sugar Cane Soap

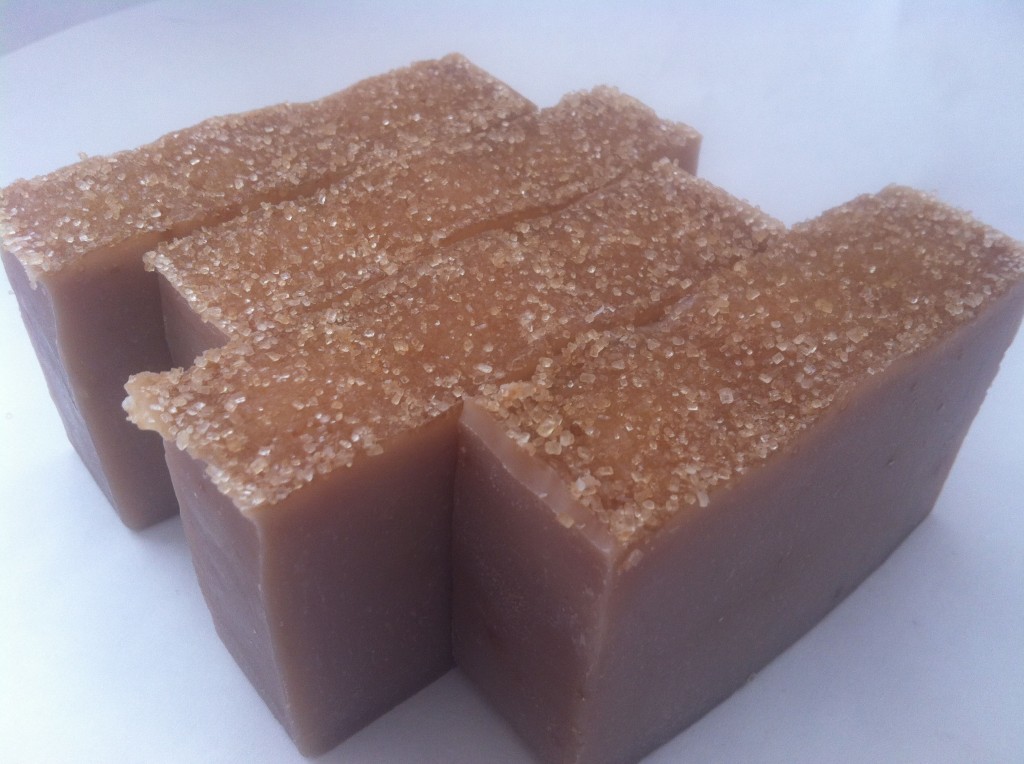
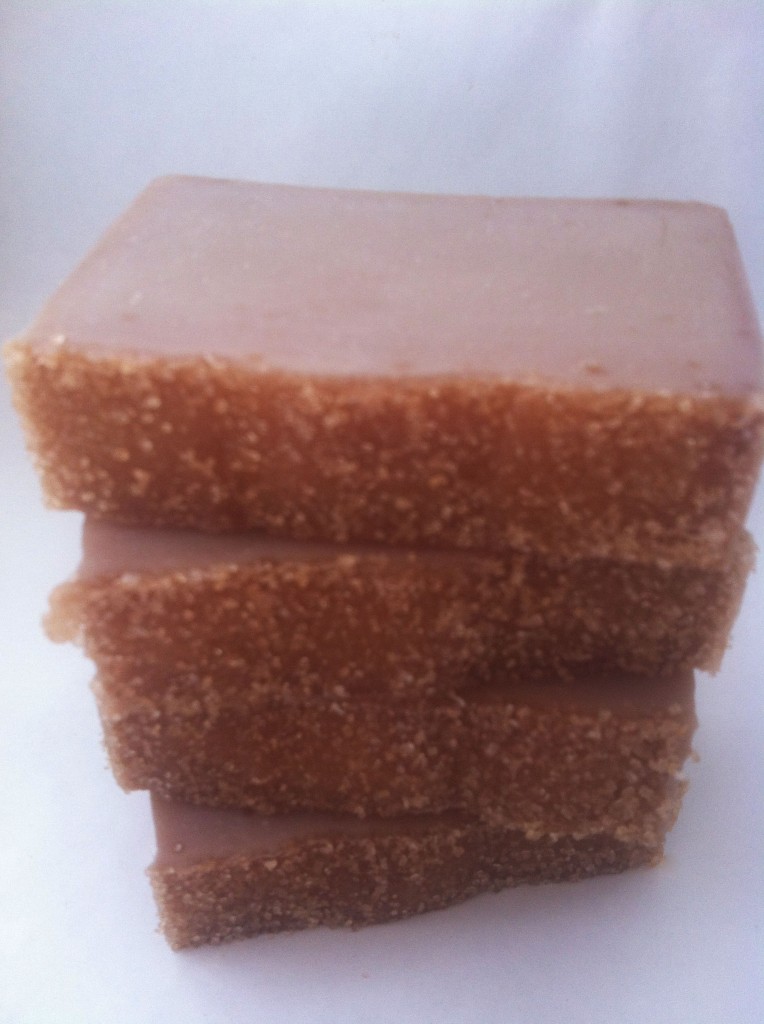
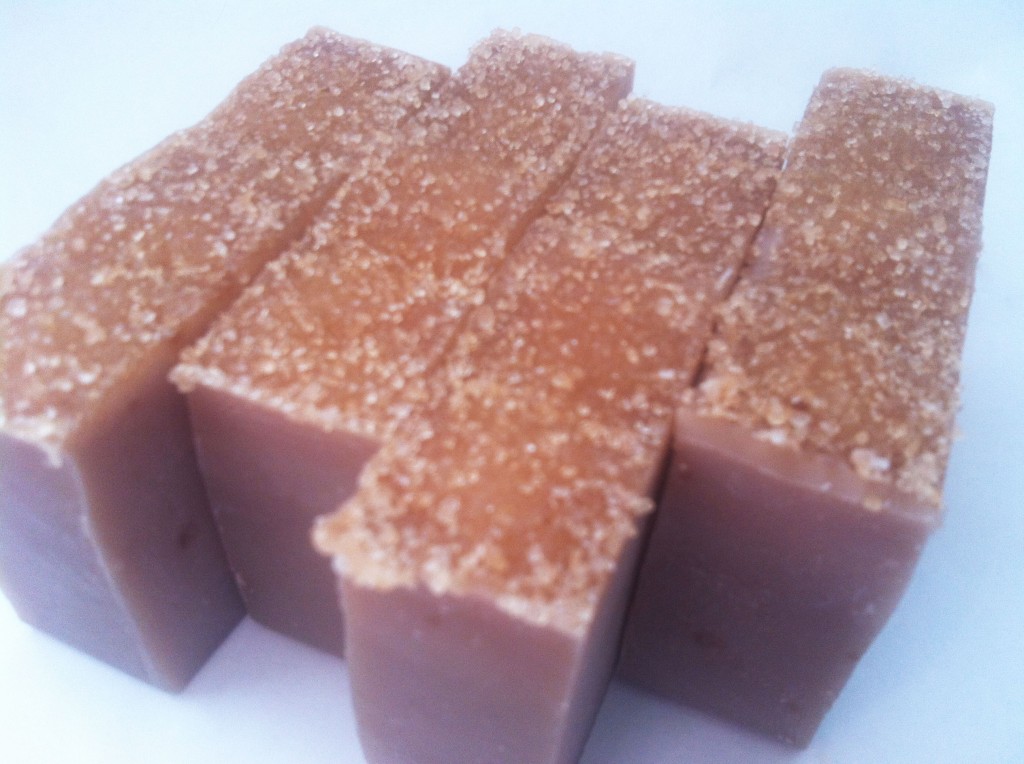
Vanilla Sugar Cane SoapInspired by Attica Locke’s new novel The Cutting Season, I created a new soap using some ingredients I had been wanting to try for some time.

Ingredients

  • 30% olive oil
  • 25% coconut oil
  • 25% palm oil
  • 10% sweet almond oil
  • 5% cocoa butter
  • 5% castor oil

I had never soaped with sweet almond oil and castor oil, and I was really pleased with the consistency of the soap. I used Nature’s Garden’s Warm Vanilla & Sugar fragrance oil. It smells exactly like Bath & Body Works’s Warm Vanilla Sugar fragrance, which happens to be one of my favorites. I layered the top of the soap with raw sugar.

Vanilla Sugar CaneBecause the fragrance oil has vanilla in it, it has discolored the soap, which I expected and did not mind. I am not sure if it will continue to darken as it cures, but I’m not worried. Even if it darkens more, I think it will still be a beautiful soap.

It should be ready to sell in the Etsy store by the last week of November. It smells great. I cannot wait until it’s ready to use.

Vanilla Sugar Cane

Creating Your Own Soap Recipes

As soon as I had made one batch of soap on my own, I was ready to start creating my own soap recipes. I didn’t like the soap I made very much. The directions provided were easy to follow, but I wasn’t and still am not crazy about the soap that resulted. I looked around at many recipes on the Internet, but I didn’t know how to figure out how much oil I should use to fit my mold.

I did some research about different types of oils. Perhaps the three most common oils used in most of the soap recipes I found are olive oil, palm oil, and coconut oil. In fact, many recipes recommend 40% olive, 30% palm, and 30% coconut oils.

Olive Oil

Olive oil contributes to a good conditioning bar, but it doesn’t produce a lot of lather on its own, and pure castille bars can be soft. I buy olive oil at the grocery store. Shop around and see which brands you like best and which grade. Some soapers prefer EVOO. I have not noticed a difference, and since light olive oil is cheaper, that’s what I use. Some soapers buy olive pomace oil. I have not tried it because it’s not readily available in the store, and I buy what I can find locally to save shipping charges. I have to order too much other stuff for soaping to worry with olive oil, too. Soaps with a high olive oil content take longer to saponify and need longer to cure.

Coconut Oil

Coconut oil contributes to a cleansing bar with a good lather, which is why some soapers make “bastille” (not pure castille, but mostly olive oil) bars with a percentage of coconut oil. I have a bastille recipe that is 75% olive oil, 25% coconut oil. It is recommended to keep use of coconut oil at 30% or less because more than that can be drying. Coconut oil can be hard to find in the grocery store in some areas. I buy the Louana brand at Walmart. Shop carefully. I saw the same brand of coconut oil I purchase for sale on Amazon via a third party seller. It was described as organic (it isn’t) and cost at least four times as much as the same size container in Walmart. Plus shipping.

Palm Oil

Palm oil contributes to a hard bar. It’s a substitute for tallow when soapers want to create vegan or all vegetable oil soaps rather than using animal fats. Palm oil also contributes to a creamy, stable lather. It’s best to keep the amount of palm oil under 50% of your total oils because some people find it drying if you use more than that. Palm oil use can be controversial because of its association with rainforest depletion in the areas of the world where the oil palm is cultivated. You can buy palm oil from vendors that the Roundtable on Sustainable Palm Oil (RSPO) has certified meet criteria and procedures for manufacturing sustainable palm oil. Some soapers have stopped using palm oil altogether. It is an important issue to educate yourself about. I do use palm oil, but after learning more about the issue, I have decided not buy from a vendor unless it is RSPO certified sustainable palm oil. Bramble Berry sells sustainable palm oil. So do other companies, such as Soaper’s Choice.

Most of my recipes have these three oils. In addition, I like to use some of the following oils:

  • Castor oil contributes to a nice, bubbly lather. It is recommended to keep the amount at 5% or less of your total oils.
  • Shea butter adds moisturizing qualities and contributes to a harder bar.

I’m relatively new to soaping, so there are plenty of oils I have not experimented with. I have discovered some of these oils are located in odd places in the grocery store. On my last shopping trip, I managed to find sunflower oil by the Italian foods. Rice bran oil was near the olive oil, but it was on the top shelf, and my store only carried one brand. Safflower oil is also with the other oils. I have only used this oil once (my first recipe called for it), but it has a short shelf life and as David Fisher at Candle & Soap Making at About.com says, it has a “fairly unremarkable fatty acid makeup.” Sesame seed oil is stocked with the Asian foods and is said to be a good conditioner.

Many soapers swear by other products such as cocoa butter, mango butter, apricot kernel oil, palm kernel oil, avocado oil. I want to try some of these oils, but I haven’t had the opportunity yet. I have used grapeseed oil, but it has a short shelf life, and I didn’t notice anything missing in my soap when I haven’t used it. I plan to try using it as an oil for sugar scrubs. It is said to absorb quickly in the skin without leaving a greasy feeling.

The important thing is to experiment with the different oils using a soap calculator. My new favorite (and an old standby many soapers use and swear by) is SoapCalc. There are other good ones, too (see my Resources page). SoapCalc can give you a prediction about your soap based on the percentages of oils you use. You can easily change amounts without having to start over, too. I usually start with a base of olive, coconut, and palm oils, and add and subtract amounts from those base oils when I add other oils like castor oil and shea butter. The recipe I use most often uses 38% olive oil, 30% coconut oil, 17% palm oil, 10% shea butter, and 5% castor oil. I also frequently use Heidi Corley Barto’s basic recipe, which calls for 30% palm oil, 30% shea butter, 20% olive oil, and 20% coconut oil. I usually discount my lye by 5%, which leaves some unsaponified oil in the soap for conditioning purposes and also gives me wiggle room for slight measuring errors, preventing a lye-heavy batch of soap that would be unusable. SoapCalc and other lye calculators will help you figure out how to discount lye. By default, SoapCalc figures a 5% lye discount.

Some soapers swear by attending to INS values as a method for producing good soap. INS values were introduced by Dr. Robert S. McDaniel in Essentially Soap as a means for figuring out the iodine value and SAP value (saponification value). Supposedly, an INS value of 160 is the ideal, but many soapers make wonderful soap that isn’t close to that value. My recipe above has an INS value of 158, and Barto’s has an INS of 151. I can tell no appreciable difference between them in terms of quality, and they are both fairly easy to soap. I do notice my recipe has more lather, likely because of the castor oil, and hers produces a harder bar, likely because of the higher percentage of palm oil and shea butter. On the other hand, the first soap I made had a low INS value of about 121. SoapCalc’s scale recommends an INS between 136 and 165. Given that my soap with an INS value of 121 is really soft and just not all that nice to use, the recommendation seems sound to me.

Don’t be afraid to try out a few combinations using the lye calculator. It can be fun to experiment.

Another issue I ran into early on is not knowing how much essential oil or fragrance oil to use. Thankfully, Bramble Berry has a good Fragrance Oil Calculator that can help you figure out how much oil to use. Other vendors make recommendations. How much fragrance or essential oil you use will vary. Some fragrances and essential oils are stronger than others. If your vendor has a recommendation, it is probably a good idea to follow it because they have most likely tested it, and following their recommendation will save you time. However, if you don’t have a recommendation, try using about 5-9% percent of your oil weight. For example, if you have a 40-ounce oil recipe, you might try 2 to 4 ounces of essential oil or fragrance. Many soapers keep it simple by using 1 ounce per pound of soap.

An important note: some essential oils and fragrance oils can accelerate trace and cause your soap to seize, as I discovered when I used lilac fragrance oil. Floral fragrance seem to be especially bad about accelerating trace. When you use a new fragrance or essential oil, it is a good idea to take careful notes about what happens in case you need to make changes for next time. For instance, next time I use lilac fragrance, I will add it at a lighter trace, and I will not try to do anything fancy like swirling. I haven’t noticed a huge problem with most fragrances, and usually, your vendor will warn you if a fragrance can be problematic. I like that vendors like Bramble Berry warn you not to use certain fragrances in cold process soap at all.

The Great Chocolate Milk Soap Experiment

The chai tea fragrance oil I ordered to make my chai tea soap this weekend didn’t arrive in time.

Boo!

But when life gives you lemons, you make lemonade, right? I could still make soap with things I had on hand or that I could easily pick up at the grocery store. I can’t find a place around here that sells essential oils or fragrance oils, so it had to be something that would be OK without added scent.

I decided that this weekend could be the weekend I experiment with using milk in soap, and I created a chocolate milk soap recipe I really wanted to try.

Chocolate Milk SoapWorking with both milk and chocolate can be more difficult, however, so I had to change some things about my process.

Ingredients

  • 13.2 oz. olive oil
  • 12 oz. coconut oil
  • 6.8 oz. palm oil
  • 4 oz. shea butter
  • 0.625 oz. unsweetened baking chocolate
  • 13.2 oz. whole milk
  • 5.637 oz. lye

First, I measured out the whole milk, put it in a freezer bag, and froze it. This is a suggestion for working with milk (although she mentions it with goat milk) from Heidi Corley Barto’s in The Natural Soap Chef. When you use liquids other than water, it’s a good idea to follow suggestions of more experienced soapers like Heidi, and she’s not the only person I’ve seen mention working with frozen milk. The milk should be at least a frozen slush when you use it. Make an ice bath in your sink, and put the slushy milk into the ice bath. Then carefully, slowly add the lye, stirring as you go. Add a bit, stir a bit. Go very slowly. If the temperature of the lye mixture starts to climb above 140°, add more ice to the ice bath.

Prepare the chocolate with the oils. It should be melted. You can melt it in the microwave if you’re careful. Check this link for tips on melting chocolate. When the lye/milk has reached 100°, add it to the oil mixture. The rest of the process as the same as making any other cold process soap: use a stick blender to help the soap saponify, and once it reaches trace, pour it into the mold of your choice. My recipe fits a three-pound loaf mold.

I knew working with milk would be different, but as it turned out, the main difference seemed to be the amount of time for each step. I think I put too much ice in the ice water bath, and my lye heated up, but then cooled down to about 80° and stalled there, so I put it in a warm bath. Well, a hot one. And I managed to bring it up to 98°, but it wouldn’t budge any more, so I decided maybe I should add it to the oils. It look longer than usual to reach trace. The soap didn’t feel as warm as it normally does when I picked up the mold to put it in the closet where I keep my soap. It seemed to take longer to reach a gel stage, too. I’m not sure if this is just normal for working with milk, or if it was due to the fact that I had to warm up my lye, or what.

When I poured it into the mold, it did look exactly like chocolate milk. Really thick chocolate milk. Like chocolate pudding, actually. I fretted over it because it was slower going than the other soap I’ve made, but once it started to reach gel stage, I felt better.

But it darkened up quite a bit by the time it had cooled, as I figured it would.

Chocolate Milk Soap in the Mold
Cooled Chocolate Milk soap in the mold

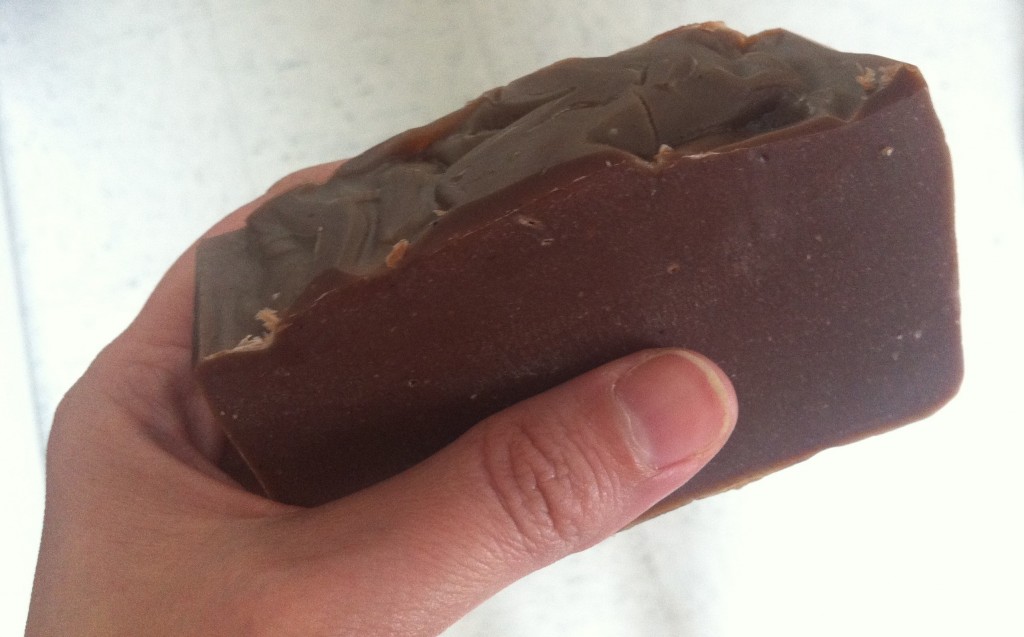
When I cut it into bars, I noticed that there was a sort of dark brown rim around the bar, while the middle was lighter. I think it was due to the fact that the soap isn’t completely hardened yet.

Chocolate Milk SoapA few hours later, the color had darkened to a deeper brown.

DarkerI noticed a couple of air bubbles, too, but you know, it’s chocolate milk, and who doesn’t blow bubbles in their chocolate milk, right?

It has a light scent that reminds me more of chocolate cake than milk, but my husband thought it smelled like chocolate milk. I lathered up and washed my hands with a tiny ball of the soap I had made from some trimmings, and it has a nice creamy lather. I was worried the chocolate would discolor the lather, but it didn’t seem to. I will have to test it again after some time passes just to make sure.

Yummy!
Yummy!

Creative Commons License

Chocolate Milk Soap by Dana Huff is licensed under a Creative Commons Attribution-NonCommercial 3.0 Unported License.
Permissions beyond the scope of this license may be available at Suds Life: About.

Lemongrass Sage Soap

This weekend I made a lemongrass sage soap using my own recipe.

Lemongrass Sage Soap
Still in the mold.

Ingredients

  • 18 oz. olive oil
  • 14 oz. coconut oil
  • 8 oz. palm oil
  • 5 oz. shea butter
  • 2 oz. castor oil
  • 15.7 oz. distilled water
  • 7 oz. lye
  • 2 oz. lemongrass essential oil (add at trace)
  • 3 T sage (add at trace).

I tried a trick I read about in Heidi Corley Barto’s The Natural Soap Chef and infused some of the olive oil with sage prior to using it. I’m not sure I’m going to do that again because I had a lot of trouble straining it. I know part of the problem was that I was just impatient, but unless it imparts some quality I don’t know about to do it like that, it was a little more trouble than it was worth for me. I did mix the sage into a paste with the olive oil. I’m not sure if you have to do that, or what happens if you don’t. I suppose you could experiment and just mix it into the soap dry to see what happens.

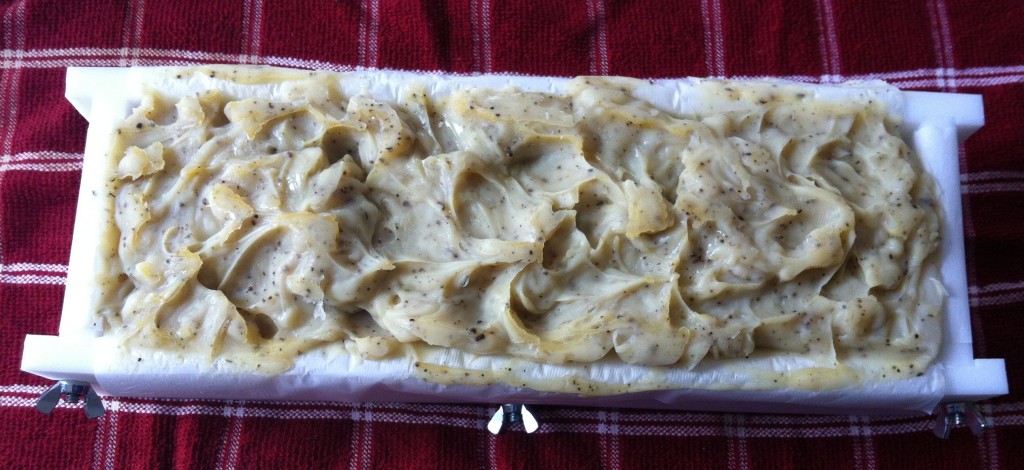
I had a pretty heavy trace when I added the lemongrass oil, and it really made the soap thicken up. I would recommend adding it at a lighter trace. The soap was a little difficult to pour into my mold, and you might have better luck if you add the lemongrass oil earlier than I did. I added in sage at the same time.

When I poured the soap into the mold, I decided at the last minute to try adding some decorative peaks and swirls, as I have seen other soapers do. My daughter Maggie said the resulting soap looked “deformed.” That really made me laugh.

My husband has been saying the soap smells good enough to eat, and here he was laughing about the warnings in soap books about not eating the soap.

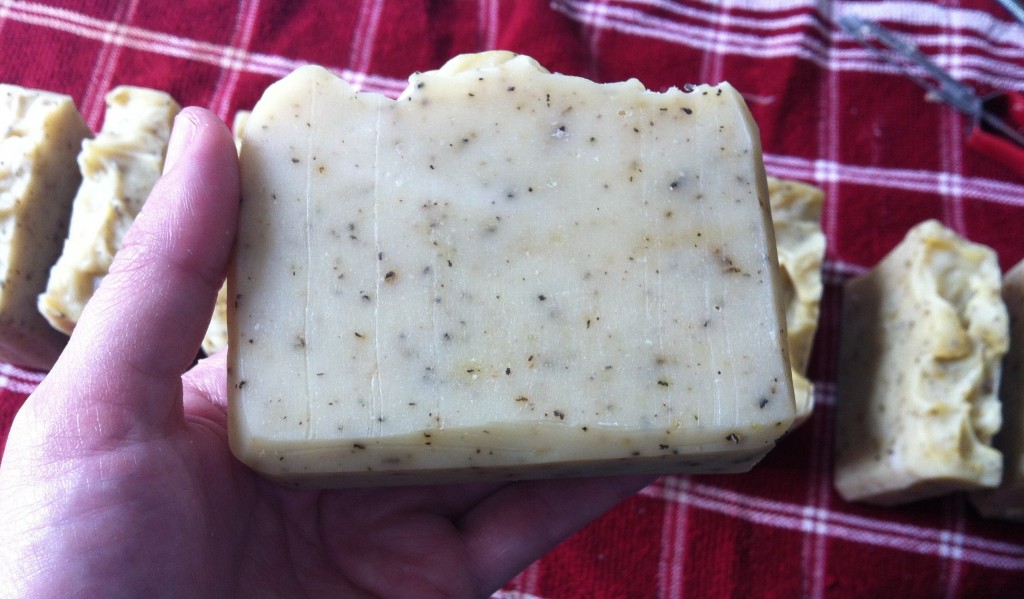
Lemongrass Sage Soap
Finished lemongrass sage soap.

I think I could have stirred the lemongrass oil in a little better. There were some lighter colored areas in the soap, and they were not lye pockets or air bubbles. They are not watery, either, so I don’t think it’s an issue with separation. They are the same color the soap would be if the lemongrass oil hadn’t added a yellowish tint. I think I just didn’t mix the lemongrass and sage completely. Given that I did have some trouble at that stage, I think I understand how it happened and how to prevent it in my next batch. Also, I discovered that lemongrass oil doesn’t like to mix well with soap, so it seems likely that I just didn’t stir it enough. It was getting so thick so fast after I added the essential oil, however, that I was afraid to wait too long to pour it into the mold. Next time, I will add the oil at a lighter trace. Or I might even try a fragrance oil instead of an essential oil. The fun is in experimenting and seeing what happens! However, I should mention that lemongrass oil is supposed to be good for acne and oily skin, so that’s one reason to go for the essential oil over the fragrance oil.

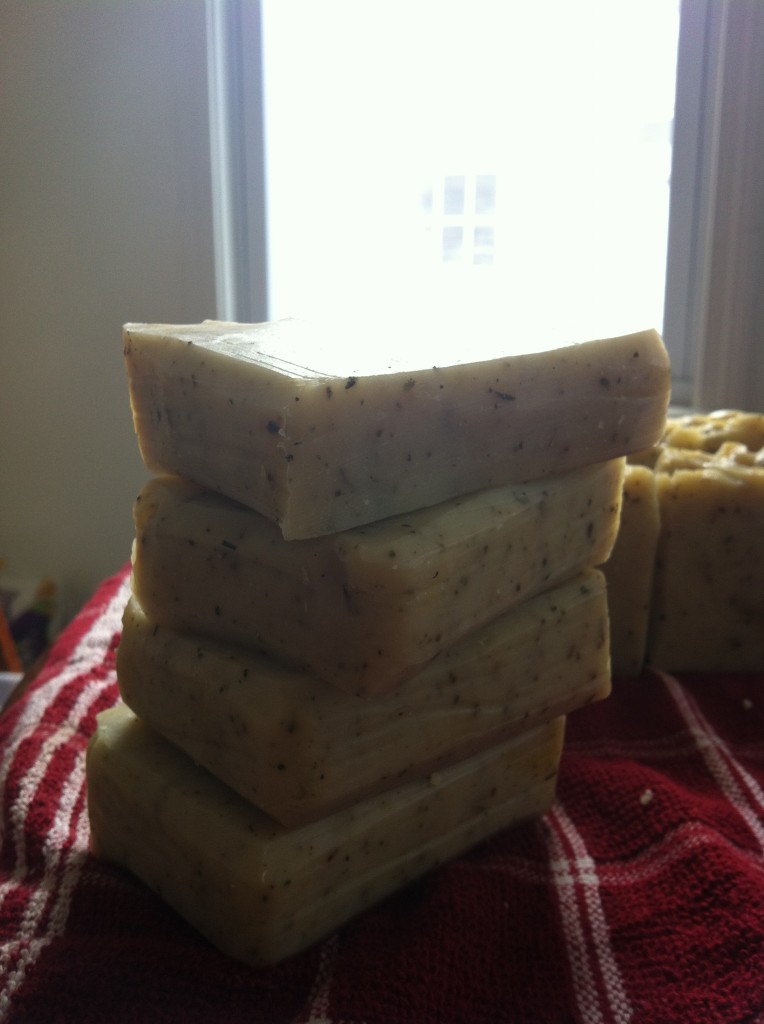
Stack of Lemongrass Sage

The soap still came out pretty enough that several of my Facebook friends who saw the picture of it that I posted requested some. Also, I have decided I like making soap enough to open an Etsy store, especially because 1) I should recoup some of the money I’m putting into it, and 2) if I make soap every weekend, I’m going to have too much, even if I give it away. But given that I have only been soaping three weeks, it will likely be months before I have enough stock to sell.

I ordered a crinkle cutter from Bramble Berry for my next batch of soap. I’m so looking forward to making the Chai Tea Soap in Heidi Corley Barto’s book. The recipe is not mine to share, but I will photograph the results.

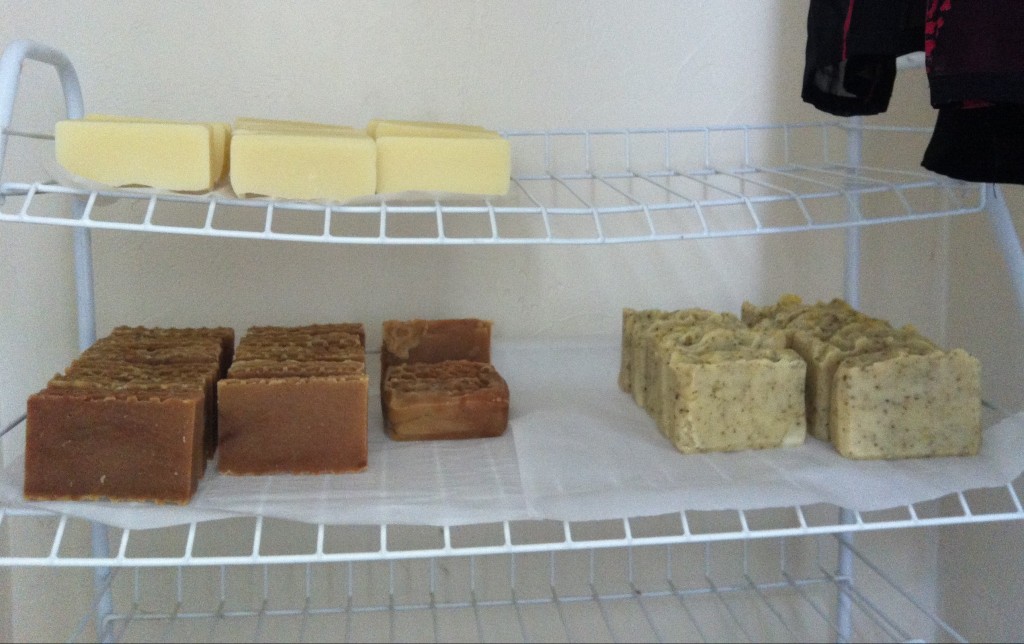
I used my husband’s old shoe rack and created a soap curing rack in one of our closets.

Soap Drying Rack

It’s out of the draft and light (when the door is shut, and I’m not checking on my soap). I had the idea after seeing this amazing soap curing cabinet that another soaper’s husband made for her.

Creative Commons License

Lemongrass Sage Soap by Dana Huff is licensed under a Creative Commons Attribution-NonCommercial 3.0 Unported License. Permissions beyond the scope of this license may be available at Suds Life: About.

The Natural Soap Chef, Heidi Corley Barto

The Natural Soap ChefAs I have been learning how to make soap, I’ve been on the lookout for helpful books with lots of beautiful pictures—not just for instructions, but also for inspiration. I have seen several reviews of Heidi Corley Barto’s new book The Natural Soap Chef. It’s a gorgeous book with lots of great tips for additives. For instance, Barto uses baby food instead of pureed fruit, which would be a great time-saver. She also explains exactly how to use liquids other than water (such as goat milk or tea).

The recipes are mostly variations on the same four ingredients: olive oil, shea butter, coconut oil, and palm oil. Those ingredients are the staples of good soap. I think I might have enjoyed seeing a few different types of oils discussed, but it wasn’t a huge deal because of the large variety of ideas. I liked thinking about how many ways I could use the same ingredients to make very different soaps. Also, I think it’s great for beginners to master a basic recipe and still have a chance to experiment within those confines. I had a quibble with Catherine Bardey’s Making Soaps and Scents because she also used the same basic three-oil recipe for almost all the soaps in her book, but frankly, I think what bothered me was that one of Bardey’s ingredients was shortening. I know it can be used in soap, but it just doesn’t seem right to me. I just don’t like the idea of using Crisco® in my soap! However, olive oil, shea butter, coconut oil, and palm oil—I can get behind. They may or may not be more natural than shortening. I honestly don’t know. But they seem more natural, and if I were buying handmade soap, I’d rather see them on the list of ingredients than shortening.

I am confused about one thing. Barto recommends putting the soap into the refrigerator after you pour it, but everything else I’ve read seems to indicate soap needs to cool slowly, and that you should wrap it in towels to keep it warm until it sets a little. I guess I’m having some cognitive dissonance here, and now I’m not sure. My own experience with the first two batches is that wrapping them and keeping them warm works well for me, so I’m not sure I will follow that particular advice. I suppose there are just many ways to make soap, but I admit I am curious as to why Barto does things so differently after the soap is in the mold.

I love some of Barto’s ideas. I had already created my own lemongrass sage recipe, but hers looks good, and I plan to infuse half of my olive oil with sage just like she did, which was something I had not thought of doing (I’m making the lemongrass sage this weekend). Also, thanks to Barto, I now have a good chai tea soap recipe that looks easy (and I already have the chai teabags I need! score!), and I love her idea for creating tissue paper tea bags to wrap those soaps in. Clever!

This is a great book, whether you’re a beginner like me or a more advanced soap maker looking for ideas. Christmas is taken care of this year!