Spotlight on Ingredients: Heavy Cream

Cream Drop
Cream Drop by Kyle May

Do you ever read over recipes or watch soaping videos and wonder why soapmakers use the ingredients they use? After all, the only essentials for a good bar of handmade soap are oils, water, and lye. However, certain additives do impart some nice qualities to your soap, and in a series of posts, I wanted to share some of the “extra” ingredients I use in soap and why I use them.

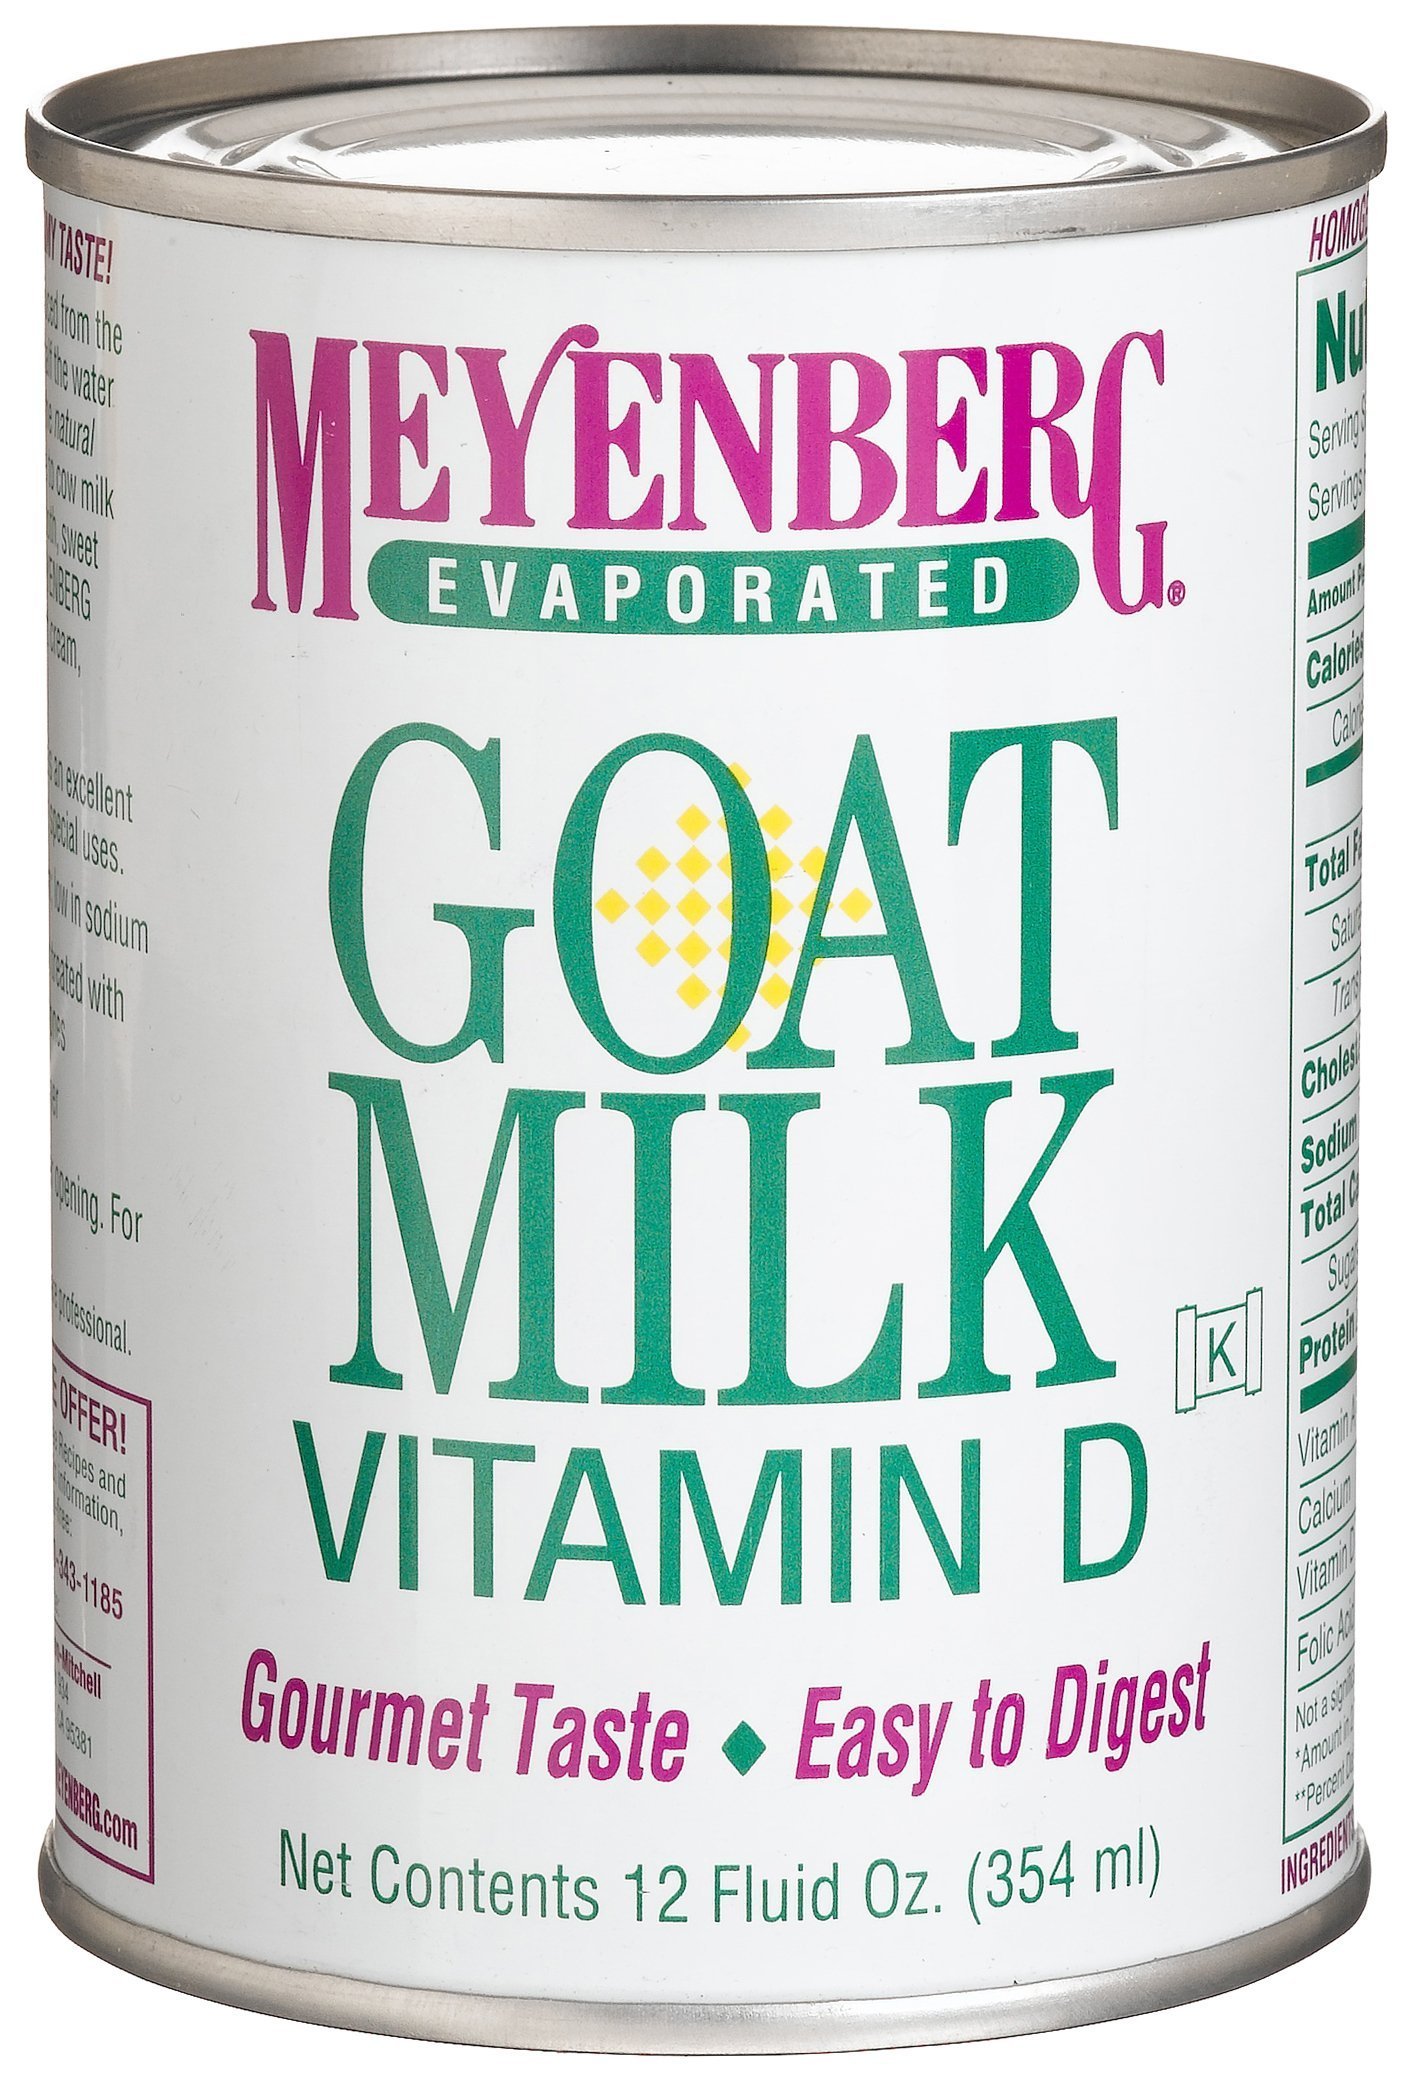
Heavy cream has a lot of fat in it—36% fat or more. Goat milk typically has 4-5% fat. Cream is very rich and smooth. While the benefits of milks—especially goat milk—are widely known, not as many soapers use cream, possibly because of the expense. I wouldn’t try substituting all of the water in a recipe with cream, and not only because of the cost, but also because of the high fat content. The cream will likely congeal fairly quickly, even if you freeze it first, because the lye will react to the fat in the cream. If you have made milk soaps, you may have noticed that if you set the milk and lye mixture aside for a few moments, it does start to thicken as the lye reacts to the fats in the milk. Another reason you might not want to use cream as a total water replacement is that the high fat content might really throw off your superfat percentage.

So how do I use cream in soap? I usually add about 4-5% of the amount of oils to a batch of soap. So, for example, if I make a batch of soap that is 500 grams (I always measure in grams; it’s more precise than ounces and easier to convert), then I would add about 22 grams of cream to the batch. I admit this is approximate because I usually add a round number of grams of cream to my soap. For example, my typical batch is about 2.5 pounds of oils, or 1120 grams, and I usually add about 50 grams of cream to a batch that size. I would recommend using heavy cream at a rate of about 3-5%. You really don’t need to use a lot. When I use cream in my soap, I remove the same amount of water from the recipe. For example, in my batch with 50 grams of cream, I remove 50 grams of distilled water from the recipe. If you use full water and cream, you might find your soap takes a little longer to harden. I have not experimented with using full water and cream.

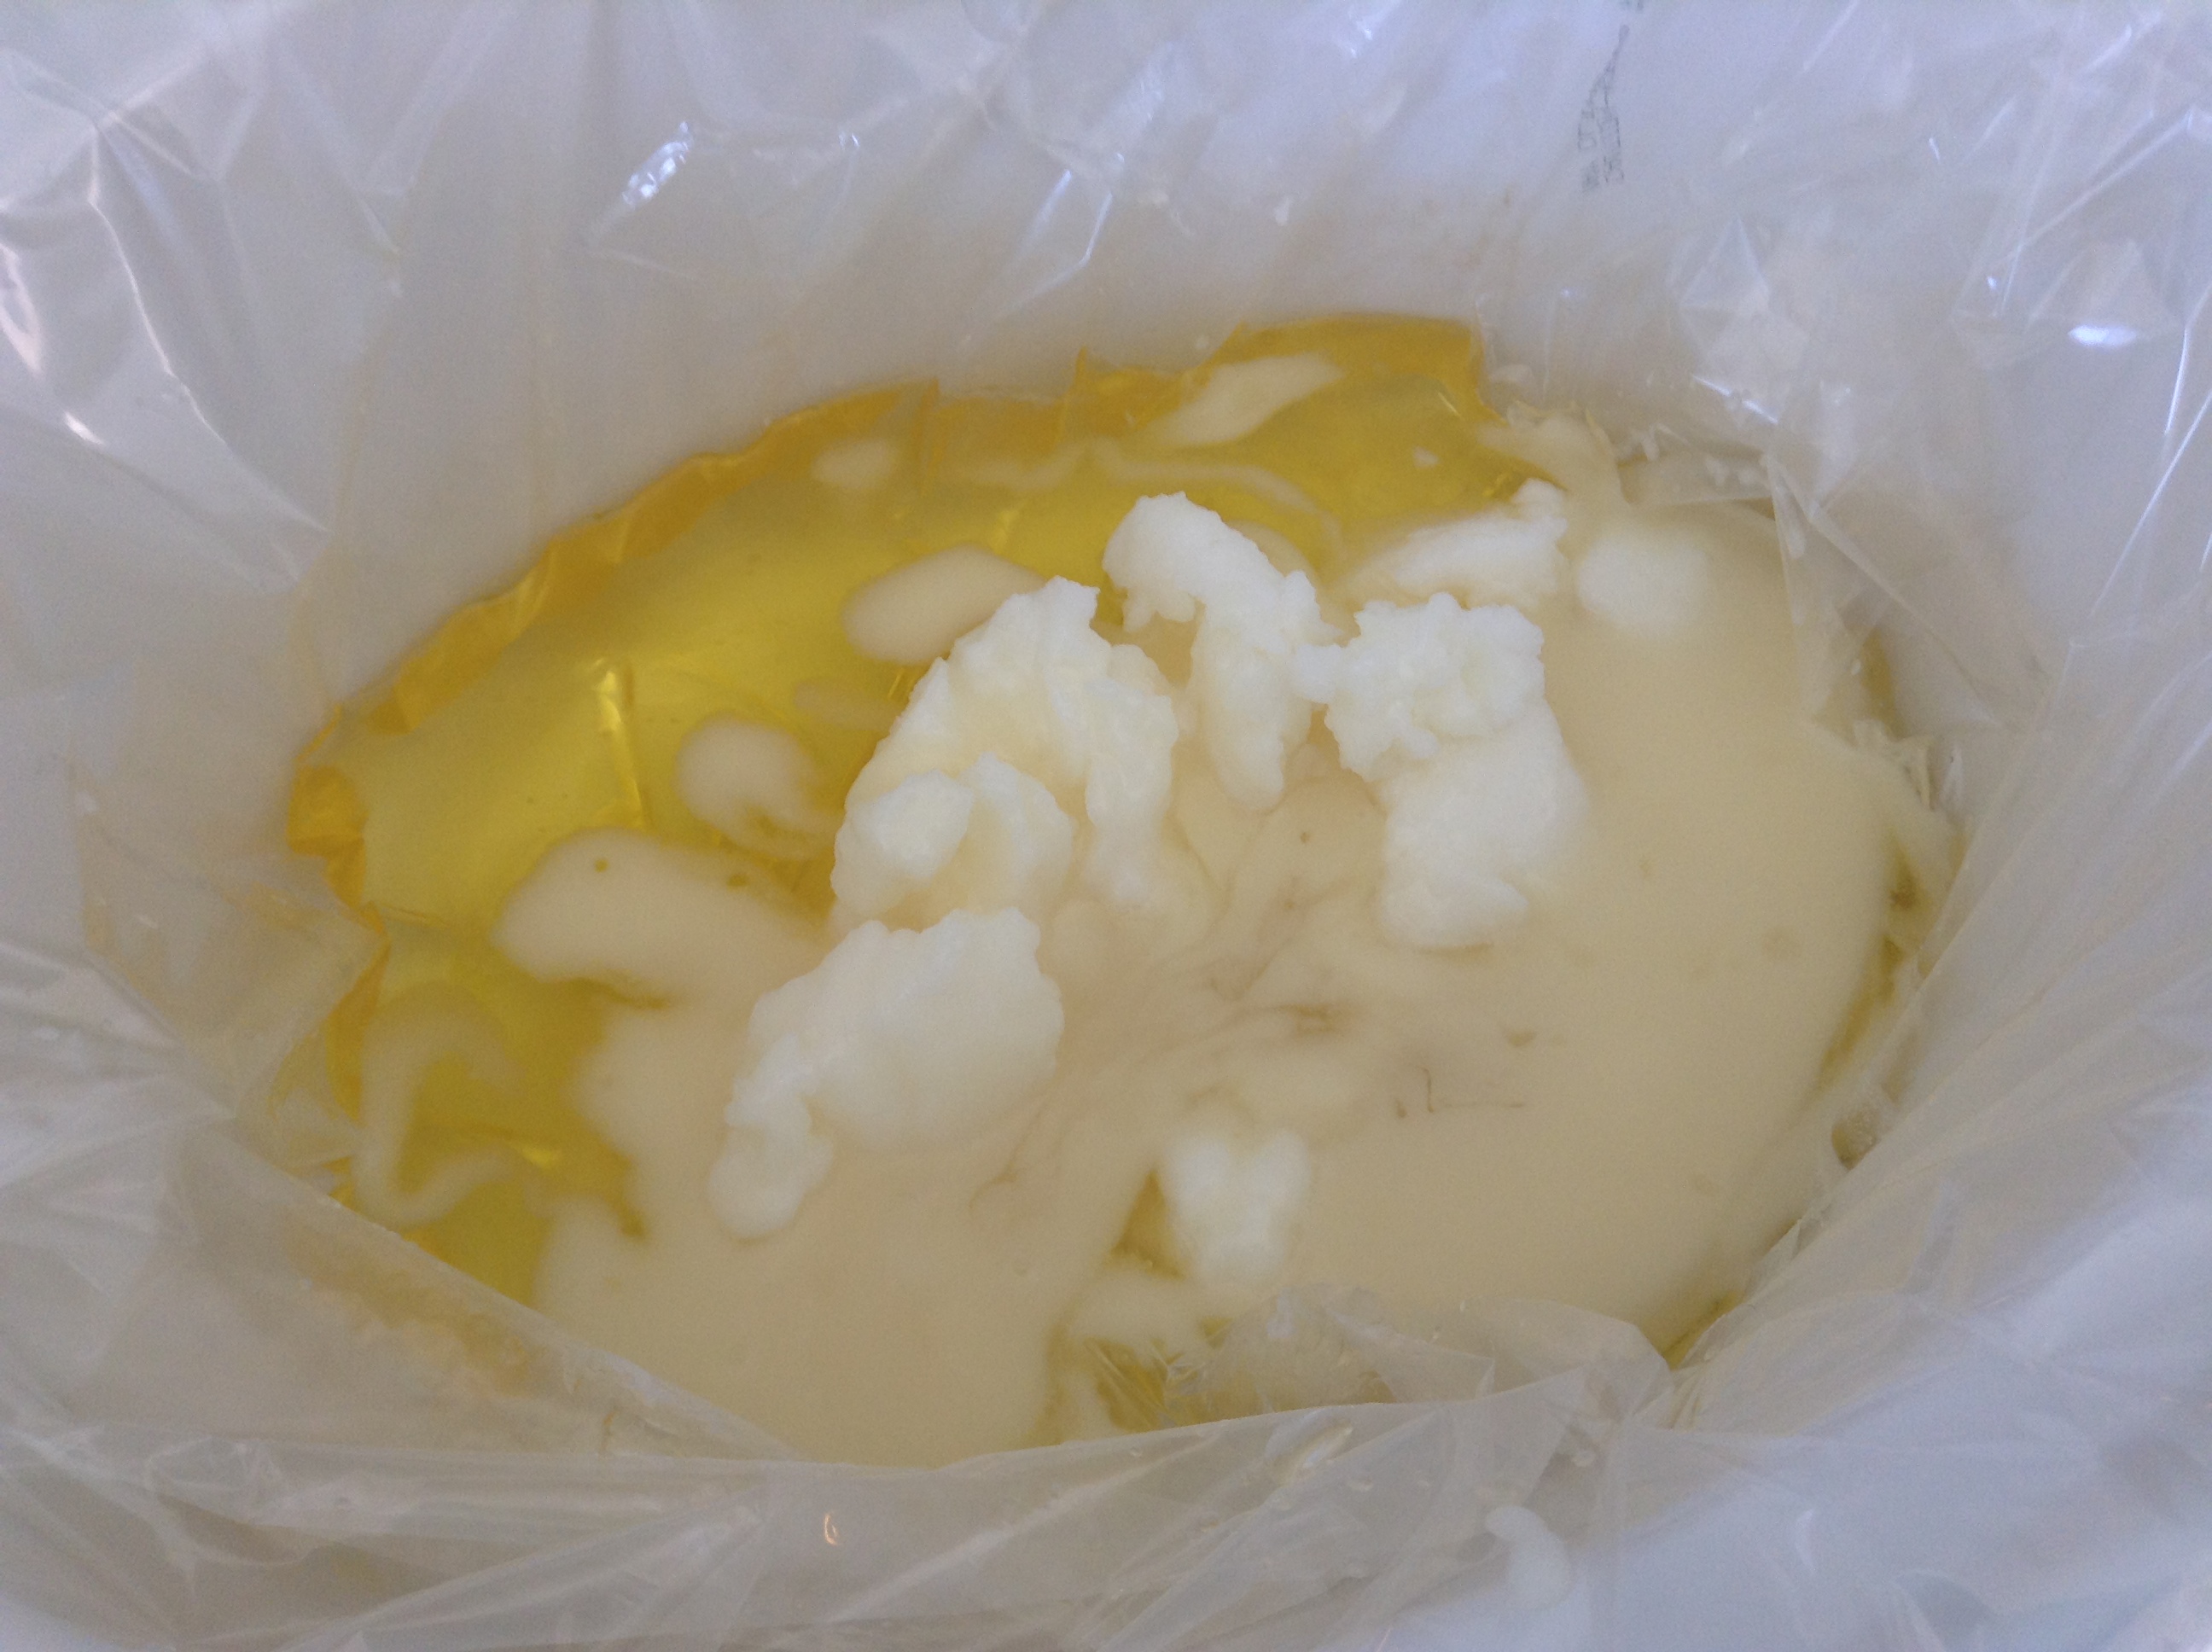
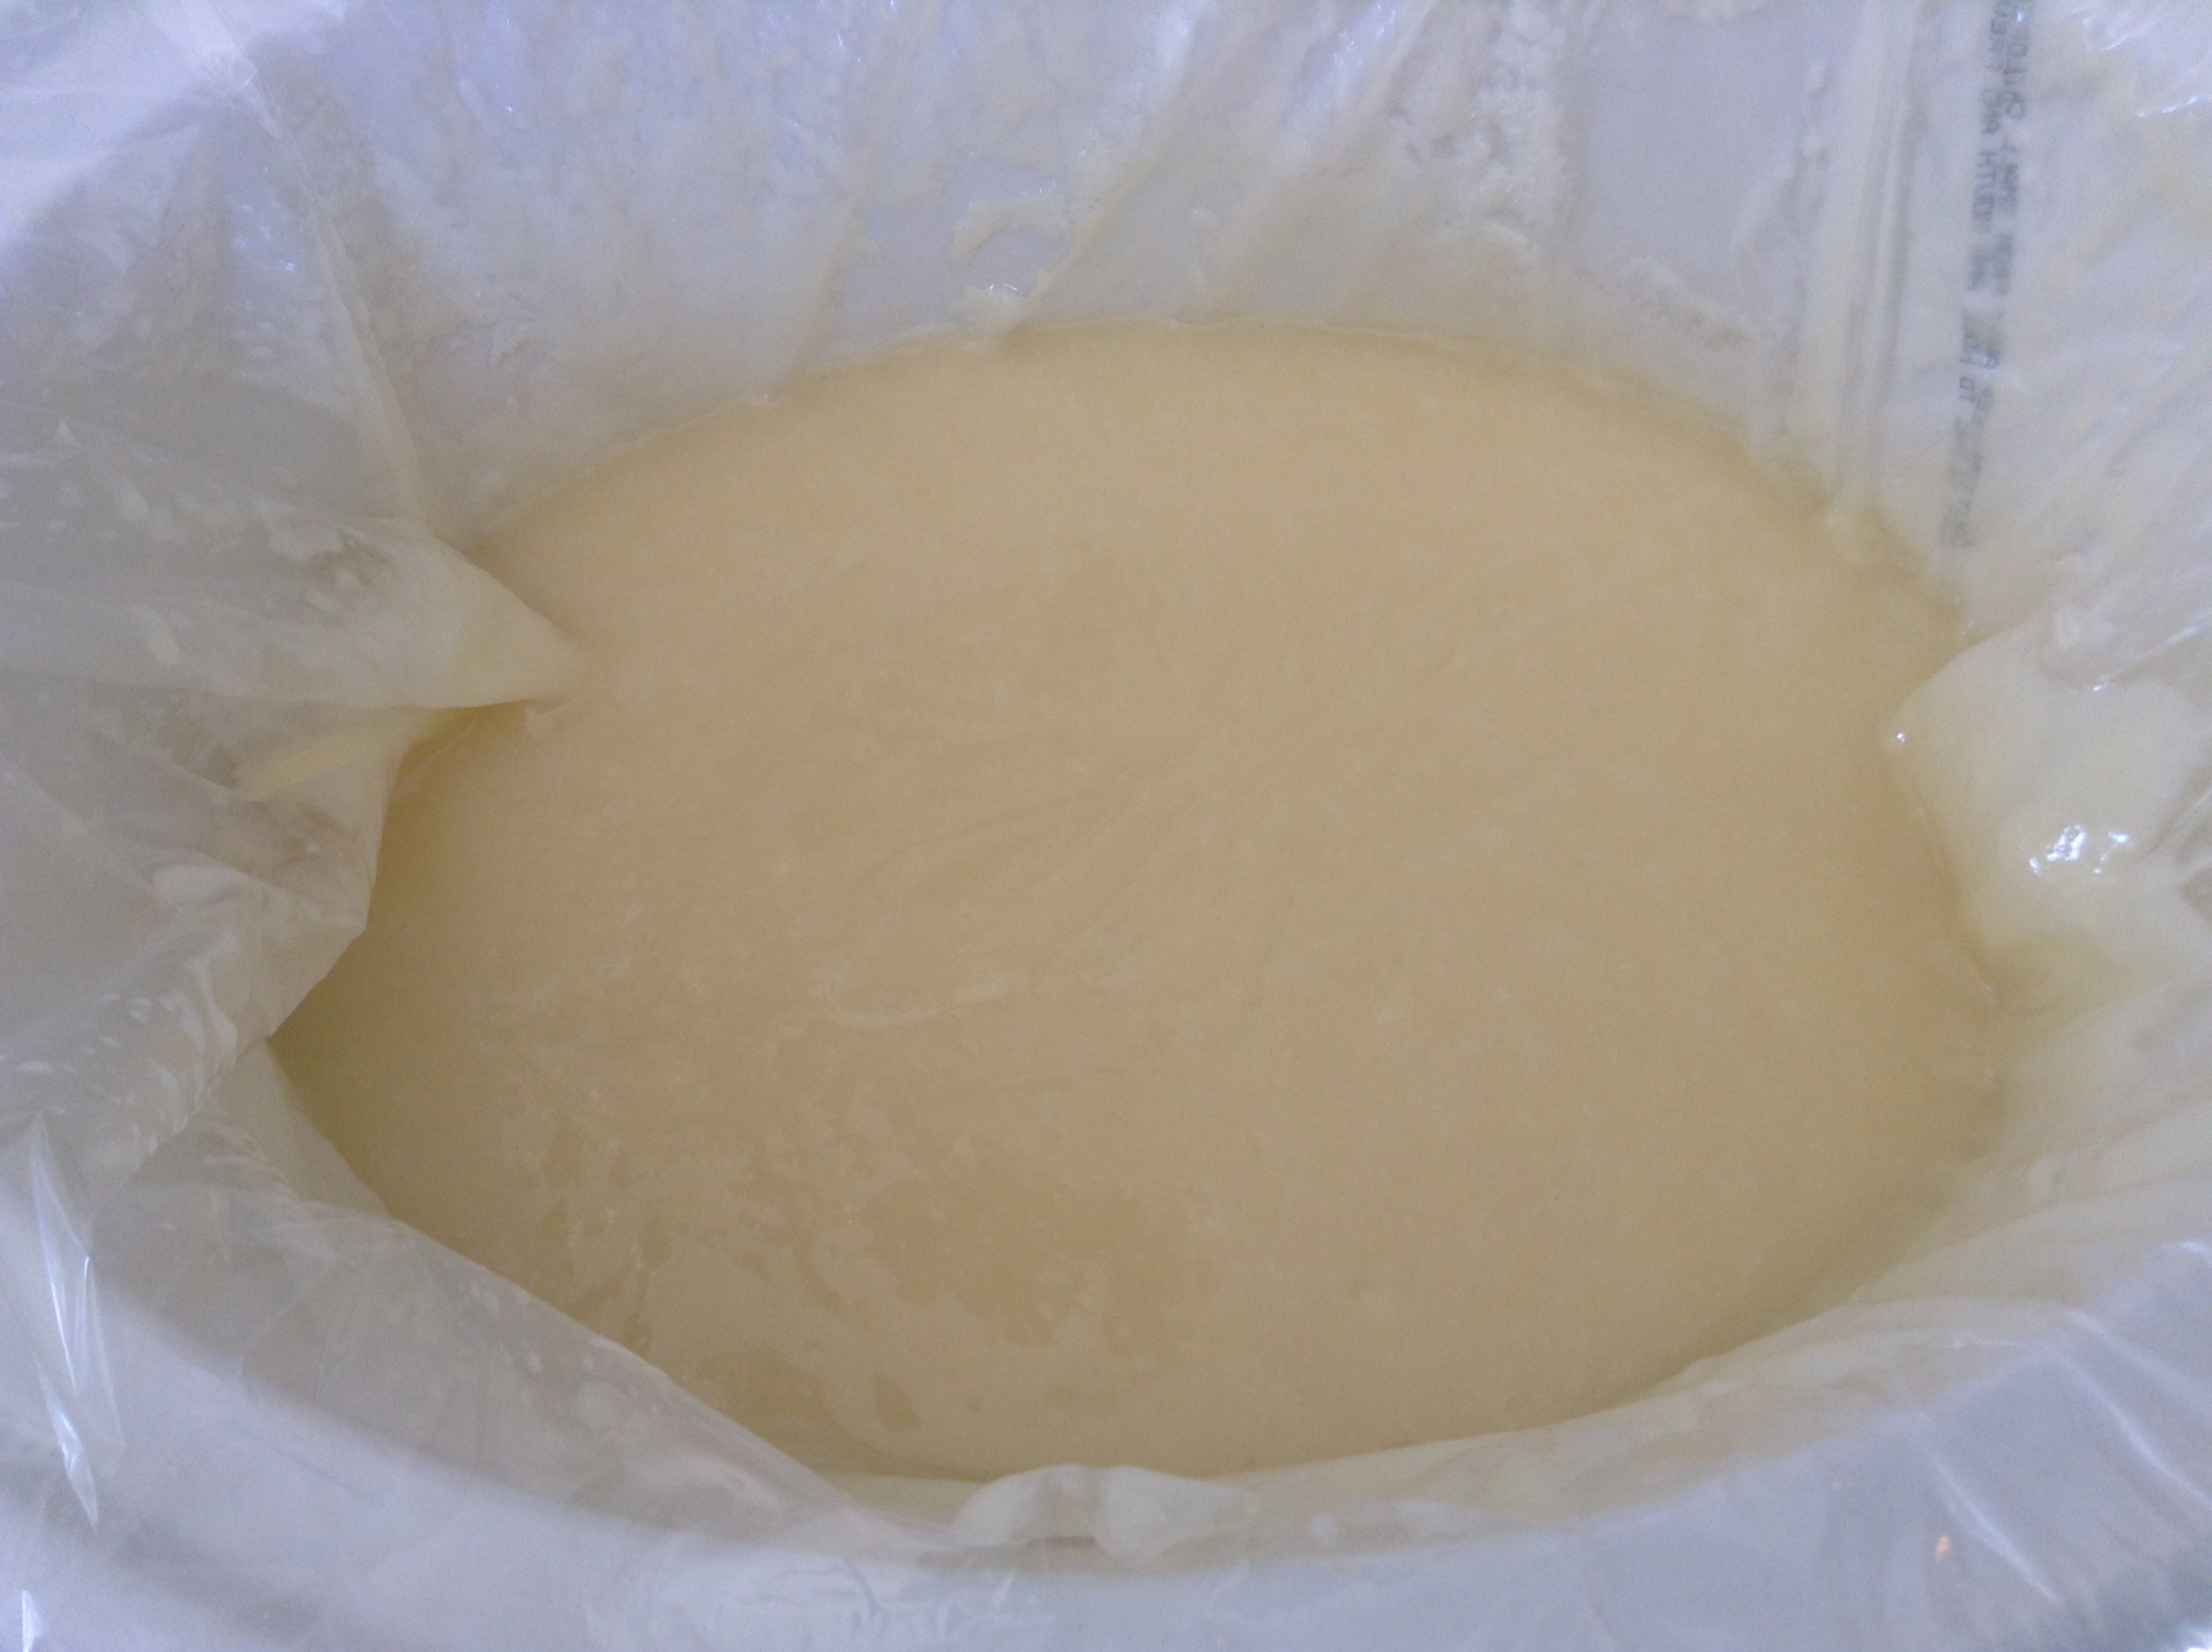
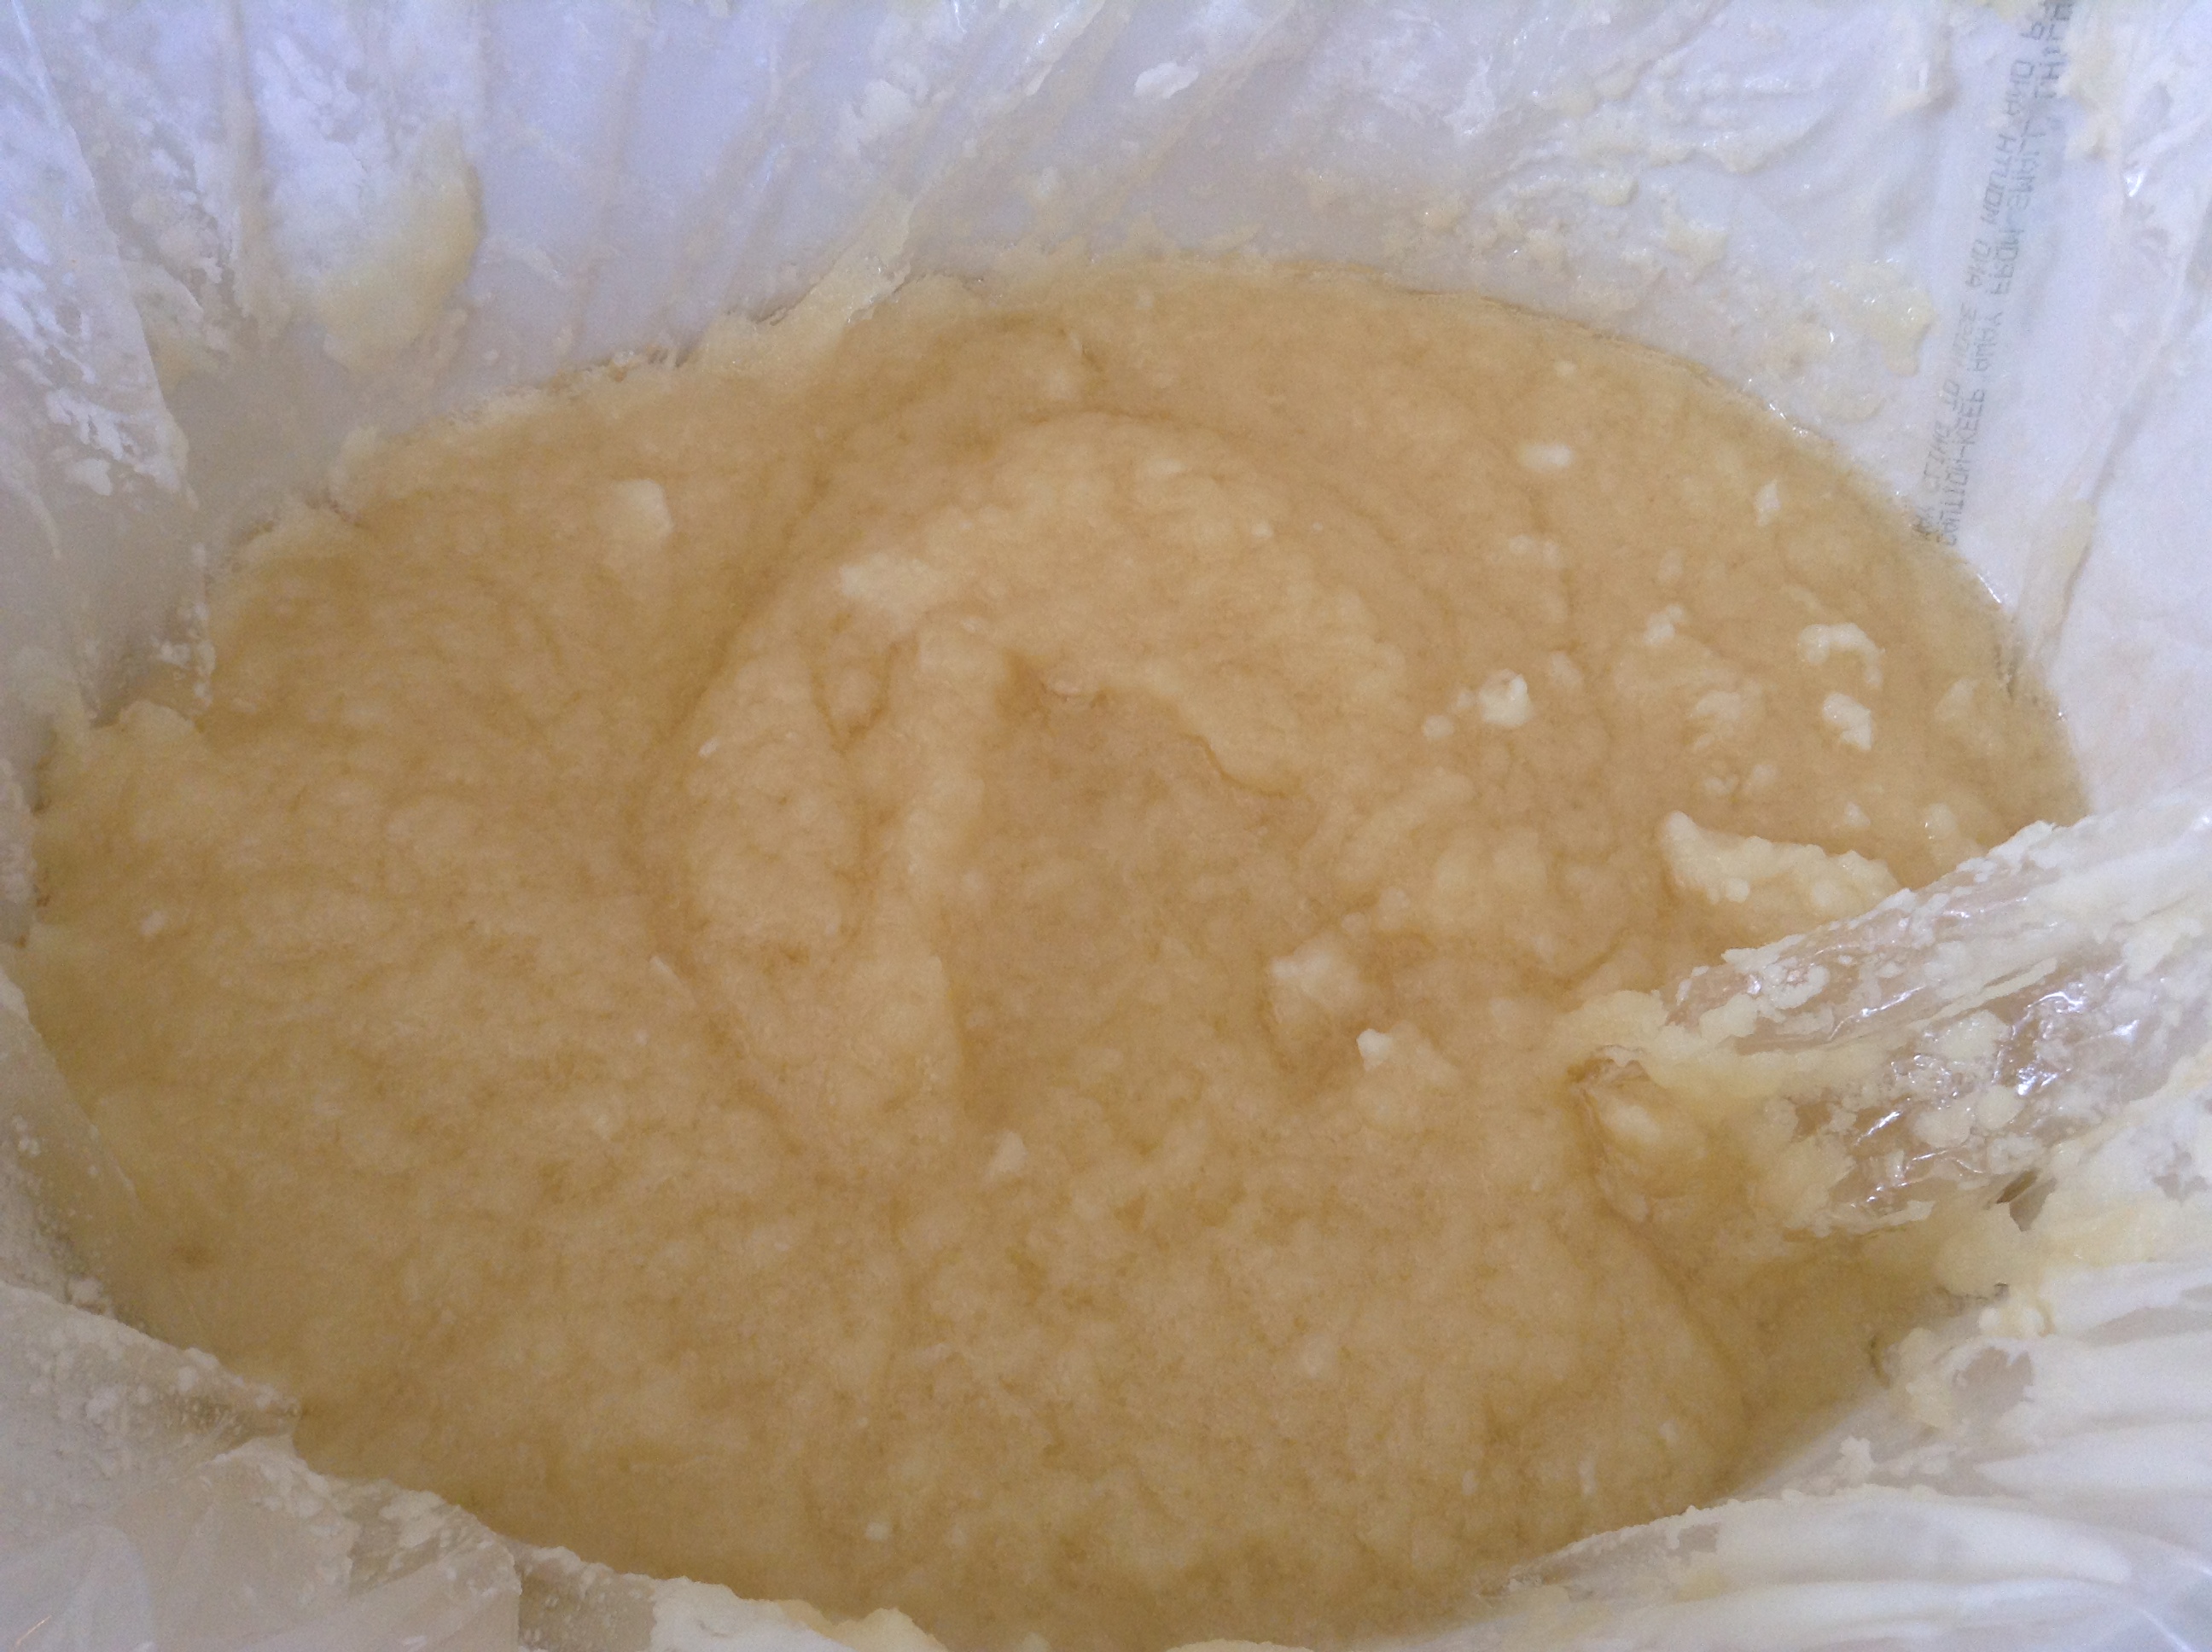
Before I add the cream to the oils, I warm it up a bit so that it is the same temperature as the oils (more or less). Then, I add my cream directly to my oils and stick blend it before adding the lye. I have noticed that it will not emulsify completely with the oils. Typically there are tiny white flecks of cream floating on the top of my oils. I usually give the oils one more quick stick blend before adding the lye water, but it probably isn’t necessary because once the lye water is added, it will all blend.

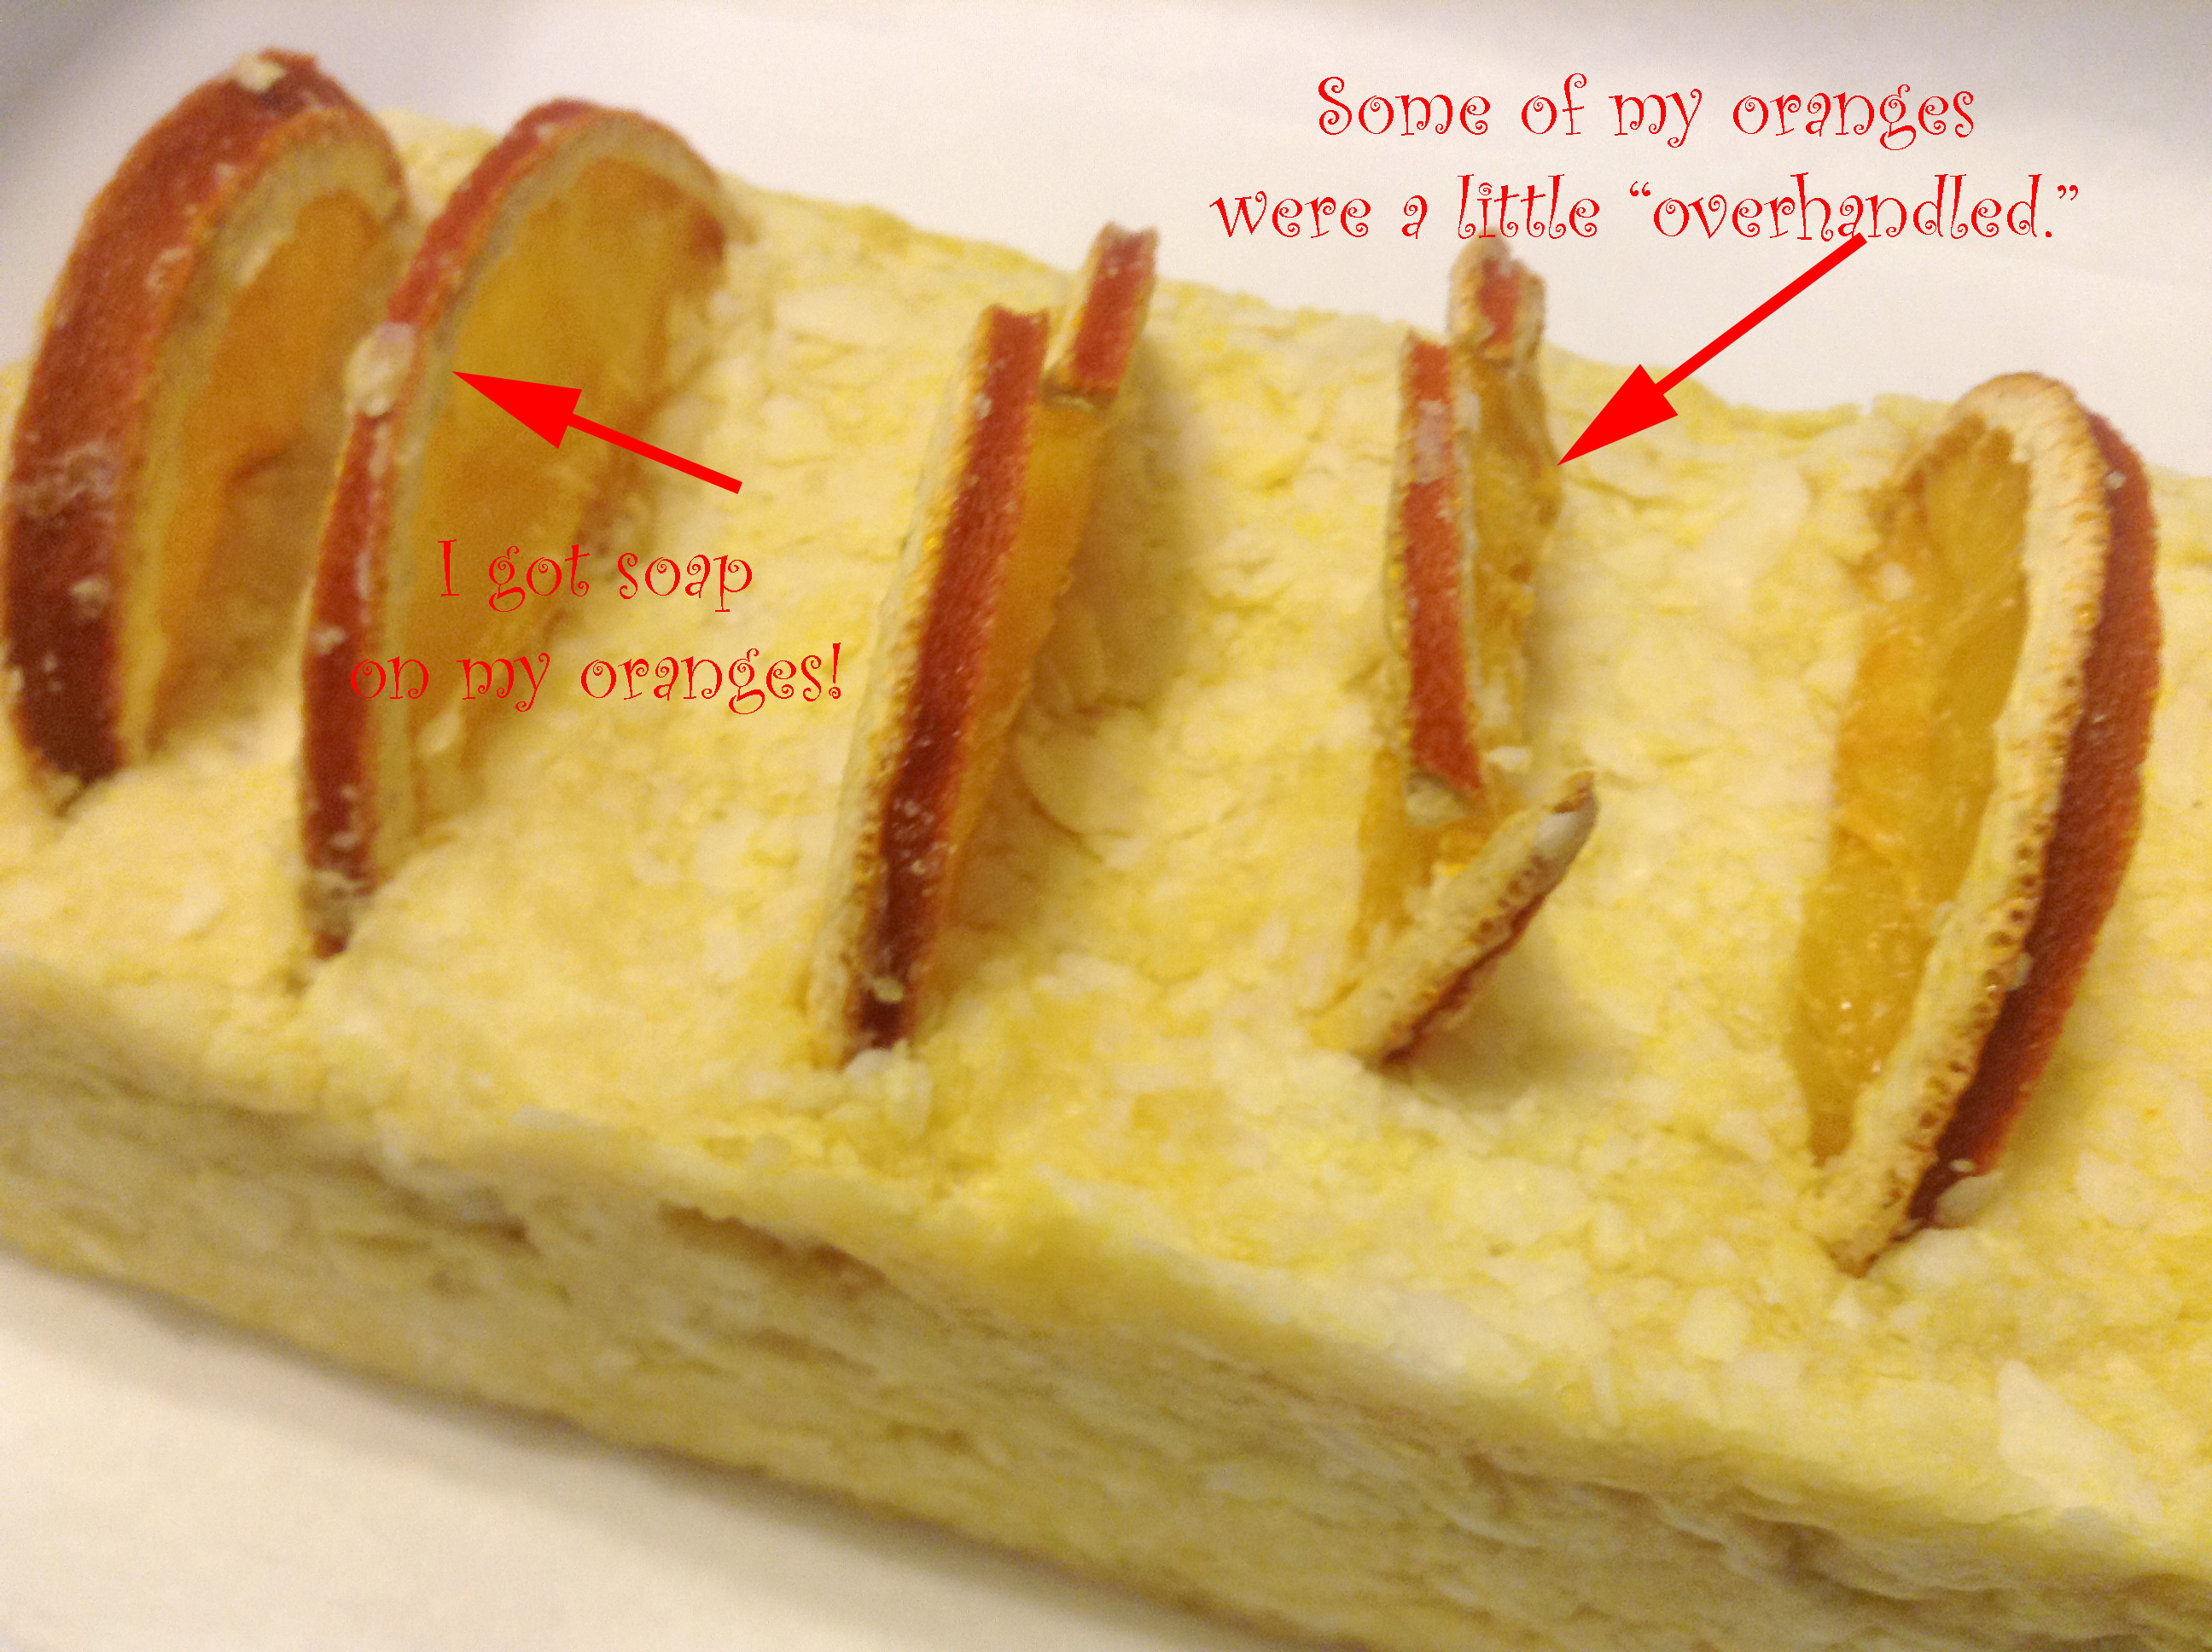
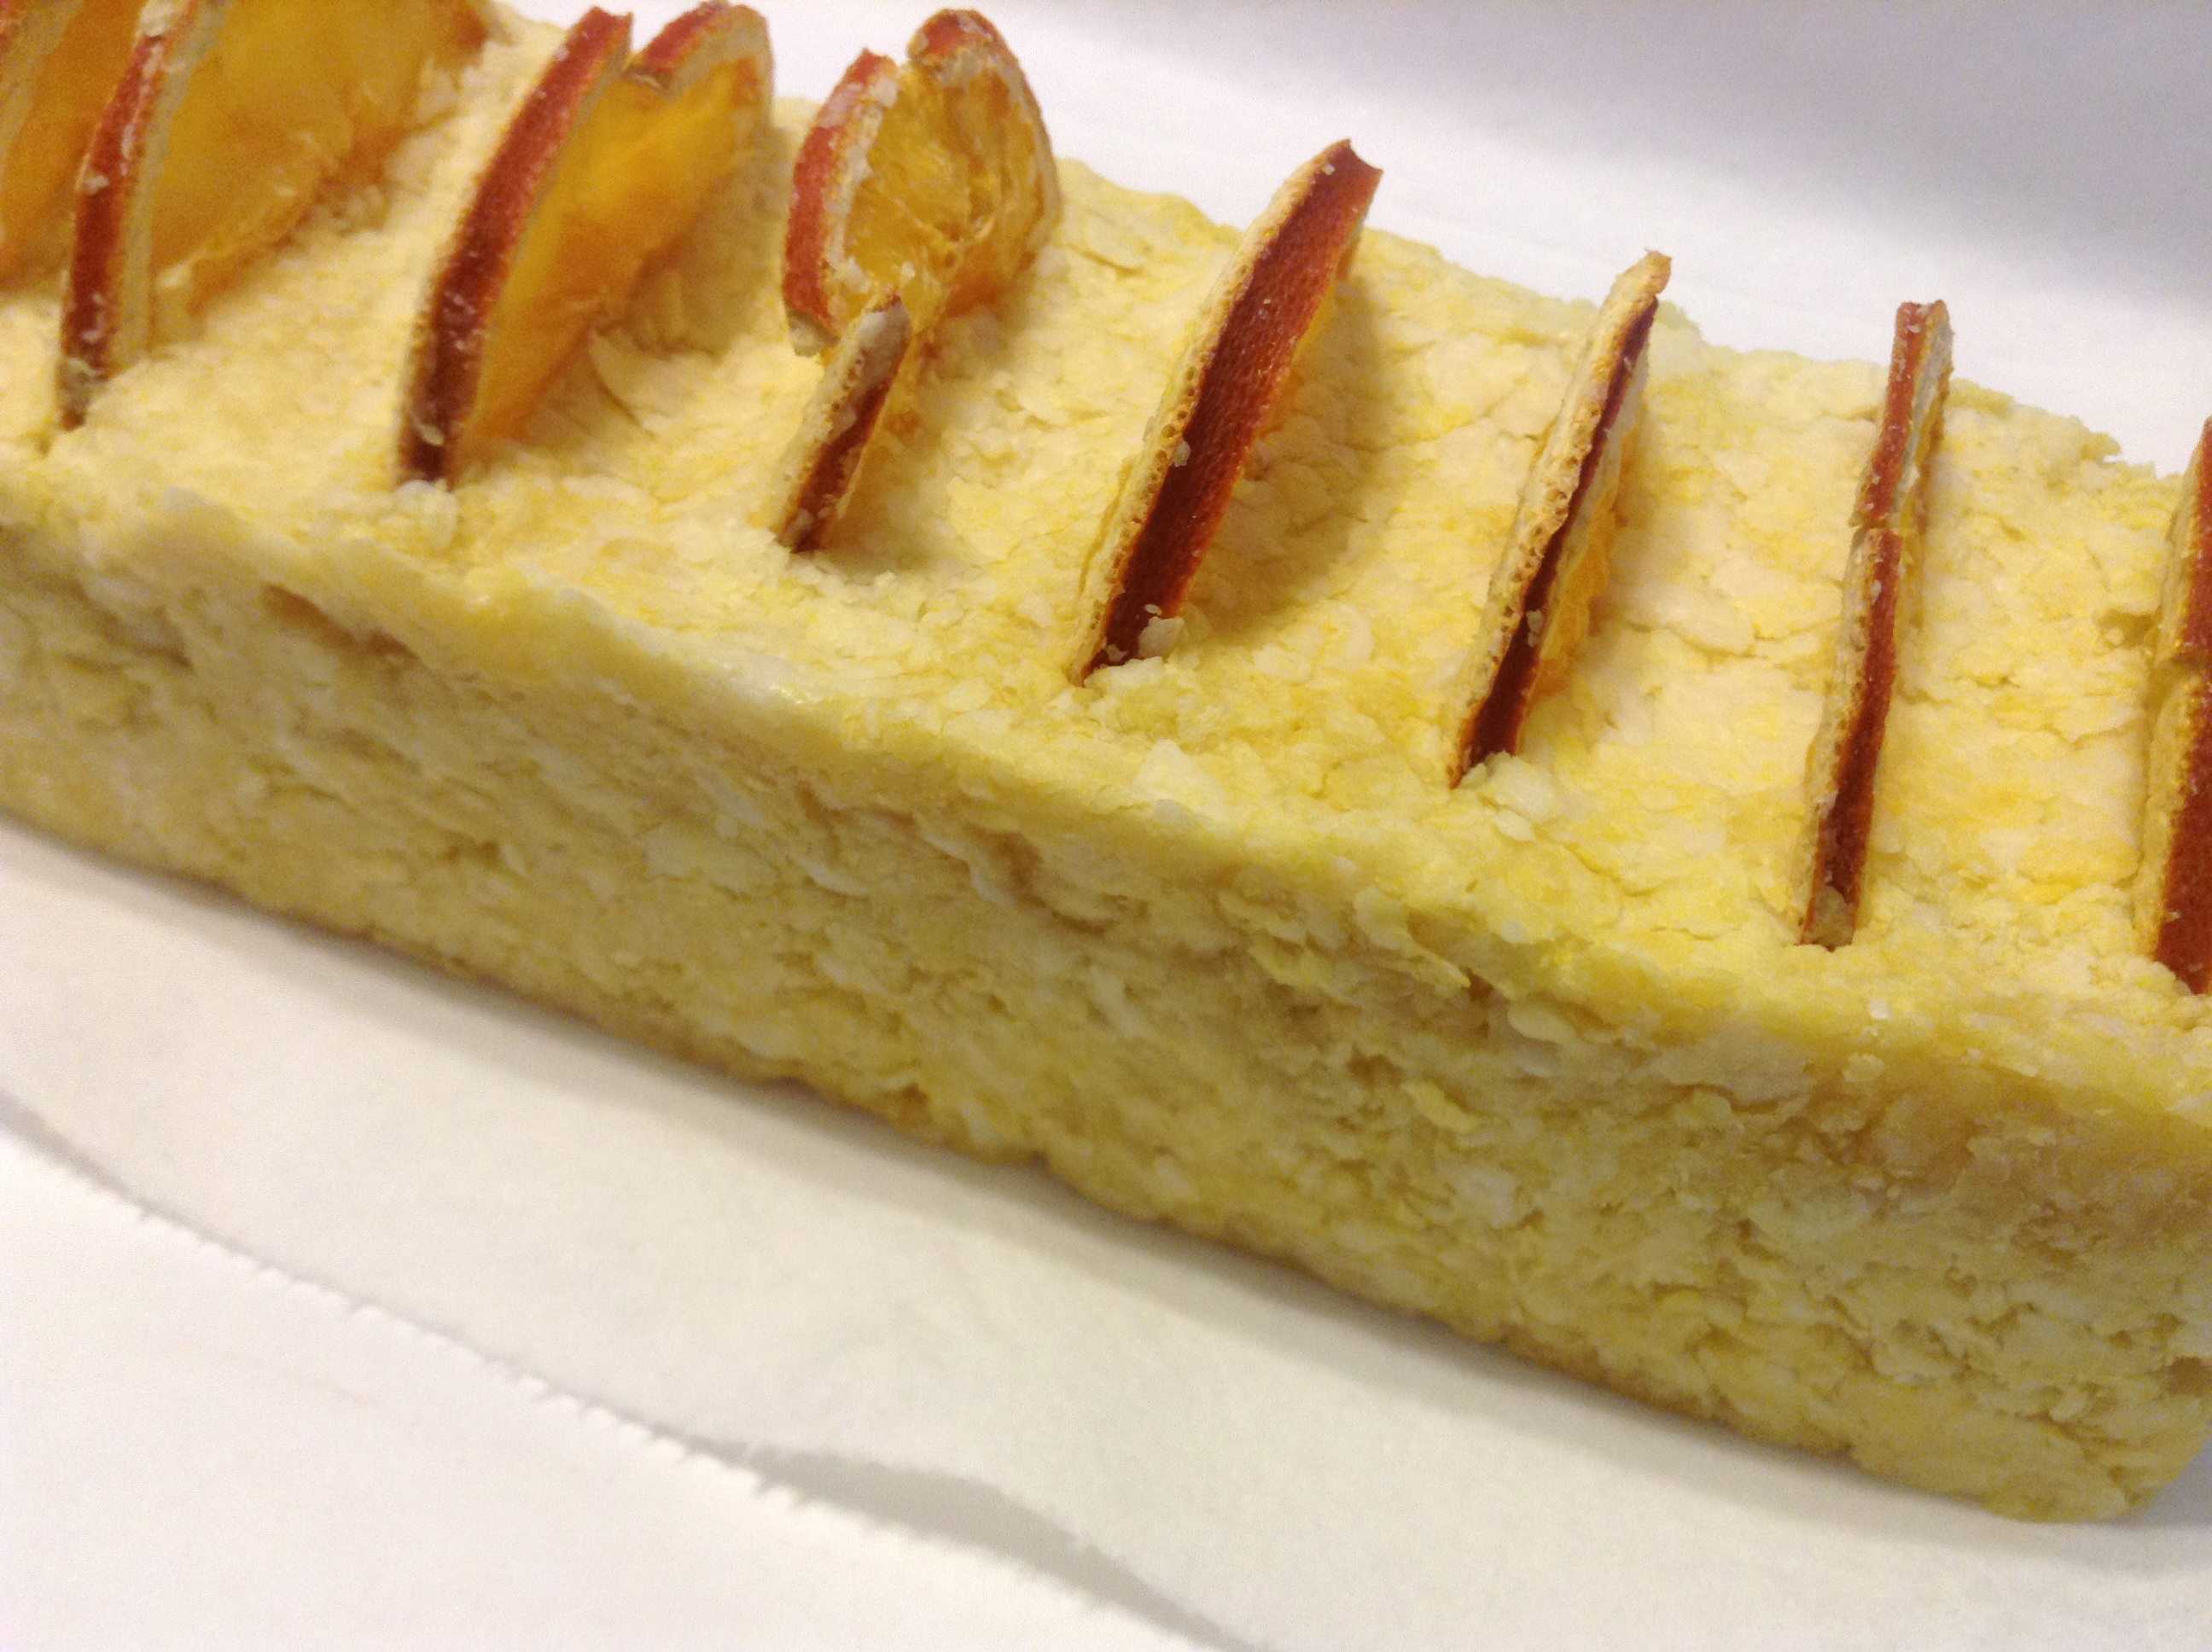
I first noticed the benefits of using cream in soap by accident. I made a batch of Creamy Coconut soap with coconut milk and cream.

Creamy Coconut

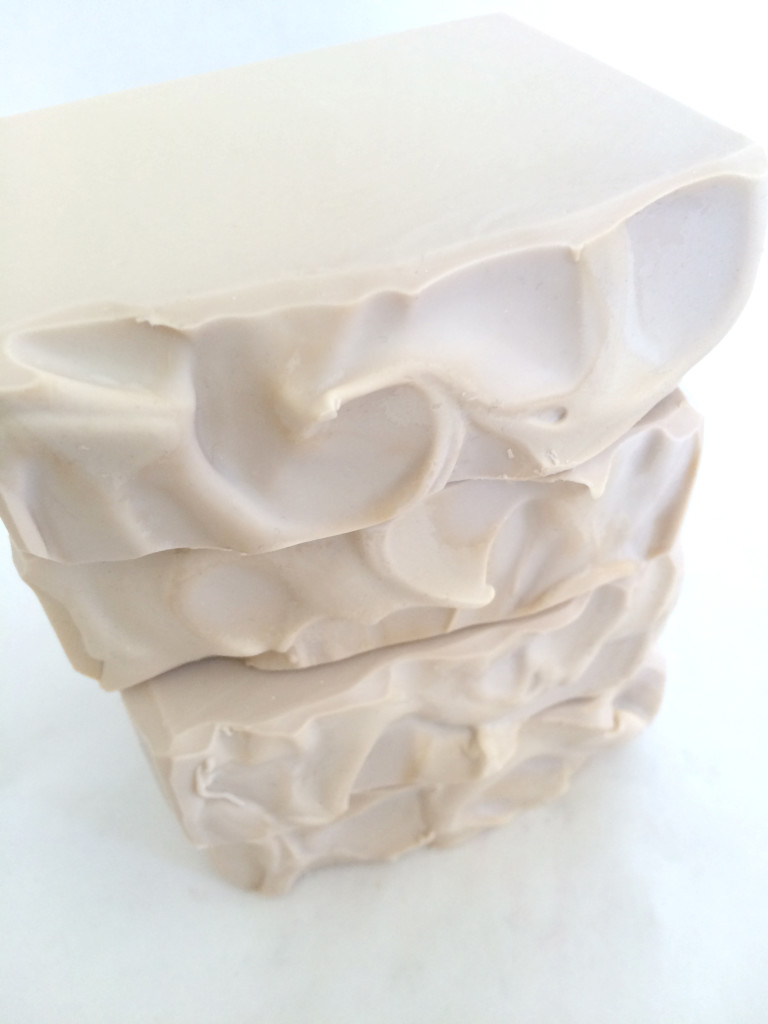
I mainly added the cream because I felt it would be in keeping with the name of the soap to have both real coconut milk and real cream in it. When I used it in the shower, I noticed how smooth the bars felt. If you can believe it, I didn’t immediately realize this smoothness was because of the cream. I thought it might have been the coconut milk.

I started noticing that other soapmakers used cream in their soaps, and when I ordered soaps from these soapmakers, I noticed how smooth their bars were. At first, I wasn’t sure why their soaps were so much smoother than mine either because there are so many variables—oil recipes, other additives, and the like. But eventually I realized it was the cream in the soap that added smoothness. I have used cream in almost all of the soaps I have made since that discovery (I typically do not use it in milk soaps, with the exception of Creamy Coconut).

In addition to smoothness, cream adds some of the same benefits as other milks in soap—extra conditioning being the main benefit imparted by heavy cream. I mainly enjoy the feel of soap with cream in it. It is definitely smoother than soap made just with water. It feels silky on the skin. I typically do not have to use much lotion at all because of the conditioning oils and butters in my soap, but I have noticed even less of a need to use lotion in those soaps made with cream.

Adding just a little bit of cream can add some great qualities to your soap. With my recipe of just 50 grams, I am adding 18 grams of fat, so my superfat percentage will not be drastically different from my calculation.

As usual, David Fisher has experimented with cream and shared his results. You can see what will happen if you add lye to cream in his tutorial. I personally have not found it necessary to freeze the cream I use in my own recipes. In addition, I have never noticed any discoloration as can happen when you use goat milk in place of water. I actually haven’t tried using just a small amount of liquid goat milk and adding it directly to the oils as I do with heavy cream, so you might find that solution works just as well for you.

Creamy Soap
Print Recipe
Make your own version of my creamy soap.
Servings Prep Time
1.4 pounds soap 1 hour
Servings Prep Time
1.4 pounds soap 1 hour
Creamy Soap
Print Recipe
Make your own version of my creamy soap.
Servings Prep Time
1.4 pounds soap 1 hour
Servings Prep Time
1.4 pounds soap 1 hour
Ingredients
Servings: pounds soap
Instructions
  1. Dissolve the lye in the distilled water and set aside to cool.
  2. Melt coconut oil and palm oil.
  3. Add olive oil and castor oil to melted hard oils.
  4. Add heavy cream to oils and blend.
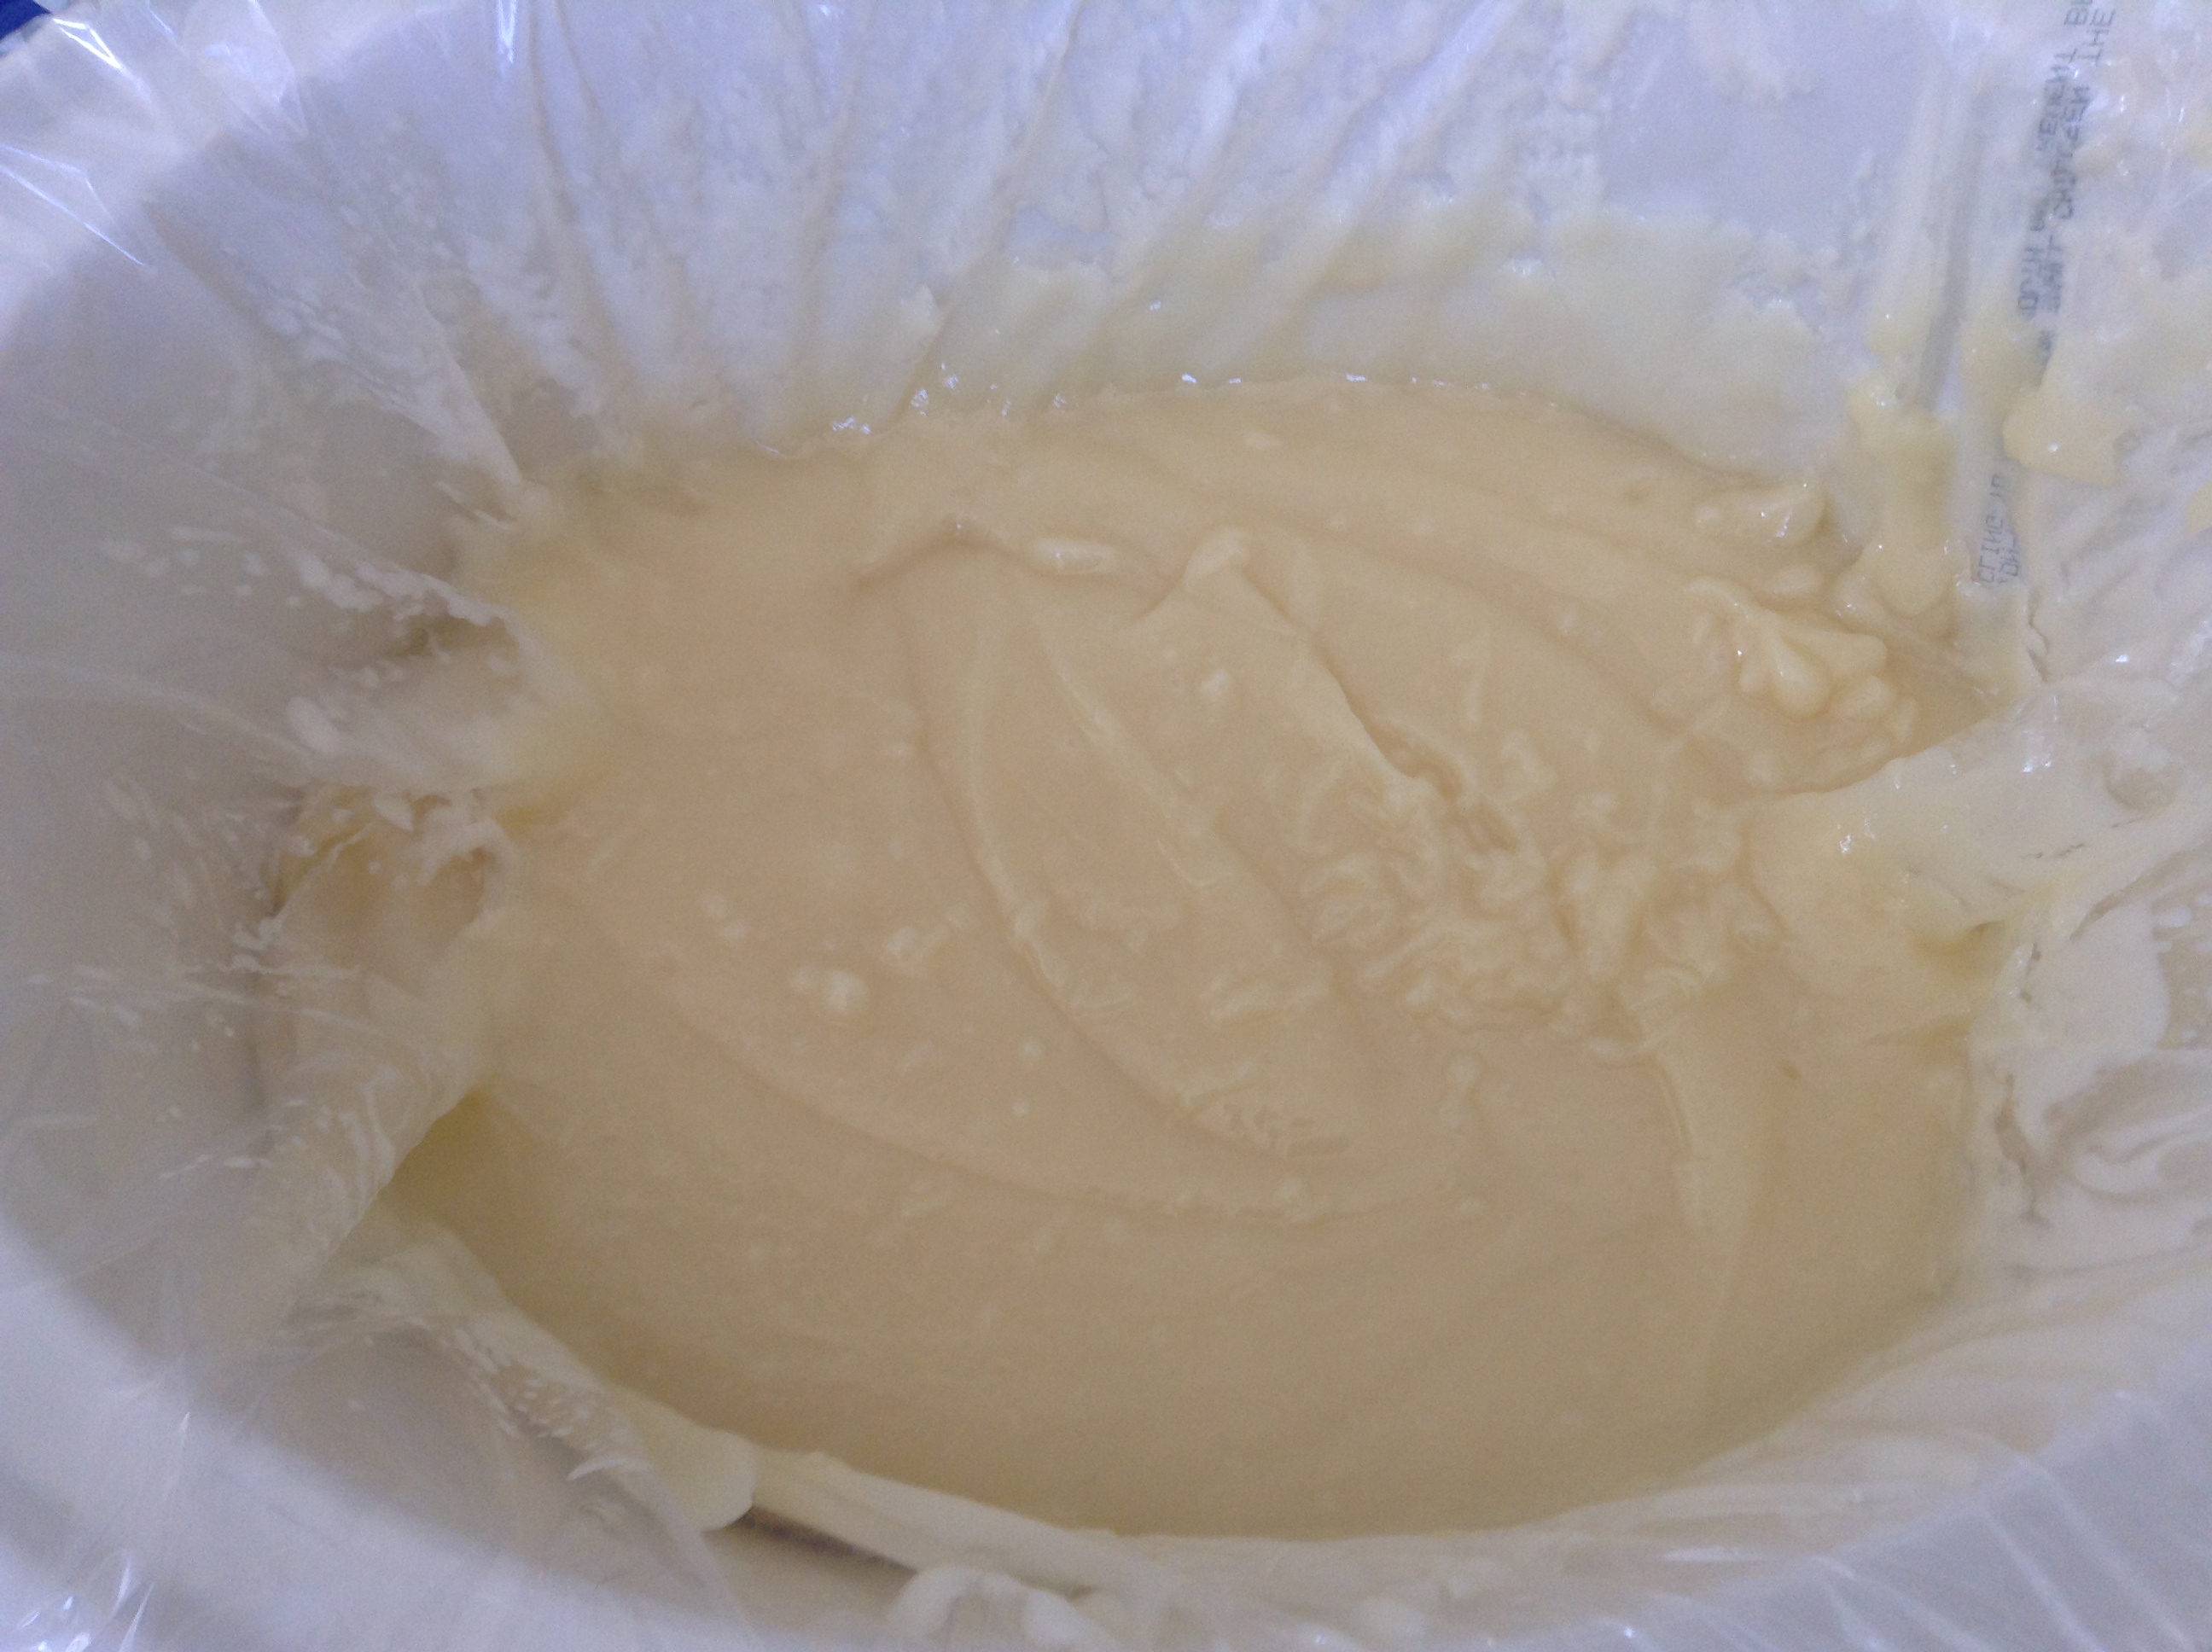
  5. Combine lye water with blended oils when both reach about 100ºF. The temperature doesn't need to be exact, but it should be close.
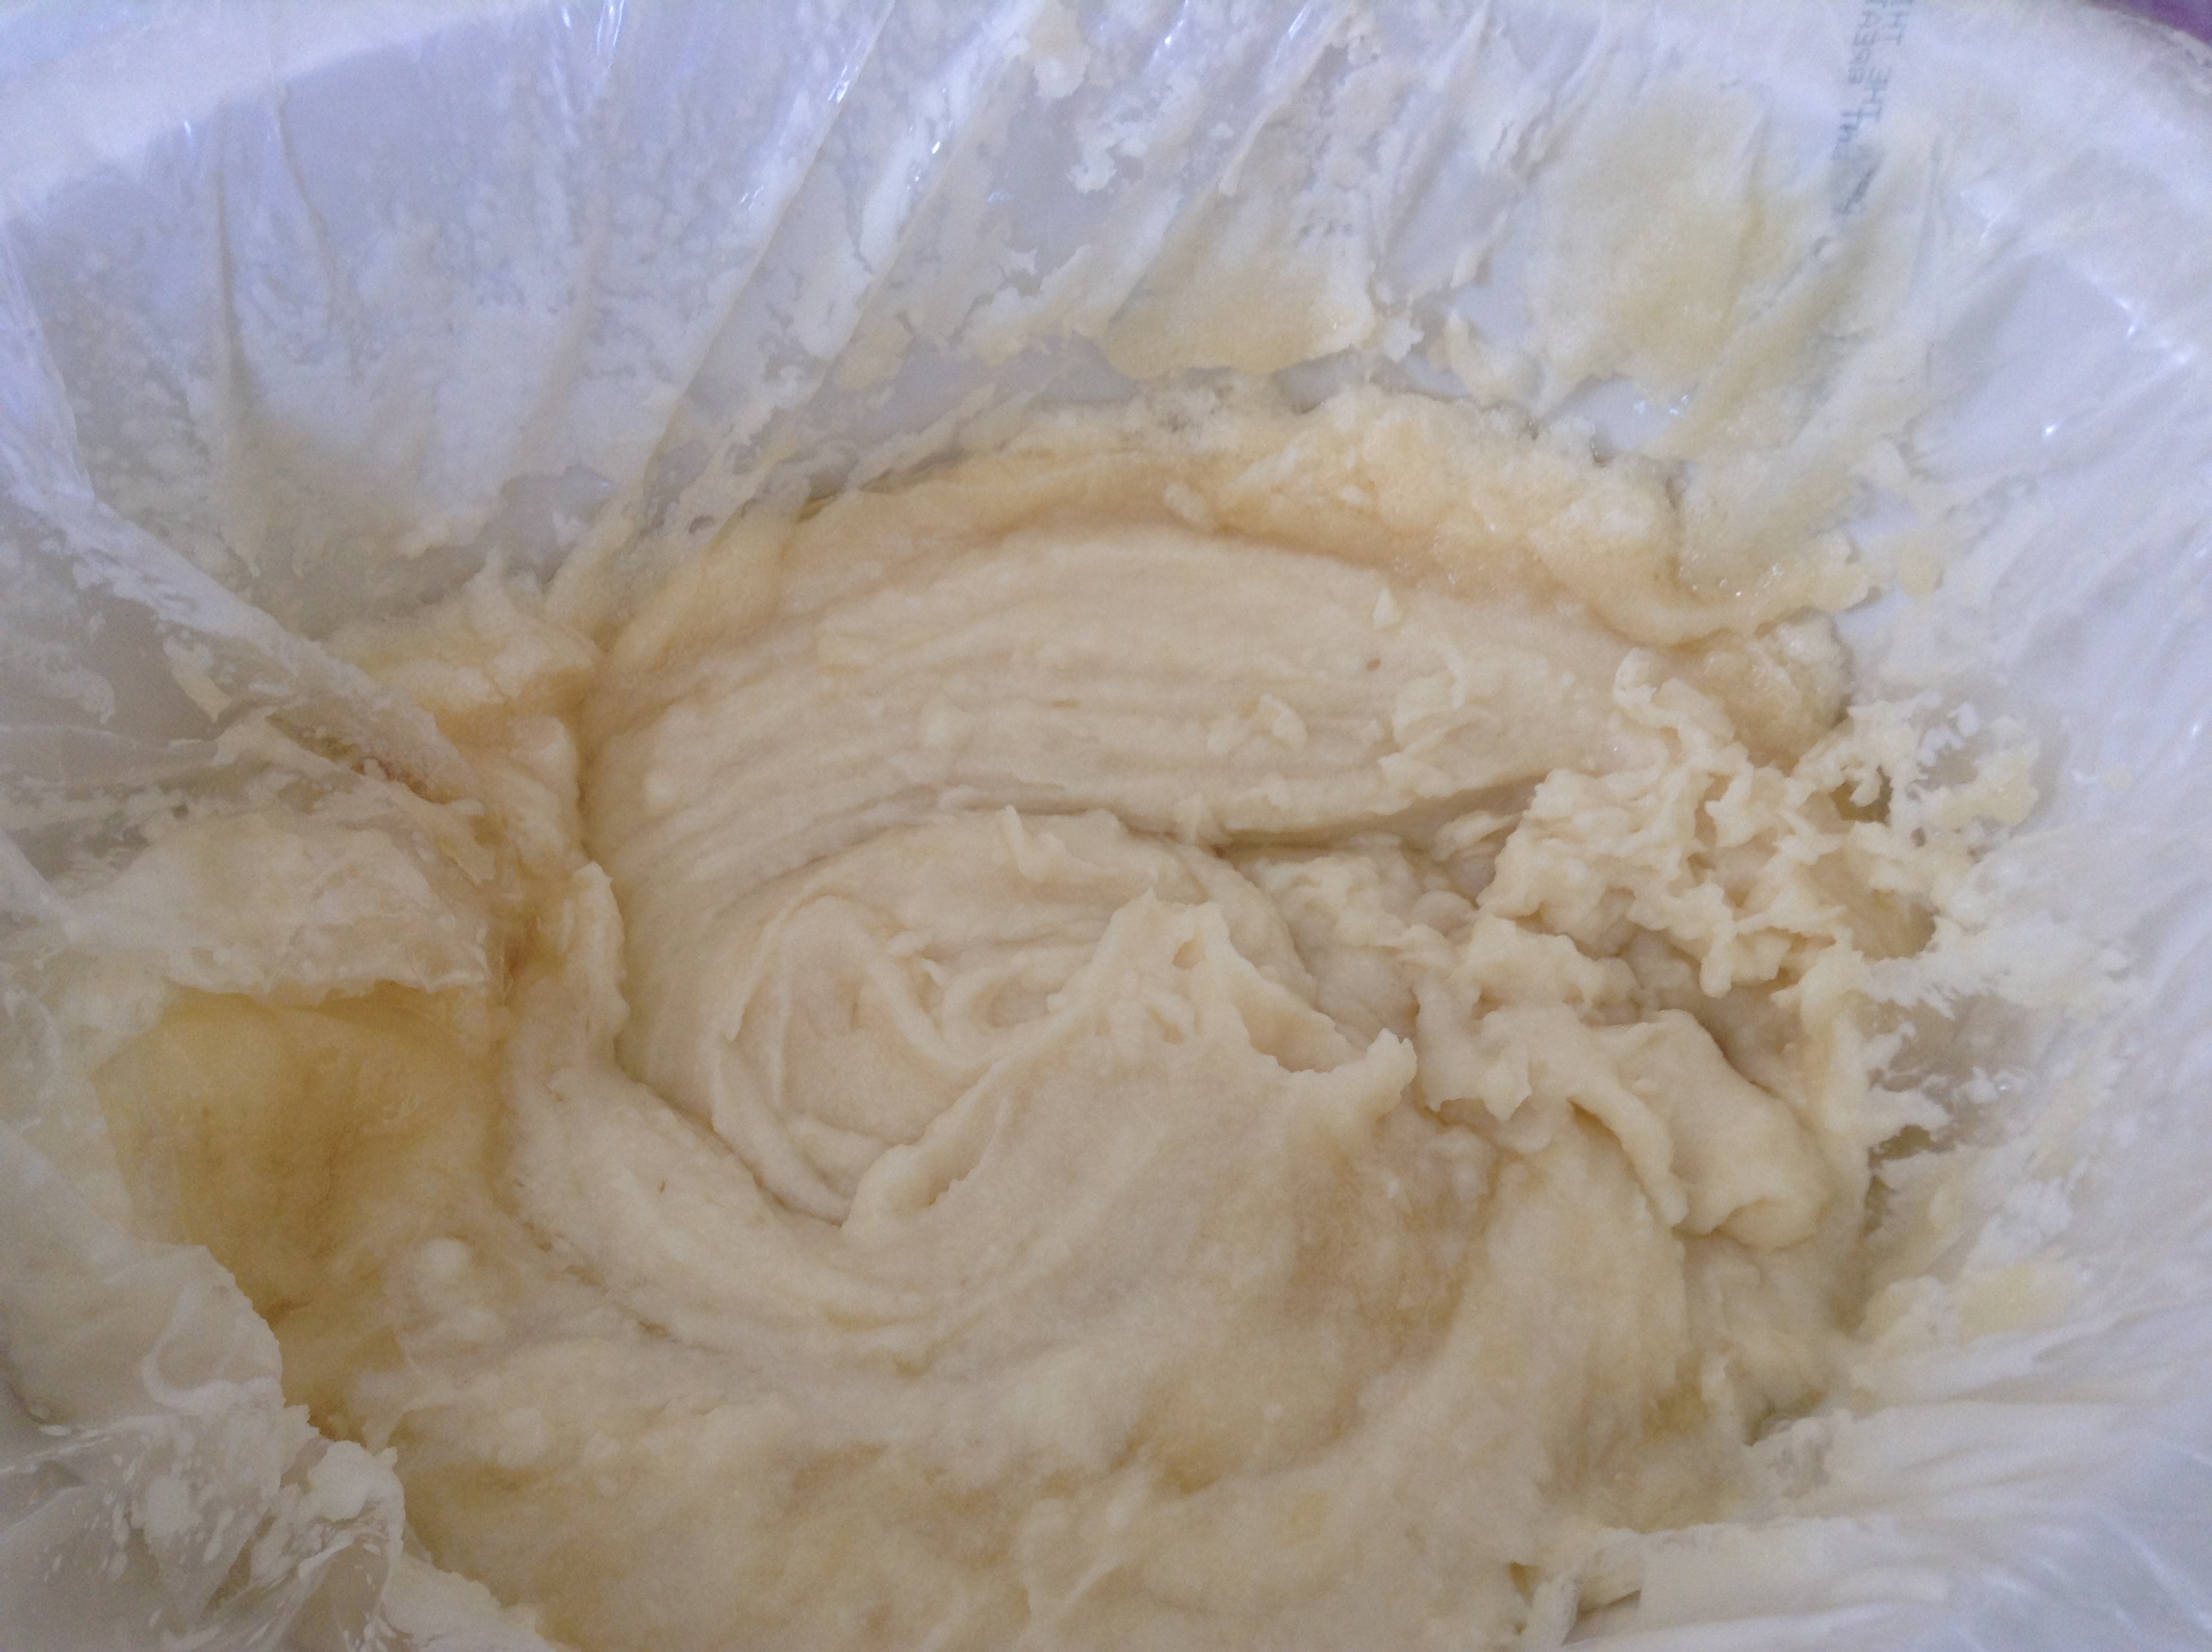
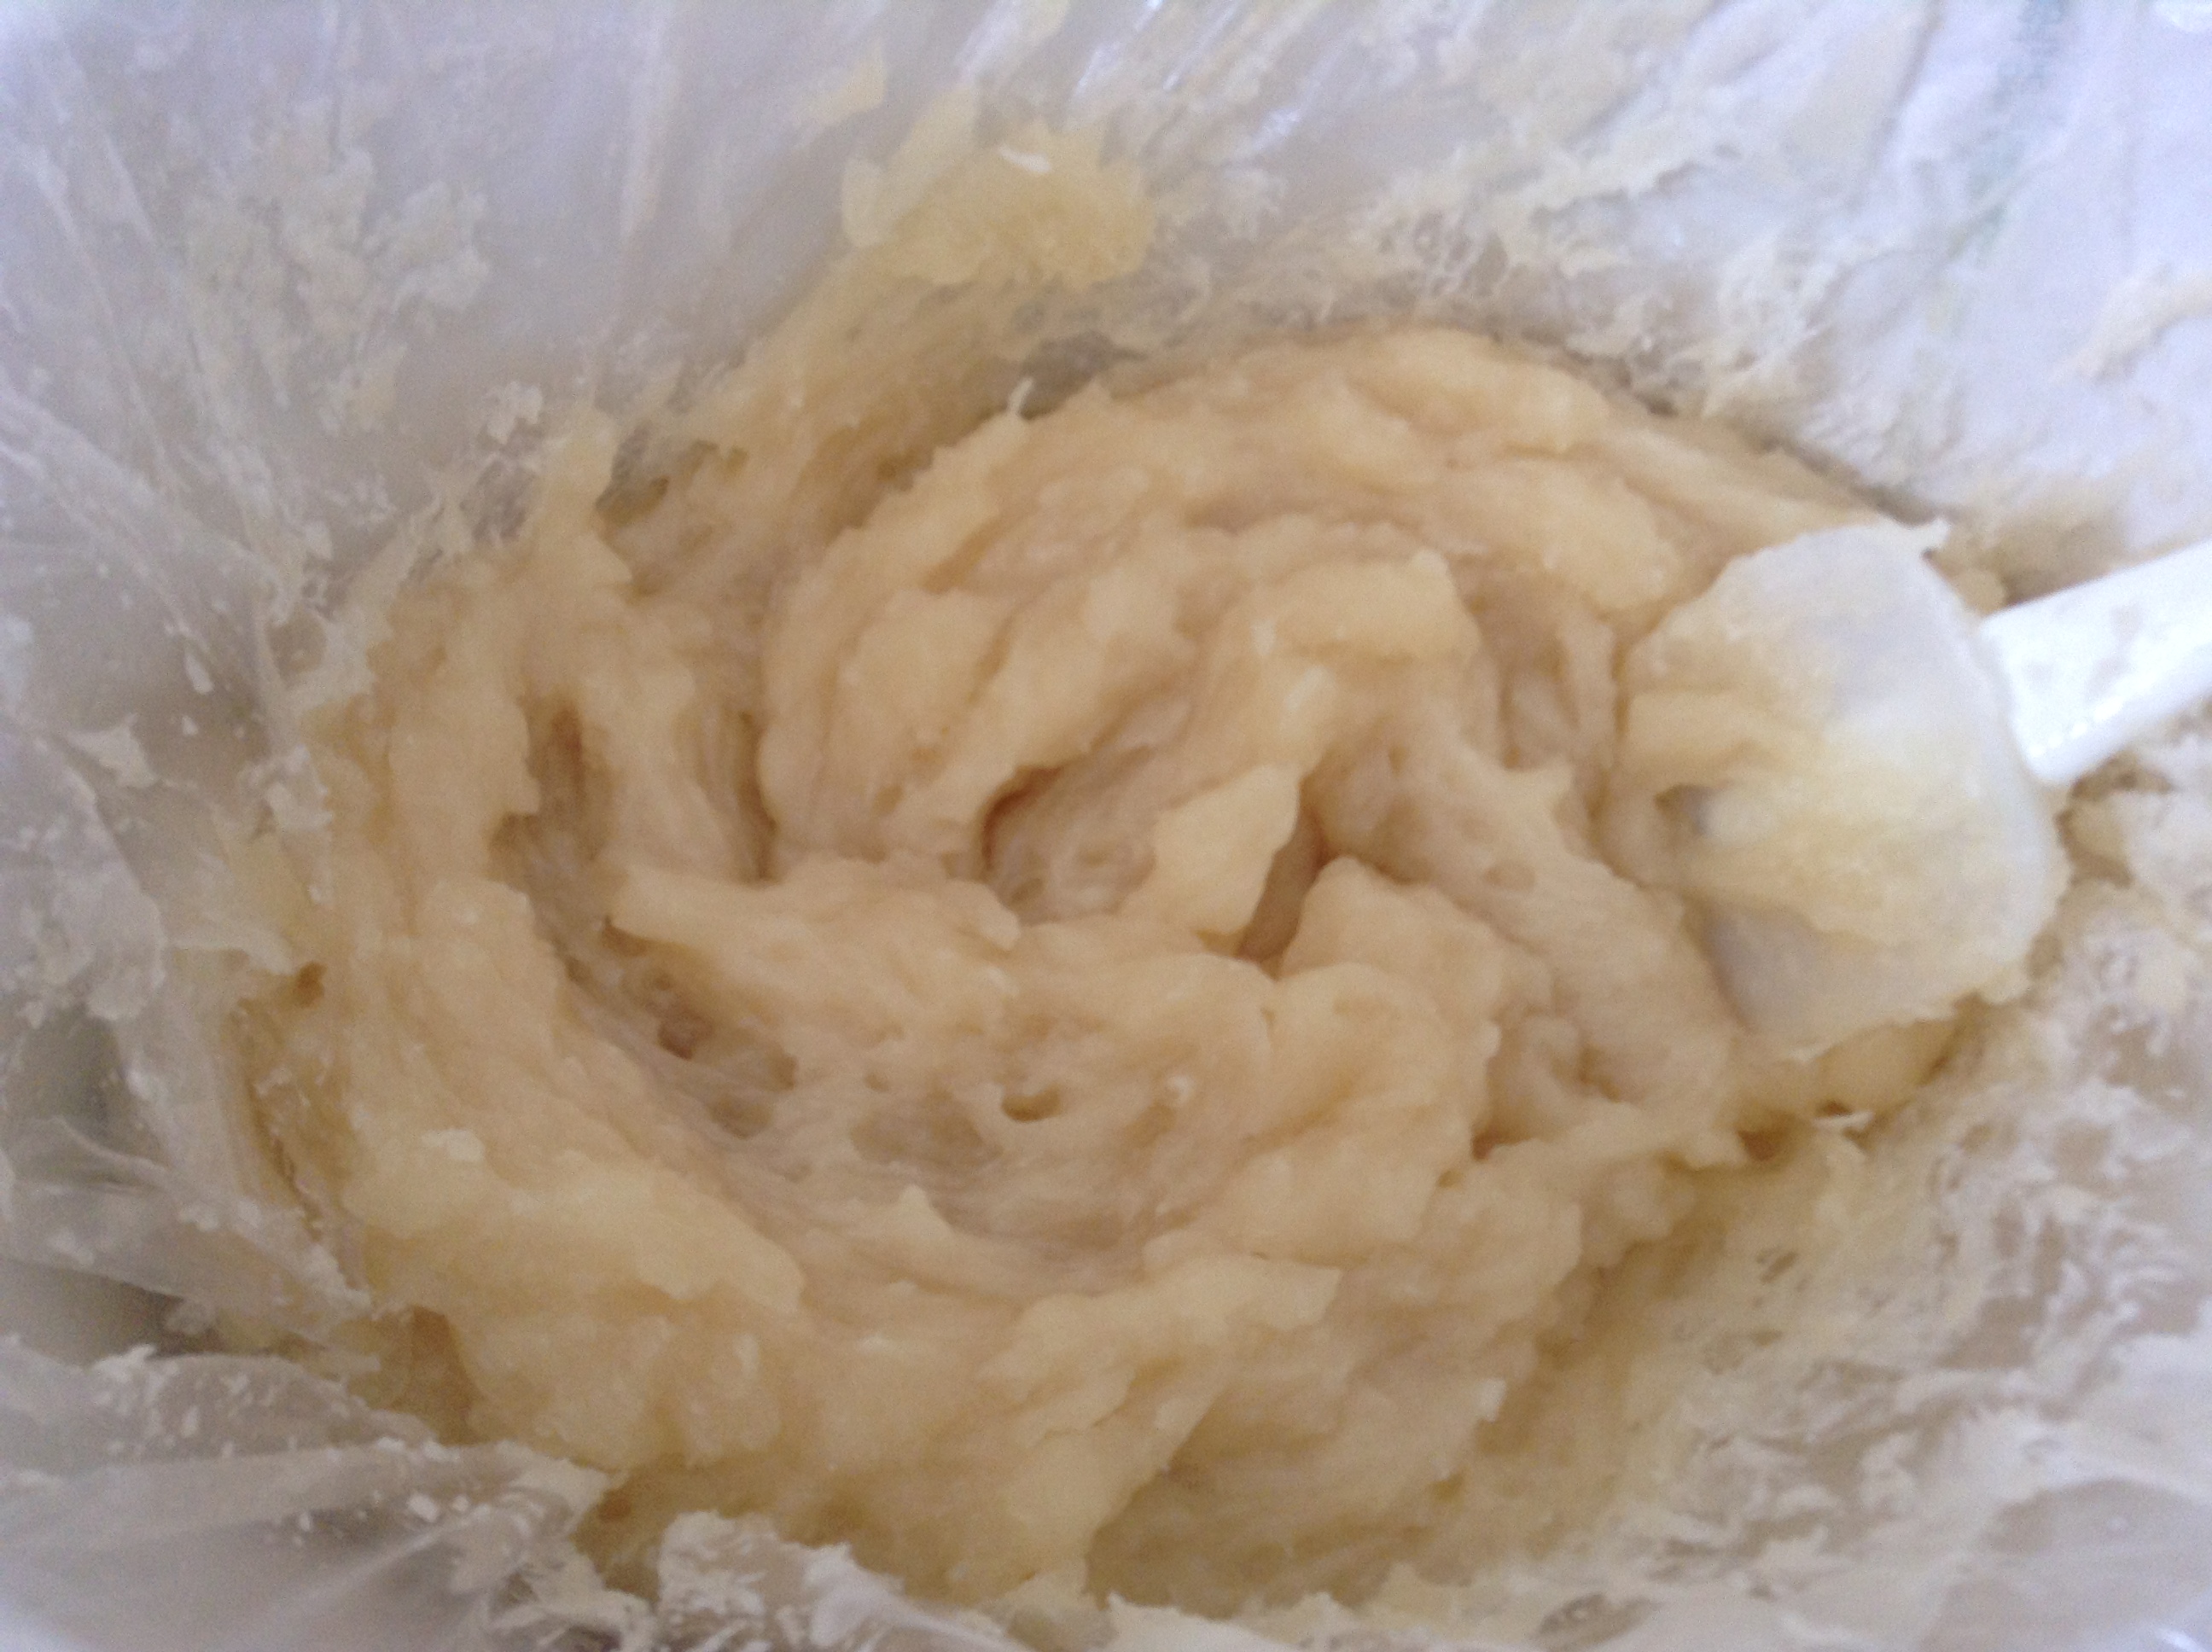
  6. Blend with stick blender until you reach trace.
  7. Add fragrance or essential oil and stir well until thoroughly combined.
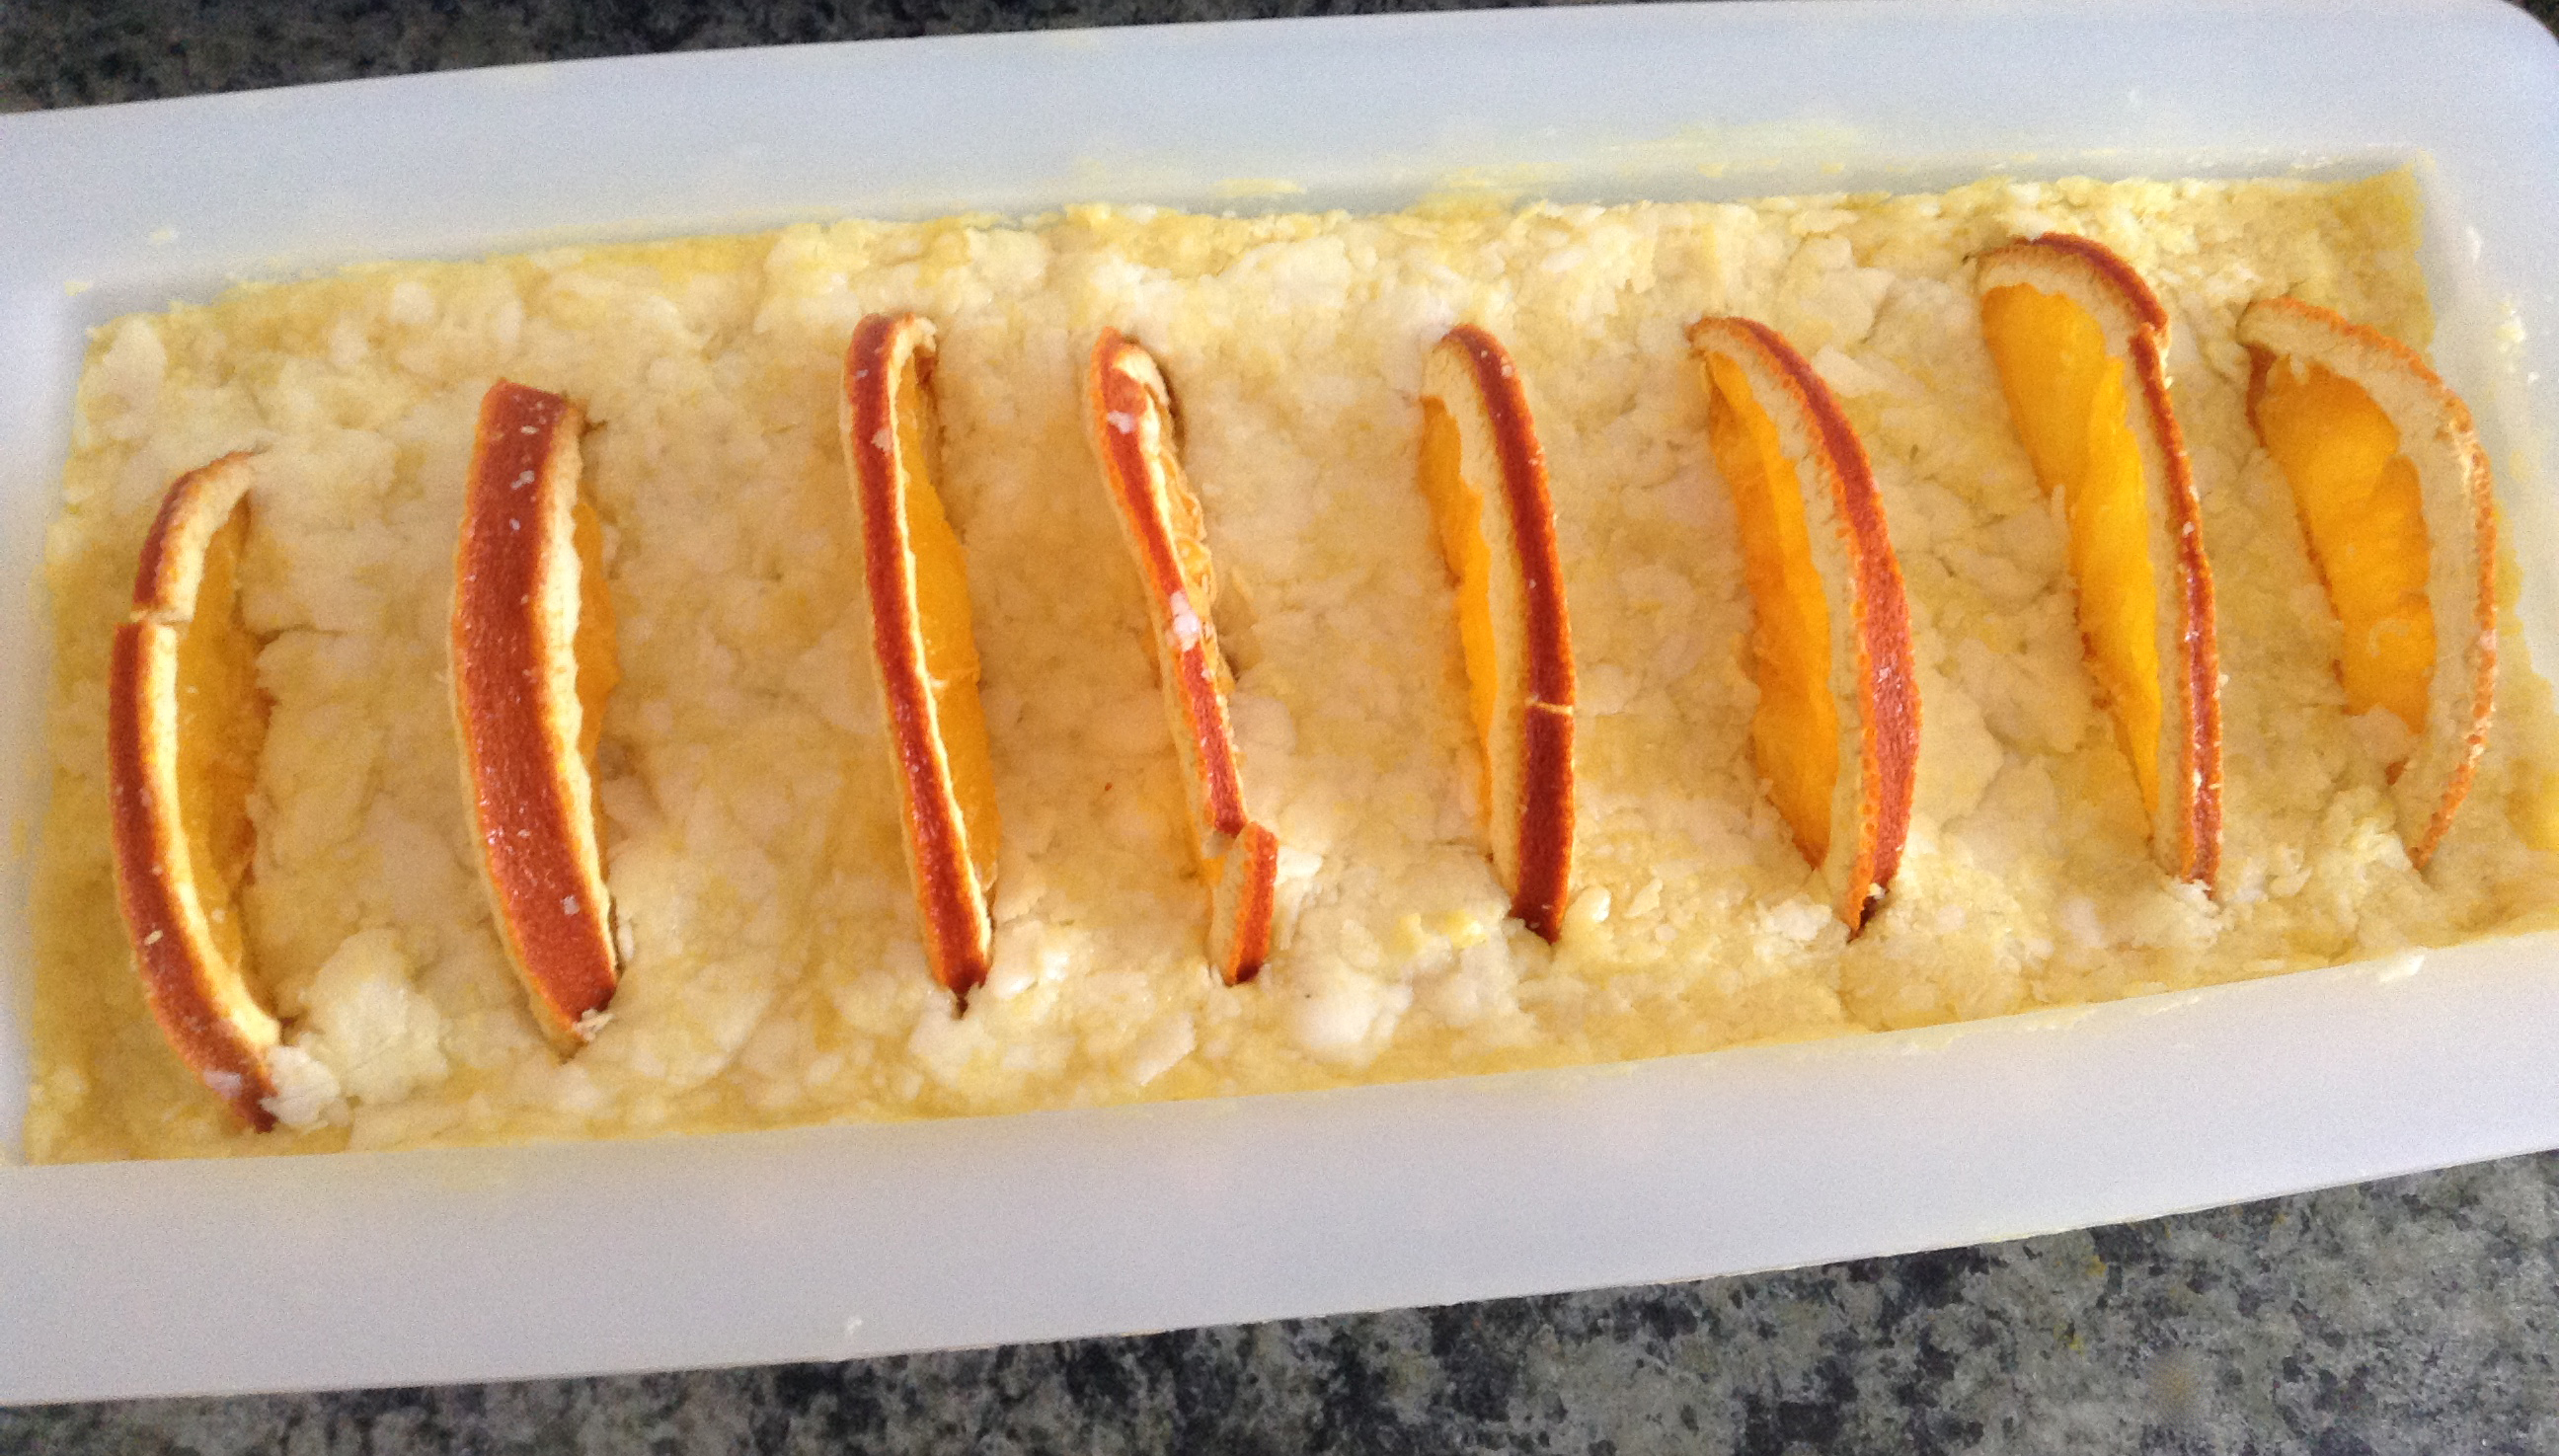
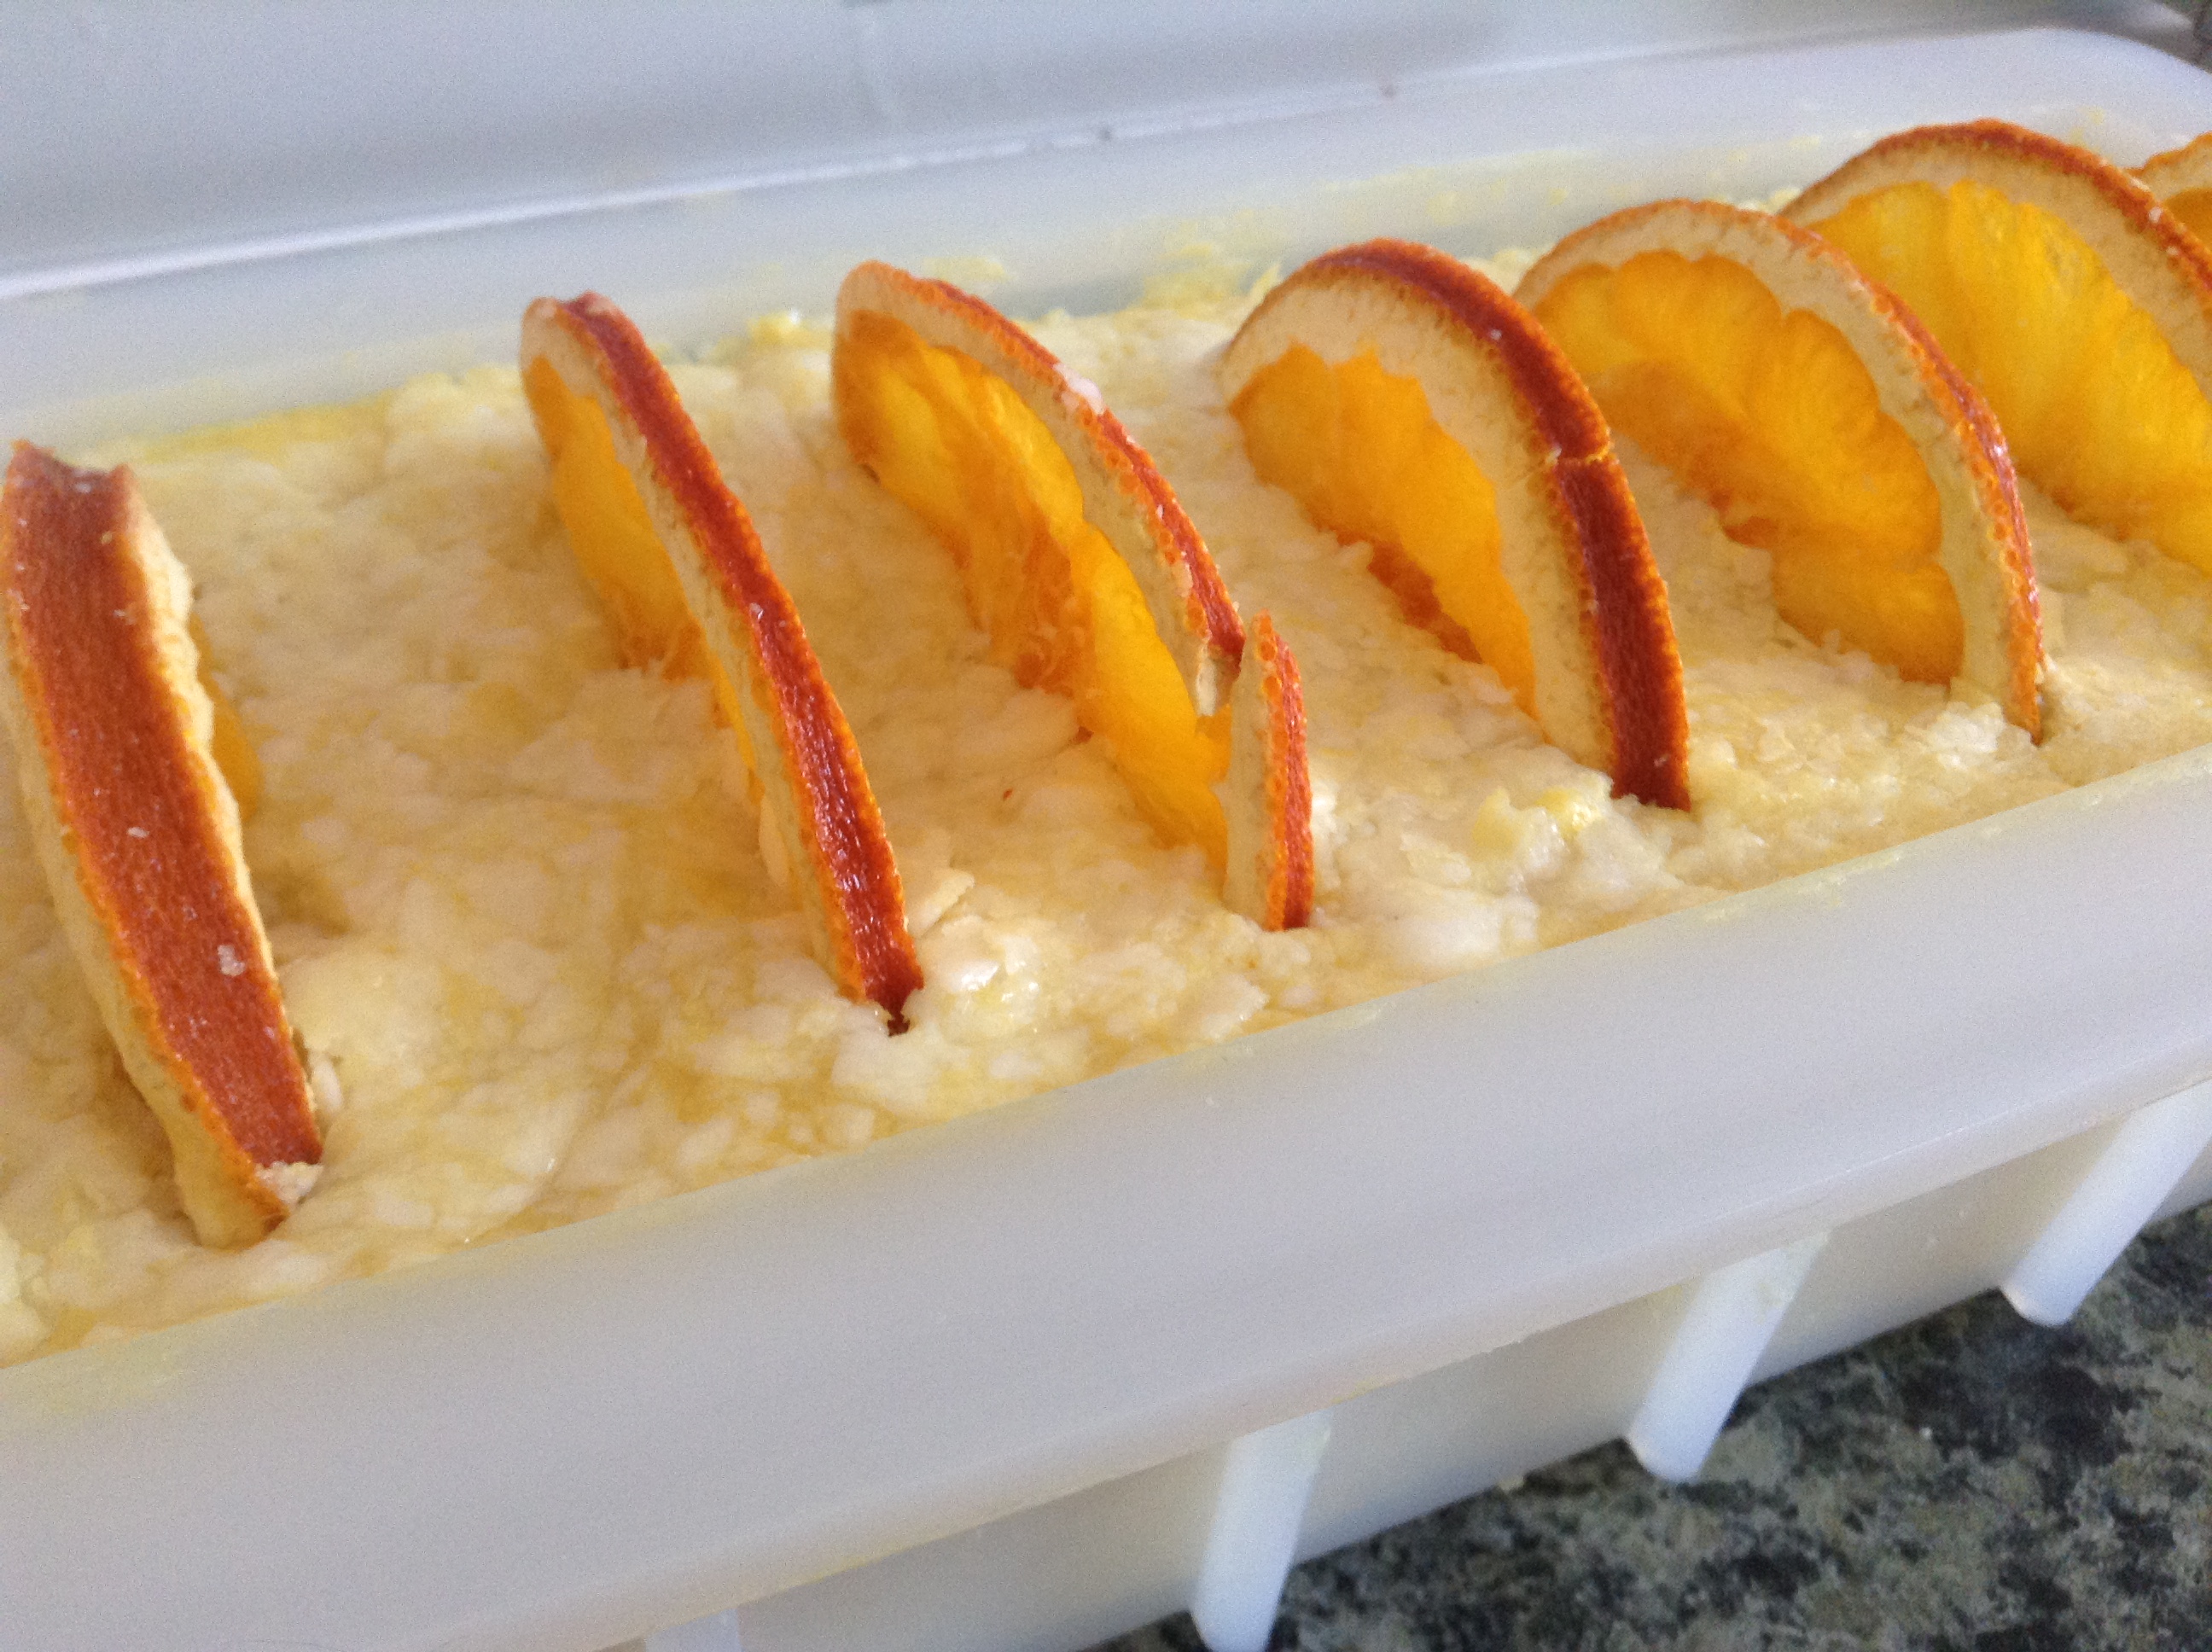
  8. Pour into a mold, cover mold with plastic wrap, and drape with towel. One pound of oils will make approximately 1.4 pounds of soap.
  9. Let soap go through gel phase and saponify for about one day before unmolding.
Recipe Notes

Note: you can substitute coconut milk, like I did, for the water simply by using 151 grams of frozen coconut milk and slowly adding the lye to the milk until the lye is dissolved. You can also use colorants. I have not had issues with this soap overheating or acting strangely in gel phase, but keep and eye on it, and remove some insulation if it appears to be getting too hot. Also, you can opt not to gel this soap and instead put it in the freezer overnight. The cream might make the soap heat up in the refrigerator, so it might need the additional chill of the freezer to prevent gel phase if you choose not to gel.

Share this Recipe
 
Powered byWP Ultimate Recipe

Hot Process Soap

I have very little experience with hot process soap, but I really wanted to give it a try. I think the rustic look of some hot process soaps is quite pretty. I had an idea for a soap, and I thought it might look better if it were hot process rather than cold process, so I decided to give it go.

First, my recipe:

  • 40% olive oil
  • 25% coconut oil
  • 25% palm oil
  • 5% castor oil.

This is my “test” recipe, which also has the advantage of being a good basic recipe.

I made up the lye mixture with full water and set it aside. Then I added the oils to the crock pot.

Oils

I grew really impatient waiting for them to melt. They probably took about 15 minutes to melt on high heat.

Then I added my lye. I thought I was being really smart lining my crock pot. I forgot about the stick blender blades. Still, very little of the soap leaked into the crock pot itself. Next time, I just won’t bother. After all, with hot process, the soap is fully saponified, so the lye is not going to be a problem. I didn’t add my fragrance to the soap while it was in the crock pot, so there was no danger of fragrance leeching into my food later.

I blended to light trace. It took maybe a few seconds. You can barely see the soap trails on the top.

Trace

Next, I stirred it a bit before letting it sit to cook. At this point, I turned the crock pot to low. Notice you can see a bit of the separation you are supposed to look for.

Thicker trace

I let it cook for a bit, perhaps 10 minutes, and when I came to check on it, it was thickening up quite a bit. At this state, it was maybe the texture of thick pudding or mashed potatoes.

Thickening up

I actually checked on it quite often. I was nervous about leaving it alone. I should have paid better attention to timing here, but since I was checking it so frequently, I really looked more for “signs” instead of watching the clock. I started to notice it was gelling near the edges, like it was supposed to do.

Gelling

So, I stirred it up, and the gelled soap combined with the soap in the middle looked more like applesauce.

Applesauce

I cooked it a bit longer, looking for signs it was turning fluffy. Sure enough, I started to see the fluffy stage.

FluffyThen when it started to pull away from the edges, I did a zap test. It wasn’t quite done yet, so I let it cook a bit longer and did a second zap test. This time, no zap.

Fully cookedI scooped the soap out of the crock pot and put it into a bowl. This is where I think I could use some advice from more experienced hot process soapmakers. I wanted to let the soap cool a bit so it didn’t burn off the delicate orange essential oil I wanted to use (though, to be fair, it was 10x orange oil).

I think I let it cool too much. I read at TeachSoap that it’s a good idea to add a bit of sunflower oil (or, I suppose another carrier oil) to help cool the soap and make it more pliable as I mix the fragrance. Do any of you do this? Does it work? Because I tried to wait until my soap was right around the flashpoint for orange essential oil, and I think it was too cool. I had some trouble getting it into the mold, which I understand is just part of the nature of hot process soap, but I am wondering if the oil would have helped. Any advice is appreciated.

I added the orange essential oil, and it was very hard to mix. My soap is going to have a really cool mottled look because I couldn’t get the oil to mix as thoroughly as I had planned.

Essential oilAfter I mixed the oil, I plopped it in the mold, and tried to stop fiddling with it, but I wasn’t successful.

In the moldAs you can see, I put some dried orange slices in the tops of the bars. Pretty!

Here is another view of the soap in the mold.

In the mold

Eventually, I quit fussing with it and let it set up. I unmolded it and decided to let it harden a bit more before I cut it. You can tell I fussed with it too much because I got soap all over my oranges. Boo! I decided to clean them off after I cut the soap. The pictures are a little darker because the light wasn’t as good by the evening when I took them.

Unmolded

Here is another view of the soap loaf with the manhandled (womanhandled?) oranges in clear view.

Soap loaf

I am really digging the mottled look. It made me wonder if this is how Gossage’s soap got its famous “mottled” look. I know they experimented with adding colorants, but I couldn’t find out if their manufacturing process was hot process or not. I can’t find a picture of Gossage’s soap (just the packaging), so I’m not really sure what it looked like.

After the soap was cooled, I cut it as I normally do with my soap log cutter. Here are the results.

Finished Soap

I am thinking of calling it Sunrise. I am not sure if I will sell it or if I will just give these away. However, I am giving one bar away here. Just follow the instructions to enter. Good luck!

a Rafflecopter giveaway

Do the Numbers Matter?

Screen Shot of Soaping ValuesThere seems to be some debate in soap making as to whether or not the “numbers” matter. When I use the term “numbers,” I speak of the range of suggested values as you see in the image above: bar hardness, cleansing ability, conditioning quality, bubbly lather, creamy lather, iodine number, and INS number.

A hard bar of soap is generally preferred because it will last longer. All soap is cleansing, but some feel that soaps with a higher cleansing value can be more drying, while others may want a more cleansing soap for certain purposes. Soapers generally want their soaps to be conditioning, which makes them gentle. Bubbly and/or creamy lather is desired because it makes it easier to create lather. The iodine number can give soapers an indication of the bar hardness (lower number) and softness (higher number) as well as the bar’s conditioning quality (higher number). The INS number is believed to predict at a glance many of the other bar properties of hardness, cleansing, conditioning, and lather. The ideal INS number is supposedly 160.

But do these numbers really matter? There is some debate among soap makers as to their value. Two different perspectives from two respected soapers, for example, are Anne-Marie Faiola and Jasche Homemade Soap (dead link removed). Neither recommends that you either adhere completely to the INS calculation or deviate entirely from it in formulating your recipes. In fact, both posts I linked advocate a common-sense, test-it-yourself and see-what-works-for-you approach to using the INS numbers.

On the other hand, I have found looking at the numbers to be helpful in creating my own recipes. most of which have an INS in the range of 140-160. My own experience has been that soaping in the 140-155 has been my personal sweet spot in terms of all the qualities I want in soap. I think the INS number is an excellent guide for soapers creating their first recipes, but I also think it’s a good idea to experiment and research what oils actually do. Anne-Marie has just recently published a great guide to soaping oils. I plan to import the handy PDF she shared in that post into my Evernote soaping notebook.

Recently, when I was formulating a recipe for a dry/sensitive/mature skin facial soap, I did a great deal of research into the different properties of oils and other additives. Because I do not have dry skin or even very sensitive skin, I asked several testers to try it out and let me know what they thought about it. The feedback was generally quite positive. However, if I had gone by the numbers alone, I might have been discouraged from even attempting the soap:

Lavender Chamomile Facial Soap NumbersAs you can see, the hardness number is on the very bottom of the suggested range. And yet, the bar feels quite hard, possibly due to the unique quality of the olive oil I used, which though it has a low hardness value, actually produces quite a hard soap if given a longer cure. The cleansing value of 10 is off the chart, which may be desirable in a soap for dry or mature skin. The conditioning value of 67 is near the top of the range, which is also good for dry/mature/sensitive skin. The bubbly and creamy values are within the suggested range. However, the iodine is much higher than suggested, and the INS number is much lower than suggested. If I had formulated this recipe early on in my soap making adventures, I might have discarded it as having an INS that was too low, but I know this is a good soap now that I can read the numbers more critically. Rather than paying attention primarily to the INS number, I tend to look at the ranges for hardness, cleansing, conditioning, bubbliness, and creaminess and experiment with oils in my recipe until these numbers fall in the ranges I am looking for—which may not always be, as you can see, the suggested ranges.

So do the numbers matter? Frustratingly, the only answer I can provide is both yes and no. I think it depends on your level of experience in creating recipes and your goals for your resulting soap. I think soap makers who completely ignore the numbers possibly do so to their detriment, but I think soap makers who adhere to the numbers slavishly may also be missing opportunities to create wonderful soap that doesn’t fall within the suggested ranges.

If you are a soap maker, what are your thoughts about the numbers? Do you use them? How? Do you discard them completely? Why? I would love to hear your thoughts in the comments.

Making Milk Soaps

Milk via FreeFoto.comAfter making a few milk-based soaps, even considering some spectacular failures and the extra work involved, I have come to the conclusion that I really enjoy making milk soap.

Earlier this week, I made a yogurt-based soap using a recipe in Anne L. Watson’s Milk Soapmaking. The yogurt feels great, but I tried to control the heat (possibly unnecessarily) by putting it in the freezer, and it partially gelled, leaving an oval ring in the middle of each bar. I am not sure what to do with it now. I might cut it up and incorporate it other soaps. It did turn out a pretty yellow color naturally just because I added some lemon zest. It might be nice as a confetti in another soap. My point (and I do have one) is that I really enjoyed making the soap. Today I made another batch of my chocolate milk soap, and I enjoyed making that, too.

I think one of the reasons I enjoy making milk-based soap is that it’s just a bit more challenging. The milk really seems to behave better with the lye if it’s frozen first. Adding the lye slowly also helps. I usually add a bit of lye, stir it completely, and then add a bit more, repeating these steps until all the lye is dissolved. It can take 15 minutes or more, but while I’m doing it, I feel so relaxed and peaceful, but also focused. I find this extra step in making soap enjoyable, particularly when the results are good. I’m looking forward to trying new milk-based soaps and refining the technique of making milk soaps.

Smart Soapmaking and Milk Soapmaking


At this point, I’ve read several good books about making soap. I have to put Anne L. Watson’s Smart Soapmaking and Milk Soapmaking at the top of the pile. Both of these books are practical, no-nonsense books that should get any beginner on way to making soap. Both books include several tried and tested recipes that are easy for beginners. Most soap-making books just include one basic recipe with variations. Those books can be nice, but they’re not very helpful for beginners who want to try different combinations of oils to see what will happen. Another extremely useful feature of Watson’s books are her myth-debunking sections. For instance, Watson shares that it isn’t necessary for your soap to reach trace before you pour it into your mold. I have been struggling with swirling for this very reason—I’ve been trying to get all my colors to trace. Another great myth she debunks is that the lye and oils have to be the same temperature before they mix. I had never tried too hard to make sure my oils were at 100° when my lye reached 100°, but so much I had read insisted this step was critical to the point of instructing soapers to have hot water and cool water baths to help reach equilibrium. My soap was turning out fine, so I couldn’t figure it out. I will say that it does seem to be easier to soap if the temperatures are close together, but it’s nonsense that they have to be exactly the same. Watson recommends a range of about 20°F, and that seems right to me.

I purchased these books after eying them for some time mainly because I had been having so much trouble with my milk soaps. I made a goat milk bastile that has some lighter spots that look like oil (they are not lye spots), and I don’t know how it happened. I made another goat milk soap that turned into a huge mess. The last soap I made with cream appears to be getting DOS and went through a partial gel. I successfully made soap with cow milk, so I couldn’t figure out what I was doing wrong, and I decided perhaps these books could help me. Watson breaks down milk soap making into two major categories: the cool technique and the warm technique. The cool technique begins with frozen milk, while the warm technique begins with powdered milk. She includes milk-based recipes I had not even thought of, including yogurt, sour cream, and butter.

After purchasing a digital thermometer I call my “temperature gun,” I have come to believe most of the milk soap issues I’m having are temperature-related. I think I’ve been soaping too hot. I have noticed that it seems to be taking longer than usual for my lye to reach 100°. In actuality, I think my thermometer hasn’t been accurate. I have been rigging it to the side of the lye bowl to keep it from falling in, and I think the temperature around the edges is cooler. As a result, I do believe I have been soaping too hot with the milk. I made two batches of soap using the temperature gun to keep an eye on the lye mixture, and both soaped up very nicely. Now that I’ve read Watson’s books and purchased this temperature gun, I feel ready to try milk again.

I wish I had read Watson’s book before I read some of the others because I think I would have trusted myself more. Readers should be aware neither book includes photographs. I have come to believe that good photography is extremely important in a soap-making book, just as it is in a recipe book. Photographs are a baseline you can use to determine 1) whether the soap looks like something you want to make, and 2) how it should turn out. I think Watson’s books were published by a smaller press and may even have been self-published, and photography would probably have been cost-prohibitive. I missed the photographs, but unlike other books with bigger publishing budgets, I was willing to forgive their absence because the information was so clear and helpful.

A side note: I wrote an email to Anne L. Watson asking a question about clean up. Every book I read says wait to clean up for about 24 hours, same as you would to unmold the soap. I didn’t wait the first couple of times because I hadn’t realized you needed to. Then I read that cleaning up right away could gunk up your plumbing, as the soap would saponifiy in your pipes and cause clogs. So I started waiting to clean up, and it was painful. I think perhaps waiting might be a good idea if you have a lot of left over soap, but I only make up what I will use, so I mainly just have a few globs on my soap-making bowl, spoon, and stick blender. And it was a beast to clean up the next day. I asked Watson if this was yet another myth or whether it was a good practice to wait to clean up. She wrote back and said she believes it is a myth. She recommends wiping off excess soap with paper towels and cleaning up with gloves and goggles still on. That makes a ton of sense to me. I am embarrassed not to have thought of it. She also recommends blue Dawn for clean up. So there you have it, friends. Another myth debunked.

Creating Your Own Soap Recipes

As soon as I had made one batch of soap on my own, I was ready to start creating my own soap recipes. I didn’t like the soap I made very much. The directions provided were easy to follow, but I wasn’t and still am not crazy about the soap that resulted. I looked around at many recipes on the Internet, but I didn’t know how to figure out how much oil I should use to fit my mold.

I did some research about different types of oils. Perhaps the three most common oils used in most of the soap recipes I found are olive oil, palm oil, and coconut oil. In fact, many recipes recommend 40% olive, 30% palm, and 30% coconut oils.

Olive Oil

Olive oil contributes to a good conditioning bar, but it doesn’t produce a lot of lather on its own, and pure castille bars can be soft. I buy olive oil at the grocery store. Shop around and see which brands you like best and which grade. Some soapers prefer EVOO. I have not noticed a difference, and since light olive oil is cheaper, that’s what I use. Some soapers buy olive pomace oil. I have not tried it because it’s not readily available in the store, and I buy what I can find locally to save shipping charges. I have to order too much other stuff for soaping to worry with olive oil, too. Soaps with a high olive oil content take longer to saponify and need longer to cure.

Coconut Oil

Coconut oil contributes to a cleansing bar with a good lather, which is why some soapers make “bastille” (not pure castille, but mostly olive oil) bars with a percentage of coconut oil. I have a bastille recipe that is 75% olive oil, 25% coconut oil. It is recommended to keep use of coconut oil at 30% or less because more than that can be drying. Coconut oil can be hard to find in the grocery store in some areas. I buy the Louana brand at Walmart. Shop carefully. I saw the same brand of coconut oil I purchase for sale on Amazon via a third party seller. It was described as organic (it isn’t) and cost at least four times as much as the same size container in Walmart. Plus shipping.

Palm Oil

Palm oil contributes to a hard bar. It’s a substitute for tallow when soapers want to create vegan or all vegetable oil soaps rather than using animal fats. Palm oil also contributes to a creamy, stable lather. It’s best to keep the amount of palm oil under 50% of your total oils because some people find it drying if you use more than that. Palm oil use can be controversial because of its association with rainforest depletion in the areas of the world where the oil palm is cultivated. You can buy palm oil from vendors that the Roundtable on Sustainable Palm Oil (RSPO) has certified meet criteria and procedures for manufacturing sustainable palm oil. Some soapers have stopped using palm oil altogether. It is an important issue to educate yourself about. I do use palm oil, but after learning more about the issue, I have decided not buy from a vendor unless it is RSPO certified sustainable palm oil. Bramble Berry sells sustainable palm oil. So do other companies, such as Soaper’s Choice.

Most of my recipes have these three oils. In addition, I like to use some of the following oils:

  • Castor oil contributes to a nice, bubbly lather. It is recommended to keep the amount at 5% or less of your total oils.
  • Shea butter adds moisturizing qualities and contributes to a harder bar.

I’m relatively new to soaping, so there are plenty of oils I have not experimented with. I have discovered some of these oils are located in odd places in the grocery store. On my last shopping trip, I managed to find sunflower oil by the Italian foods. Rice bran oil was near the olive oil, but it was on the top shelf, and my store only carried one brand. Safflower oil is also with the other oils. I have only used this oil once (my first recipe called for it), but it has a short shelf life and as David Fisher at Candle & Soap Making at About.com says, it has a “fairly unremarkable fatty acid makeup.” Sesame seed oil is stocked with the Asian foods and is said to be a good conditioner.

Many soapers swear by other products such as cocoa butter, mango butter, apricot kernel oil, palm kernel oil, avocado oil. I want to try some of these oils, but I haven’t had the opportunity yet. I have used grapeseed oil, but it has a short shelf life, and I didn’t notice anything missing in my soap when I haven’t used it. I plan to try using it as an oil for sugar scrubs. It is said to absorb quickly in the skin without leaving a greasy feeling.

The important thing is to experiment with the different oils using a soap calculator. My new favorite (and an old standby many soapers use and swear by) is SoapCalc. There are other good ones, too (see my Resources page). SoapCalc can give you a prediction about your soap based on the percentages of oils you use. You can easily change amounts without having to start over, too. I usually start with a base of olive, coconut, and palm oils, and add and subtract amounts from those base oils when I add other oils like castor oil and shea butter. The recipe I use most often uses 38% olive oil, 30% coconut oil, 17% palm oil, 10% shea butter, and 5% castor oil. I also frequently use Heidi Corley Barto’s basic recipe, which calls for 30% palm oil, 30% shea butter, 20% olive oil, and 20% coconut oil. I usually discount my lye by 5%, which leaves some unsaponified oil in the soap for conditioning purposes and also gives me wiggle room for slight measuring errors, preventing a lye-heavy batch of soap that would be unusable. SoapCalc and other lye calculators will help you figure out how to discount lye. By default, SoapCalc figures a 5% lye discount.

Some soapers swear by attending to INS values as a method for producing good soap. INS values were introduced by Dr. Robert S. McDaniel in Essentially Soap as a means for figuring out the iodine value and SAP value (saponification value). Supposedly, an INS value of 160 is the ideal, but many soapers make wonderful soap that isn’t close to that value. My recipe above has an INS value of 158, and Barto’s has an INS of 151. I can tell no appreciable difference between them in terms of quality, and they are both fairly easy to soap. I do notice my recipe has more lather, likely because of the castor oil, and hers produces a harder bar, likely because of the higher percentage of palm oil and shea butter. On the other hand, the first soap I made had a low INS value of about 121. SoapCalc’s scale recommends an INS between 136 and 165. Given that my soap with an INS value of 121 is really soft and just not all that nice to use, the recommendation seems sound to me.

Don’t be afraid to try out a few combinations using the lye calculator. It can be fun to experiment.

Another issue I ran into early on is not knowing how much essential oil or fragrance oil to use. Thankfully, Bramble Berry has a good Fragrance Oil Calculator that can help you figure out how much oil to use. Other vendors make recommendations. How much fragrance or essential oil you use will vary. Some fragrances and essential oils are stronger than others. If your vendor has a recommendation, it is probably a good idea to follow it because they have most likely tested it, and following their recommendation will save you time. However, if you don’t have a recommendation, try using about 5-9% percent of your oil weight. For example, if you have a 40-ounce oil recipe, you might try 2 to 4 ounces of essential oil or fragrance. Many soapers keep it simple by using 1 ounce per pound of soap.

An important note: some essential oils and fragrance oils can accelerate trace and cause your soap to seize, as I discovered when I used lilac fragrance oil. Floral fragrance seem to be especially bad about accelerating trace. When you use a new fragrance or essential oil, it is a good idea to take careful notes about what happens in case you need to make changes for next time. For instance, next time I use lilac fragrance, I will add it at a lighter trace, and I will not try to do anything fancy like swirling. I haven’t noticed a huge problem with most fragrances, and usually, your vendor will warn you if a fragrance can be problematic. I like that vendors like Bramble Berry warn you not to use certain fragrances in cold process soap at all.

My First Big Disaster

I tried to make goat milk soap today. I wish I had taken a picture of this one because it was a true mess, and I can’t find an image online that replicates it. Instead, here is a picture of a goat, in your face.

First of all, the kind of goat milk I used is evaporated goat milk, and there is apparently a big difference between fresh goat milk and evaporated goat milk.

I am not sure where I would get fresh goat milk around Worcester, MA. I don’t know anyone who has goats on their farm, and there aren’t really any goat farms close by that I could find. I could try Trader Joe’s, I suppose, but we don’t have a Whole Foods close by.  At any rate, this evaporated goat milk is relatively easy to find in grocery stores and Walmart.

Things were going swimmingly. I added the lye to frozen chunks of goat milk, stirring the lye well as I went and taking my time, just as I did with the whole cow milk I used in my chocolate milk soap a few weeks ago. I set the goat milk lye aside as I prepared my oils, and about halfway through the process, I took a look at my goat milk lye, just to make sure the temperature was staying below 140°, like I had read it should do in Heidi Corley Barto’s book. It was a congealed orange mess, not terribly unlike thick mashed potatoes in constitution. Perhaps more like peanut butter, even. It was hard and gross. It didn’t smell bad, but I was afraid to use it, so I disposed of it. Some folks on a soap forum I just joined said I could have saved it, but I was too worried about it to use it and didn’t find a solution until after I’d disposed of it anyway. I’d have hated to make a worse mess than I already had. In throwing out the goat milk lye, all I wasted was the lye and goat milk. Had I tried to add it to the oils, I’m afraid I’d have wasted all that, too, and those are expensive.

Needless to say, I’m really disappointed. First of all, I was really looking forward to seeing how this soap would come out. I hear so much about goat milk soap; so many soapers make and sell it, and it seemed an interesting soap to try to make. Second, I used most of my stock of lye, and it’s impossible to buy locally. We called every hardware store around, and no one sells it, likely because it’s used to manufacture methamphetamine, though it’s terribly easy to order on Amazon and not selling it prevents no one from buying it elsewhere. You just have to wait for it. Ordering more is kind of pointless because it’s a holiday weekend, and it wouldn’t ship until Tuesday at the earliest (probably), and I certainly wouldn’t get it any time this weekend, which is when I wanted it. I have some on its way to me right now, but it’s coming from Washington State, so it will be a while. I think I will just stock up next time I order it so that I always have it on hand.

What all this means is that I have three-day weekend with no soaping. I am seriously bummed.

On the plus side, I have learned what not to do when making goat milk soap, so I can avoid some mistakes next time. David Fisher at About.com’s Candles and Soap reference suggests that when you use evaporated goat milk, you use an equal amount of distilled water. So, if your recipe calls for 13.2 ounces of liquid, like mine does, then I would use 6.6 ounces of distilled water and 6.6 ounces of goat milk. I would put all of the lye into just the water, preparing it double-strength if you will, and add the goat milk directly to the oils, mixing them with my hand blender a bit. Then I would add the water and lye to the oils and goat milk and proceed as normal. Making soap with fresh goat milk would work like making soap with any other liquid, and using powdered goat milk sounds like the easiest thing, though whether it transfers its qualities to a finished bar seems to be a contested issue. I think I might put the goat milk lye in an ice water bath as a matter of precaution if I ever use fresh goat milk, even if I freeze it first.

I’m not so miserable about making a mistake. I think every soaper screws up batches now and then. I’m miserable that I can’t try again because I don’t have enough lye.

Sigh.

Soap Photography Studio Tutorial

Some soapers’ pictures look so awesome, and I was increasingly frustrated by my own photographs. I decided to make a soap photograph studio, and while I was at it, I thought I’d share my process.

I started with the following materials plus a roll of tape that I forgot to put in the picture.

I recently moved from Georgia to Massachusetts, so we have a ton of boxes around. The other necessary items include freezer paper (which you probably have on hand to line your molds), a glue stick, and scissors. I like how my box informs me it’s designed for multiple uses. This use is probably one that U-Haul didn’t have in mind. (Yes, I know, they meant you could use it more than once.)

Next cut two sides off the box so you have three sides left.

Rub your glue stick on the cardboard and line the box with your freezer paper.

Fold the sides over the box and glue them down. I also used tape to fix the ends. It doesn’t have to be pretty. That part of the box won’t show in your pictures.

See? My tape is not pretty.

Fold the paper over the top and bottom. You will need to cut the paper to get it to fold over corners. If you look hard, you can see my kitty Bella in the background.

Now you’re finished. You can see the purple glue stick hasn’t dried on my soap photo studio yet, but that kind of glue stick turns clear when it dries. I think they make it like that so kids using it have better aim.

Here are some pictures of my soap using my new soap photo studio. Full disclosure: I did neaten up a few spots and cropped the images in Photoshop, but this is not by any means a complete retouch.

I considered using this one for my new banner image. My need for a new banner image prompted me to create my photo studio in the first place.

I love how this one came out. Pretty soap! And for once, I’m not distracted by what’s in my background.

A cropped version of this photo is my new banner image. I love the way the shadows look in this one. I took these in the late afternoon/early evening near my kitchen window with just my overhead kitchen light on. It looks like natural morning light.

So that’s it! Now you can make your own soap photo studio so you can take awesome photos of your soap. You can use whatever color paper you want to line the box. I chose white so that the background would draw as little attention to itself as possible. Plus it’s easy since I had it. I took the pictures with my iPhone, so no fancy camera tricks, lights, or techniques.

The Everything Soapmaking Book, Alicia Grosso

The Everything Soapmaking BookThe Everything Soapmaking Book by Alicia Grosso is a good introduction to basic soapmaking. Unlike some other soapmaking books I’ve seen, this book also discusses hot process and hand-milling techniques. The chapters on essential oils and fragrance oils were interesting. Not too many other books I’ve read devote so much space to fragrance, and it’s an important reason why people buy soap. Even though essential oils and fragrance oils are expensive, I can’t imagine making soap without them. Also, Grosso dedicates useful space to chapters on packaging, gifting, and selling soap, which is extremely useful information (and probably my favorite part of the book). The book also includes helpful appendices: a glossary, troubleshooting, DIY molds, and resources.

I think some of Grosso’s information may be out of date. I checked the copyright, which was 2003 and was renewed in 2007. I’m not sure what updates or changes were made for the 2007 edition, but Grosso makes a statement that it’s hard to sell soap online, and I’m sure it is hard if you have a stand-alone website and are slowly trying to build a business, but I think storefront sites like eBay and Etsy are changing that. I know eBay was around when the book was published, but Etsy wasn’t. Or at least it wasn’t large enough. Also, I think social networking in the form of sites like Twitter, Facebook, and especially Pinterest can make it easier to spread word of mouth about your soap. I have been sharing pictures of mine on Facebook and Instagram, and I have already have a few inquiries about purchasing it, and I’m not even ready to begin selling yet. I am not saying Grosso was wrong—I think she was probably right in 2003 or even 2007, but I think it’s a little easier to build a web-based business now than it might have been then. You have to be ready to do some serious social networking to move a large volume of soap, I’m sure, and good photography will be critical to your success, but I think perhaps the web is not the near lost cause she intimated it is.

Another issue I have with the book is a lack of pictures. You can’t have a soap-making book without full color pictures of soap! It might be that I’ve just been spending too much time on Pinterest lately, but I am learning that visuals are so important in soaping. I have learned more from looking at pictures and video tutorials than I thought possible when I started making soap. Even an instructional book for beginners, like this one, should have good, high-quality pictures to inspire readers.

That said, this book covers all the basics and is excellent for beginners. Highly recommended!

Note: I borrowed this book via Amazon on my Kindle through the Amazon Prime program.

How Much Oil Do You Need for Your Mold?

One of the most frustrating aspects of making soap that I encountered as a beginner was trying to figure out how much oil to use to make soap fit in a mold. I knew my soap mold held 3-4 pounds of soap, but what did that translate to in terms of amount of oils? My first batch didn’t have enough, and I wound up with squat-looking soap. My second batch had way too much, and I wound up making a weird looking extra bar (that really could have been two extra bars). It turns out I just wasn’t looking in the right place.

Soap Making Essentials is bar none one of the most comprehensive and helpful websites for beginners learning to make soap. Did you catch that terrible pun? I’m sorry. It turns out they had the answer to my problem on their Homemade Soap Recipes page.  You can figure out how much oil to use with a very simple mathematical formula:

Length of mold X Width of mold X Height of mold X 0.40 = Ounces of oil needed

I just can’t believe this simple mathematical formula is not in every basic soap book. The only one I have found that even mentions is is Anne-Marie Faiola’s Soap Crafting: Step-by-Step Techniques for Making 31 Unique Cold-Process Soaps.

I probably should have paid more attention in math class, or I might have been able to figure out the formula myself, but I’m glad I stumbled on it anyhow. Thank you again, Soap Making Essentials, for the wonderful resource.

So what should you do if you have a round mold? Time to go back to Geometry 101.

The area for a cylinder (which is basically what a round mold is, even if it’s a short cynlinder), is Πr²*height of the mold. If it’s been a while for you, remember that Π is roughly equal to 3.14 and r means the radius, which is half of the diameter—the measurement of of the mold from side to side. So, if you have a cylinder mold that is 4 inches in diameter, then it has a radius of 2. Two squared (the little ² by the r) means multiply 2 times itself, which happens to be 4. Multiply Π and the radius of 2², or 4, and then multiply the product of that calculation by the height of the mold. Let’s pretend the mold is 10 inches. Multiply 4 x 3.14 (Π) x 10, which would equal 125.6 ounces. But wait! Remember we have to account for the water, so multiply one more time by 0.4. 125.6 x 0.4 = 50.24, which means your cylinder mold will hold a recipe using about 50 ounces of oils.

Height of mold X Radius of mold squared X 3.14 X 0.40 = Ounces of oil needed

Note: Be careful that you do square the radius (multiply the number by itself) rather than just double it. It will not always be double. For example, if you have mold with a radius of 3 inches, then squared, it would be 9 rather than 6.

If you have an mold with an odd shape, then it is best to calculate how much oil to use by using a water-volume calculation. You should fill your mold with water and then pour the water out into a measuring cup with volume markers. Then, multiply the number of ounces in the cup by 1.8 to calculate the total number of cubic inches in the mold. Then multiply that number by 0.4. For example, if your irregular mold holds 6 ounces of water, multiply 6 x 1.8, which is 10.8. Then multiply 10.8 x 0.4, which is 4.32. You would use 4.32 ounces of oils to make soap with this mold.

Amount of water in ounces X 1.8 X 0.40 = Ounces of oil needed

A final word of advice: I use grams in all my measurements because I find them more accurate, but these formulas work for ounces. I am sure there are similar formulas for grams, but I have not found a good calculation for metric volume. My advice would be to create a recipe using ounces, and then use the metric amounts given in SoapCalc, which always delivers the amounts in ounces, pounds, and grams for easy conversion. Alternatively, you could calculate your amount of oils in ounces and multiply by 28.35 (the number of grams in an ounce) or use an online conversion tool, such as this one, to calculate how many grams your mold will hold.