Cee from Oil & Butter is my favorite soap blogger for many reasons. She is generous with her expertise and her ideas. Her soap looks incredible (and her photographs are beautiful). She is knowledgeable and friendly. She shared a recipe and tutorial for a Luxury Soap two years ago, and it looks so gorgeous that I have been dying to try it. In the spirit of Cee’s original post, I share my recipe, advice, and reflections.
 Ingredients
Lye Solution
- 291 g goat milk
- 85 g coconut milk
- 155 g lye
Oils
- 56 g mango butter
- 57 g shea butter
- 225 g coconut oil
- 200 g palm oil
- 430 g olive oil
- 57 g avocado oil
- 57 g sweet almond oil
- 56 g castor oil
Additives
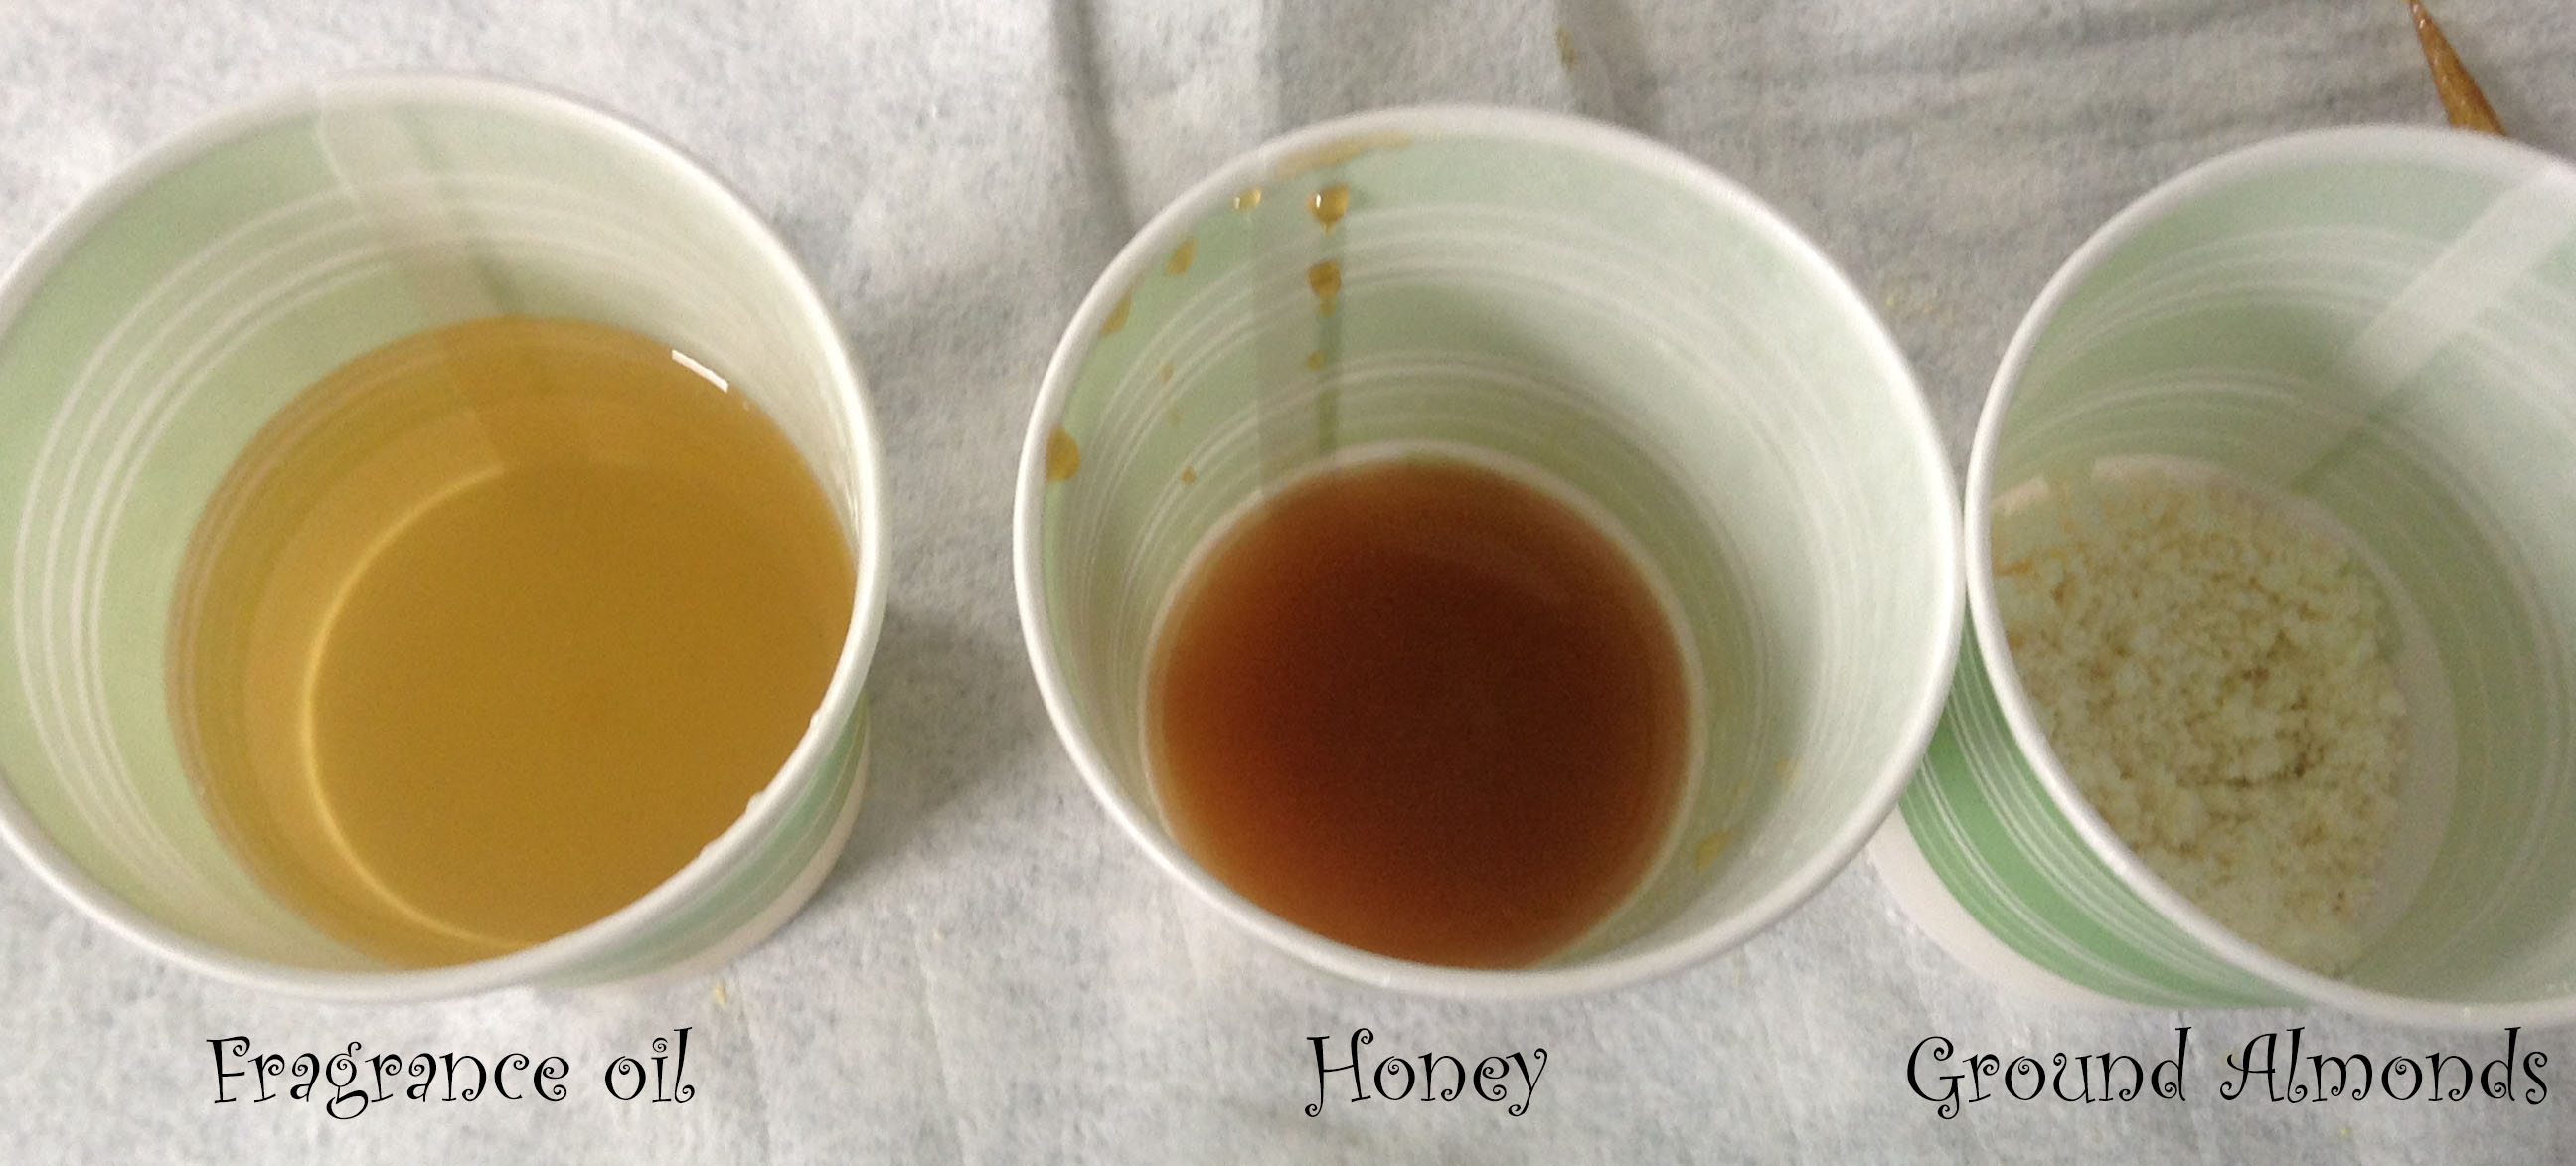
- 1.5 t honey mixed with 1.5 t distilled water
- 68 g fragrance (I chose Brown Sugar and Fig from Nature’s Garden)
- 2 t Diamond Dust Mica dispersed in the sweet almond oil
- 1 T sodium lactate
Equipment
- 10-inch silicone loaf mold
- The usual materials, including containers, bowls, pans, spatulas, spoons, and stick blender
First, a quick note about grams as opposed to ounces. I use grams to measure the weight of my soap ingredients because grams are more precise than ounces, even if you are measuring tenths of an ounce. I always recommend that soapmakers use grams, and whenever I use a recipe someone else has posted, I convert it to grams using SoapCalc.
This recipe was adapted from Cee’s own Luxury Soap recipe. I removed the jojoba oil mainly because it’s terrifically expensive. I don’t have much of it right now, and I prefer to use it for leave-on products like lotions, like other soapmakers. It’s perfectly fine in soap, however, and I didn’t remove it because I thought it shouldn’t be used. Using it would certainly have added a bit of decadence to an already almost sinful soap, but I think the recipe is plenty luxurious without it, too. I didn’t have chamomile extract, so I didn’t use that either. Aside from removing the jojoba and chamomile extract, I tweaked the numbers of the other oils and swapped almond milk for coconut milk. Otherwise, the recipes are quite similar.
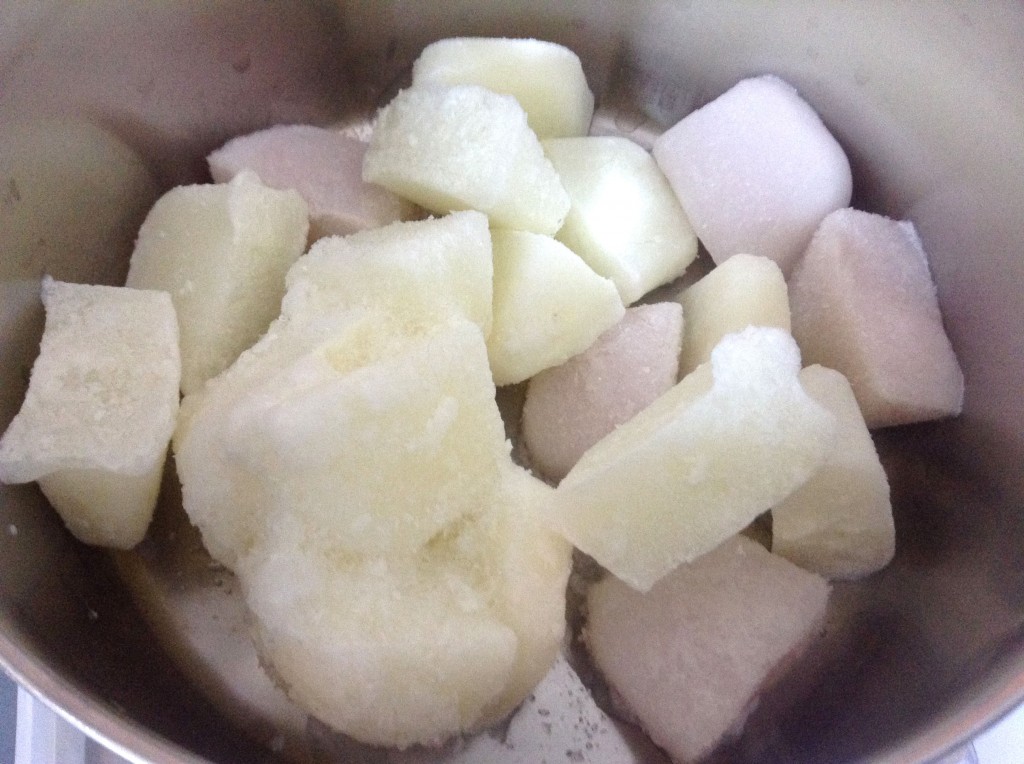
I began by preparing the oils. First, I measured out the butters.
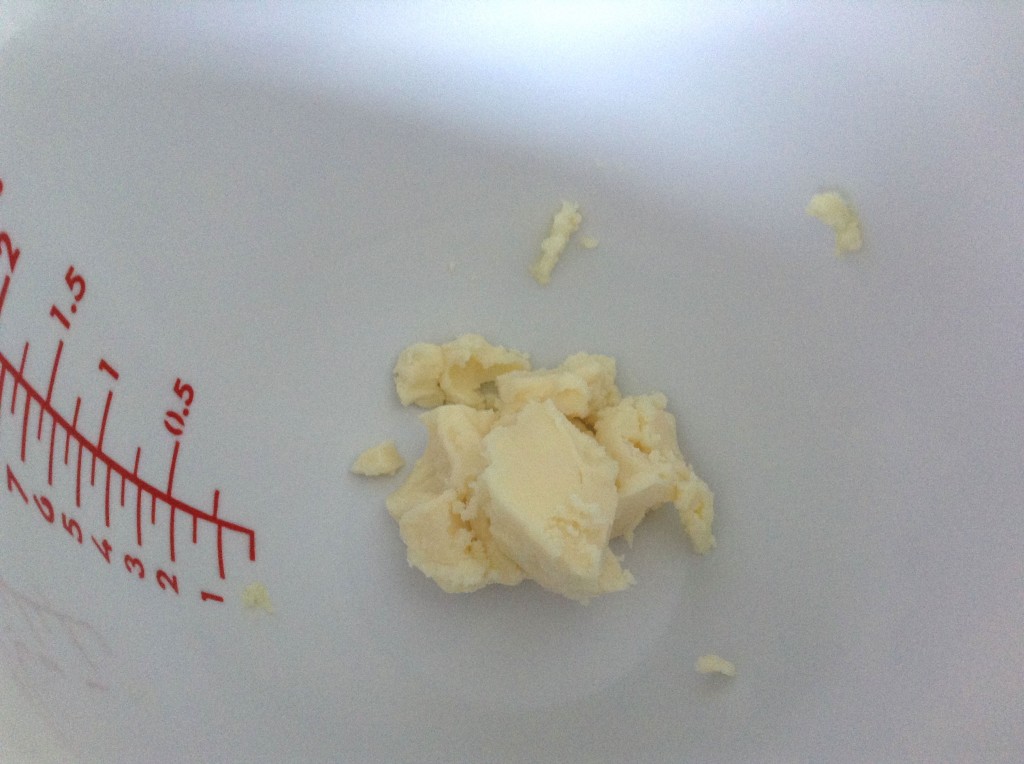 Mango butter is truly wonderful. It is similar to shea butter in some respects in that it has a significant amount of unsaponifiables, meaning that more of the conditioning and moisturizing qualities of the butter make it through the saponification process. It also contributes to a creamy lather.
 I added the shea butter to the mango butter. I use shea butter and/or cocoa butter in almost all of my soaps because I love what it does for skin. It does speed up trace, so be careful.
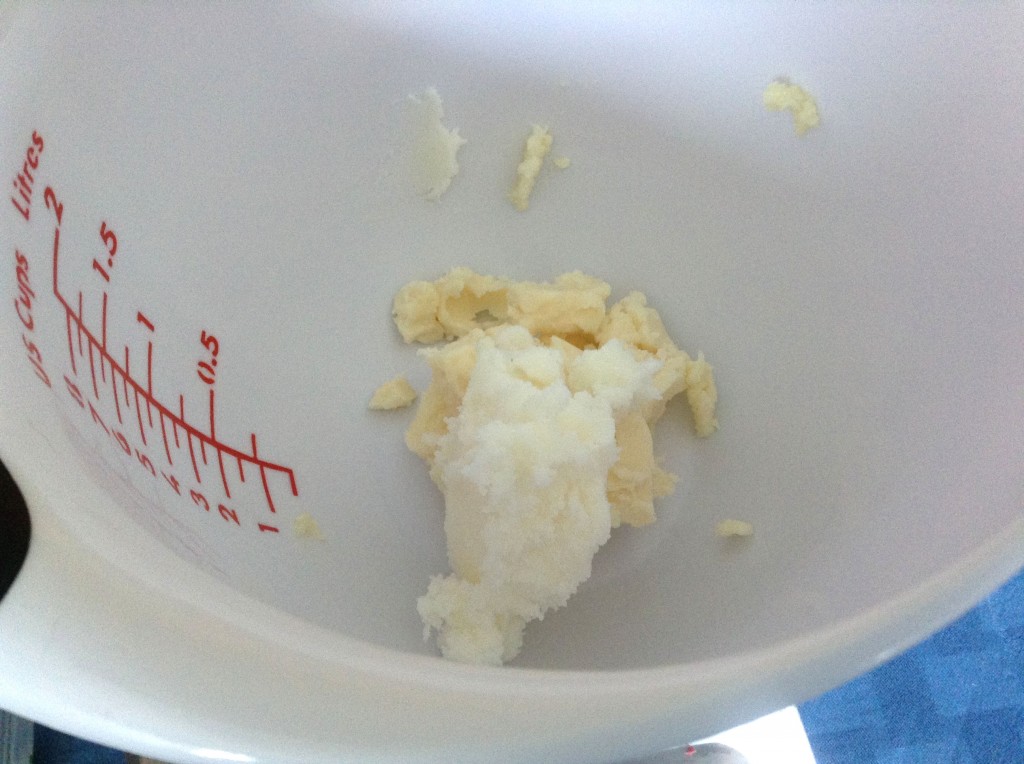
 In with the coconut oil. It’s so hot here today that it’s completely melted already. Actually the mango butter was kind of soft as well. It’s usually a little harder (and almost brittle) than it was today. Coconut oil is great for bubbles—it contributes to fluffy lather and cleansing as well as bar hardness. I use coconut oil in almost all of my soaps.
 The last hard oil is palm oil, which I use because it contributes to bar hardness, stable lather, and conditioning. I use it in a lot of my soaps.
What I like to do is put all my hard oils in the soap bowl together, then melt them in the microwave. It saves time as opposed to melting each separately and adding them together. I warmed these oils for about one minute (try 30-second bursts). At that point, the shea was almost melted, so I stirred it until it was completely melted.
 A quick word about olive oil: you can use any grade of olive oil in soap, but I always use pure golden olive oil. I don’t think it’s necessary to use extra virgin olive oil in soapmaking. In fact, it’s not different enough from pure golden olive oil to warrant its own category in SoapCalc, though olive oil pomace is. I personally don’t use pomace because pure golden olive oil is available at my local discount membership warehouse for a really good price (and no shipping). I use olive oil in every single soap I make. It’s highly conditioning and contributes to stable lather and bar hardness. I believe it to be the single best soaping oil there is.
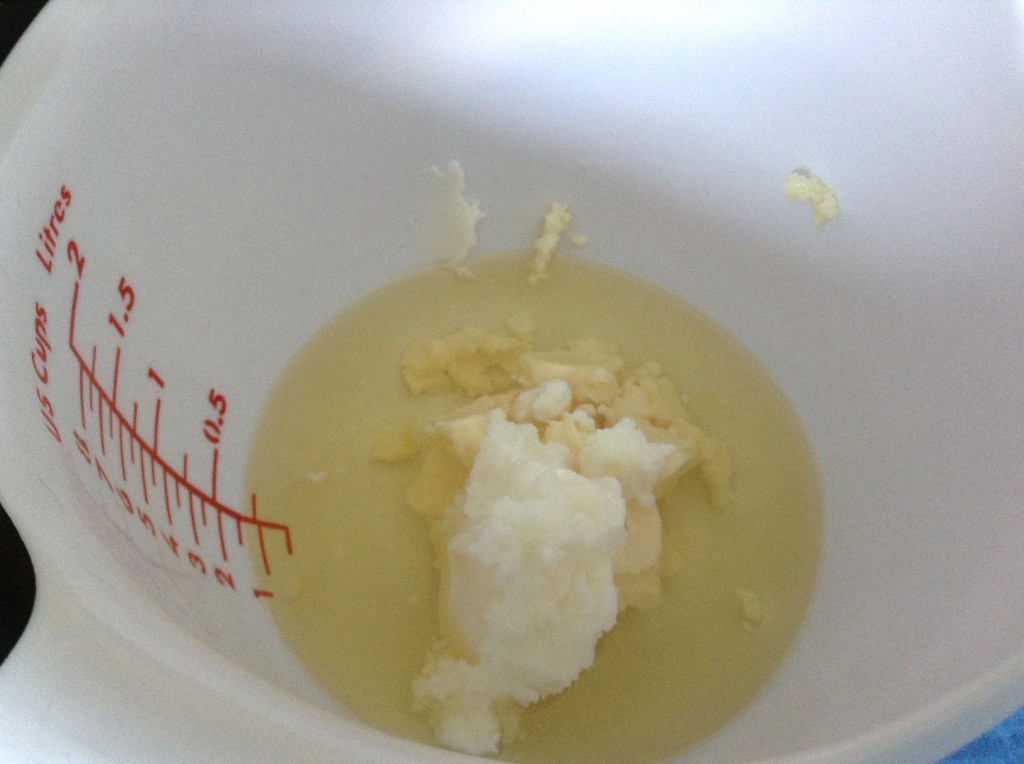
I prepared the soft oils—olive oil, avocado oil, and castor oil—measuring them out one at a time, and then adding them all to the melted hard oils and butters.
Avocado oil contains vitamins A, D, and E, and contributes to the bar’s conditioning properties.
Castor oil is the best source of ricinoleic acid and make the lather much fluffier and more stable. I use castor oil in most of my soaps. Castor oil is also a natural humectant, which means it draws moisture to the skin. I usually only use 5%, except in shampoo bars.
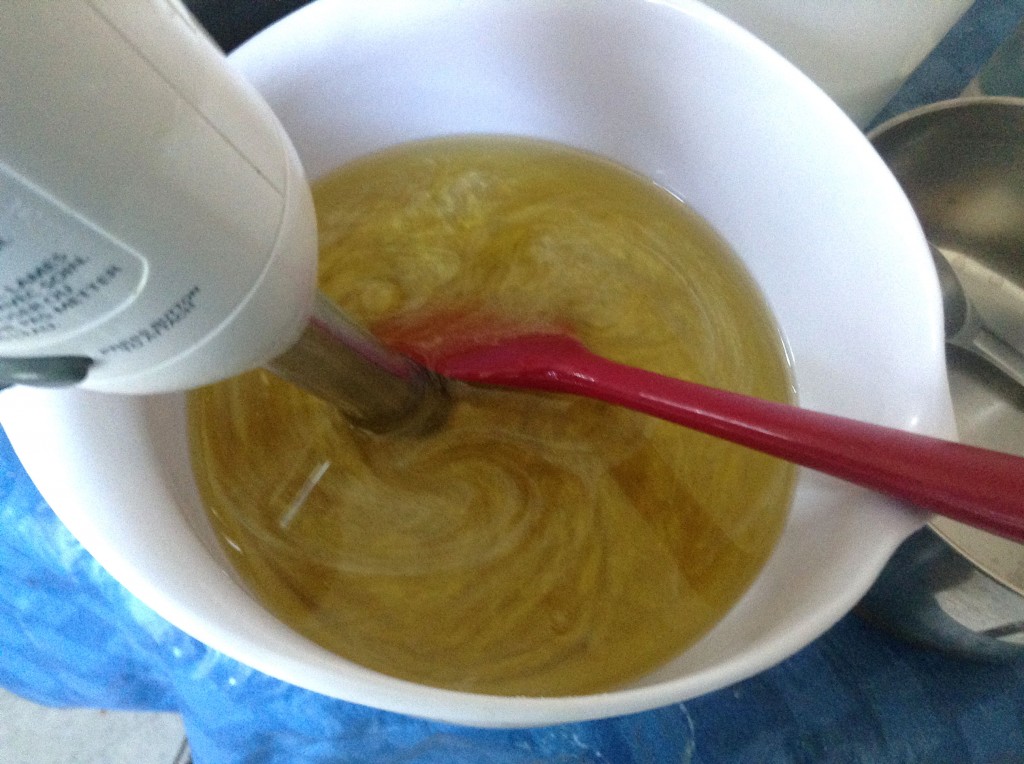
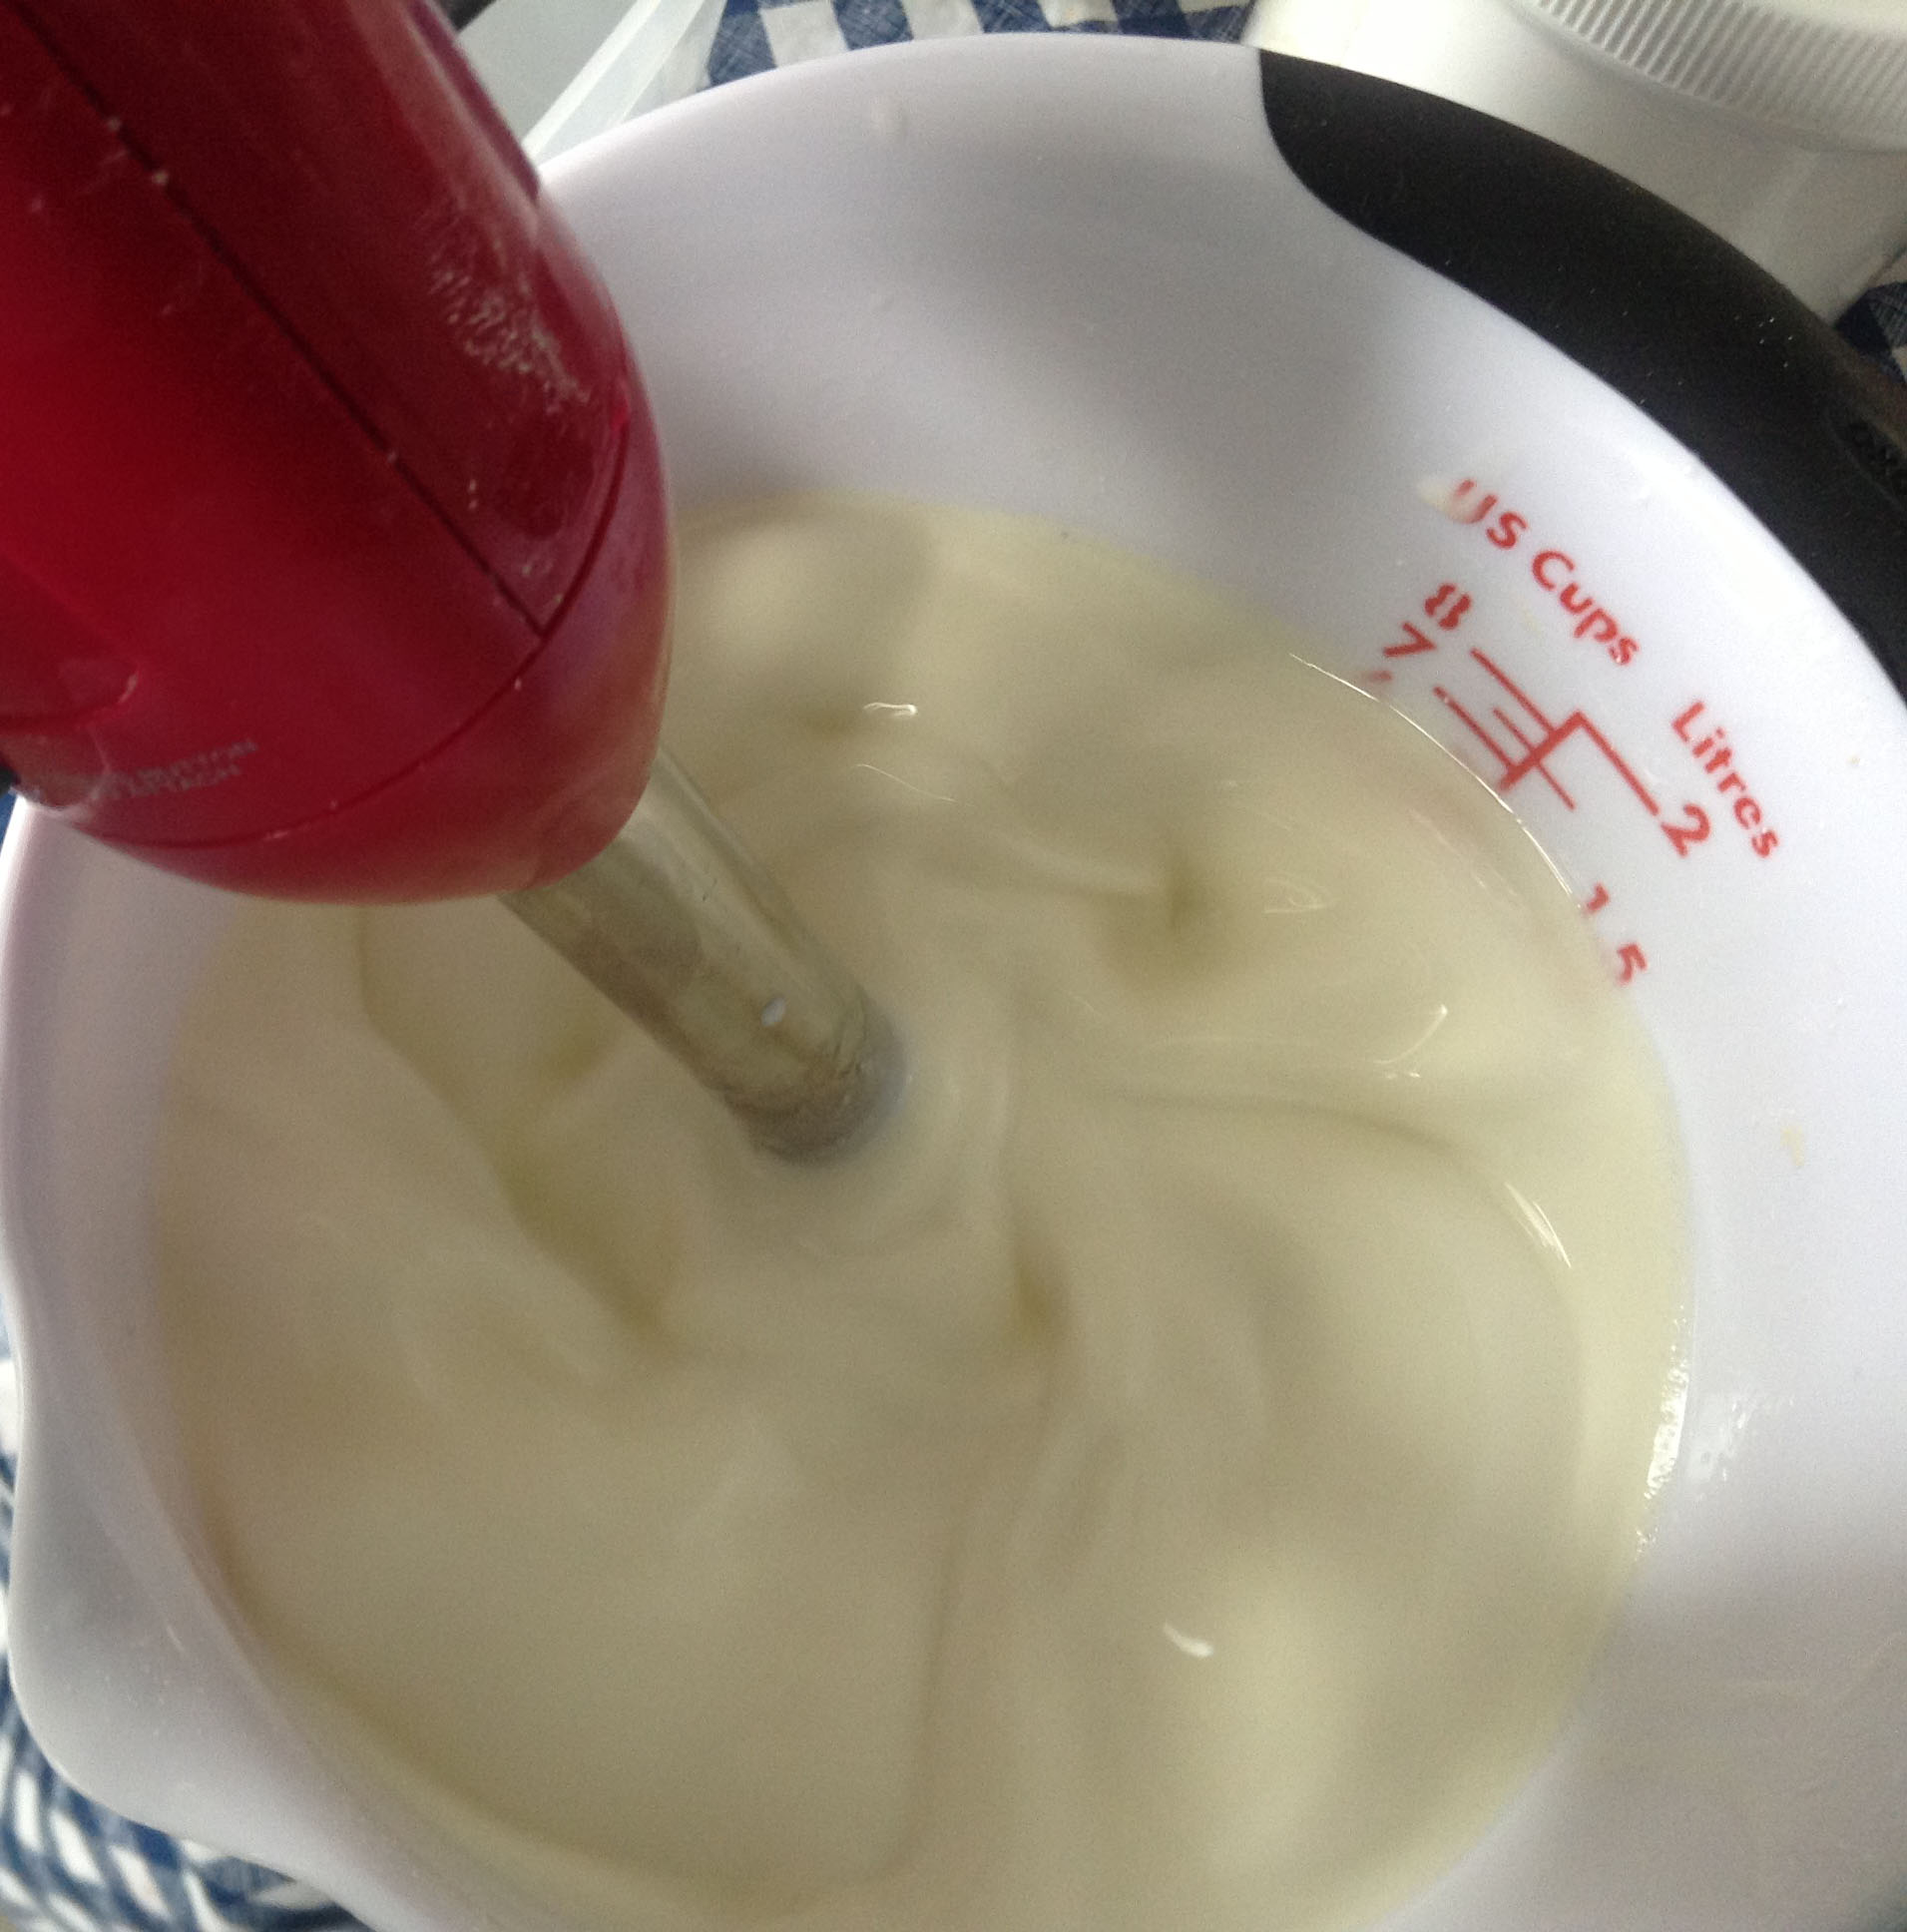
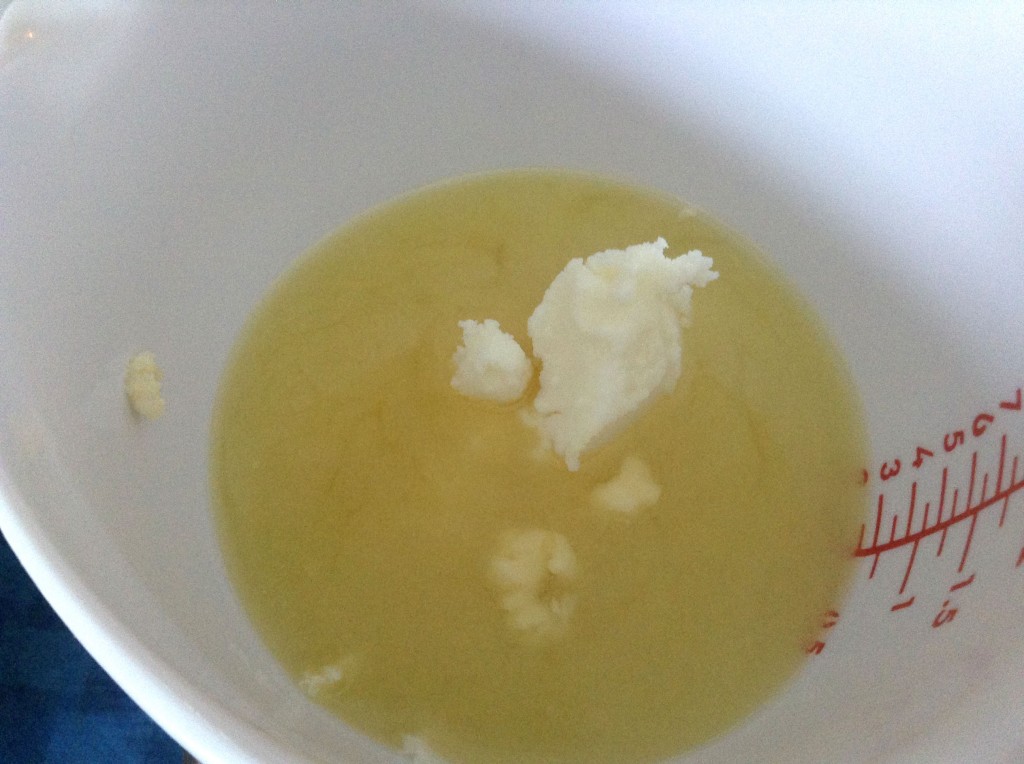
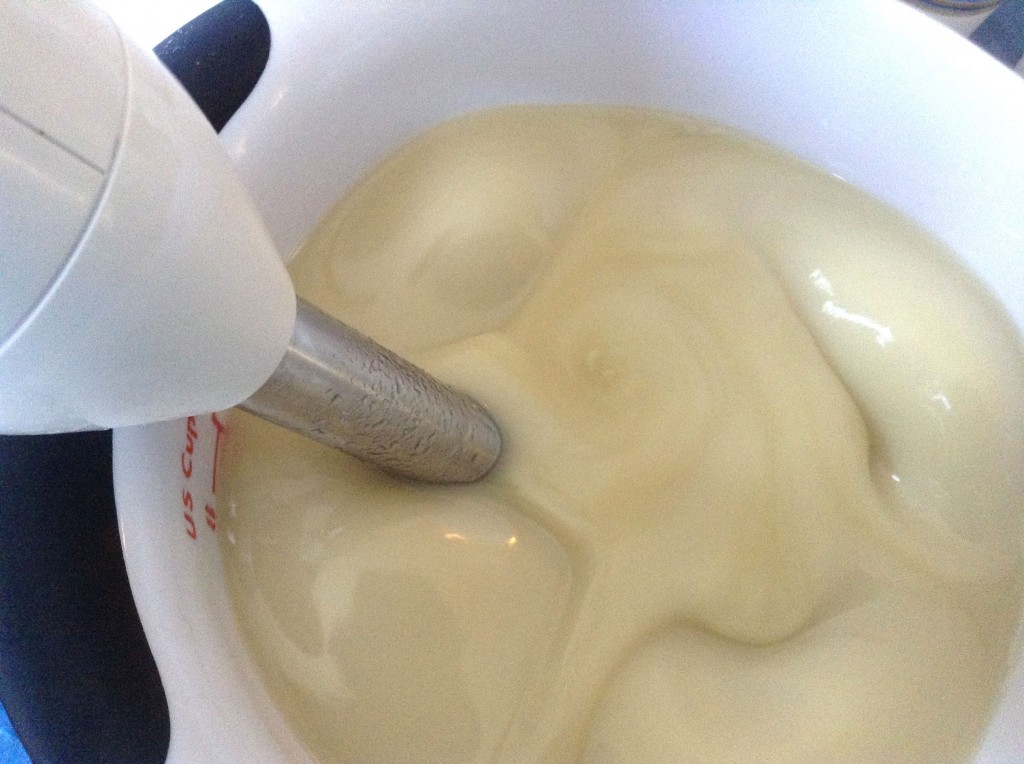
I added my Diamond Dust Mica to the sweet almond oil, mixed it with a small hand mixer, and then added the sweet almond oil to the rest of the oils. Sweet almond oil is another of my favorite oils. It contributes to a stable lather and conditioning bar. It works well as a carrier oil for colorants, too. It’s also great in lotions.
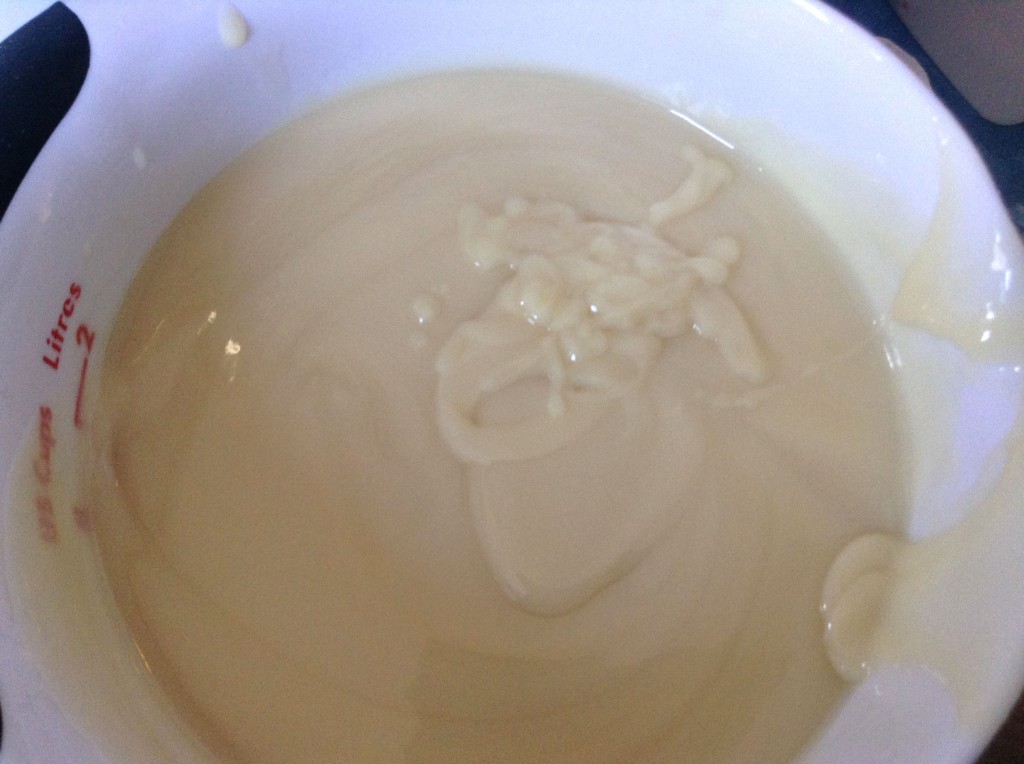
I blended the oils so that the Diamond Dust Mica would disperse. Look at that pearly sheen!
I believe this mica is probably similar to Bramble Berry’s Super Pearly White Mica. That lovely, pearl sheen will not completely make it through the soapmaking process, but if you use it in melt-and-pour soap, you should see a nice shimmer in your soap. I do still notice a little bit of shimmer in cold process soap as well, and it definitely adds something that just plain titanium dioxide lacks.
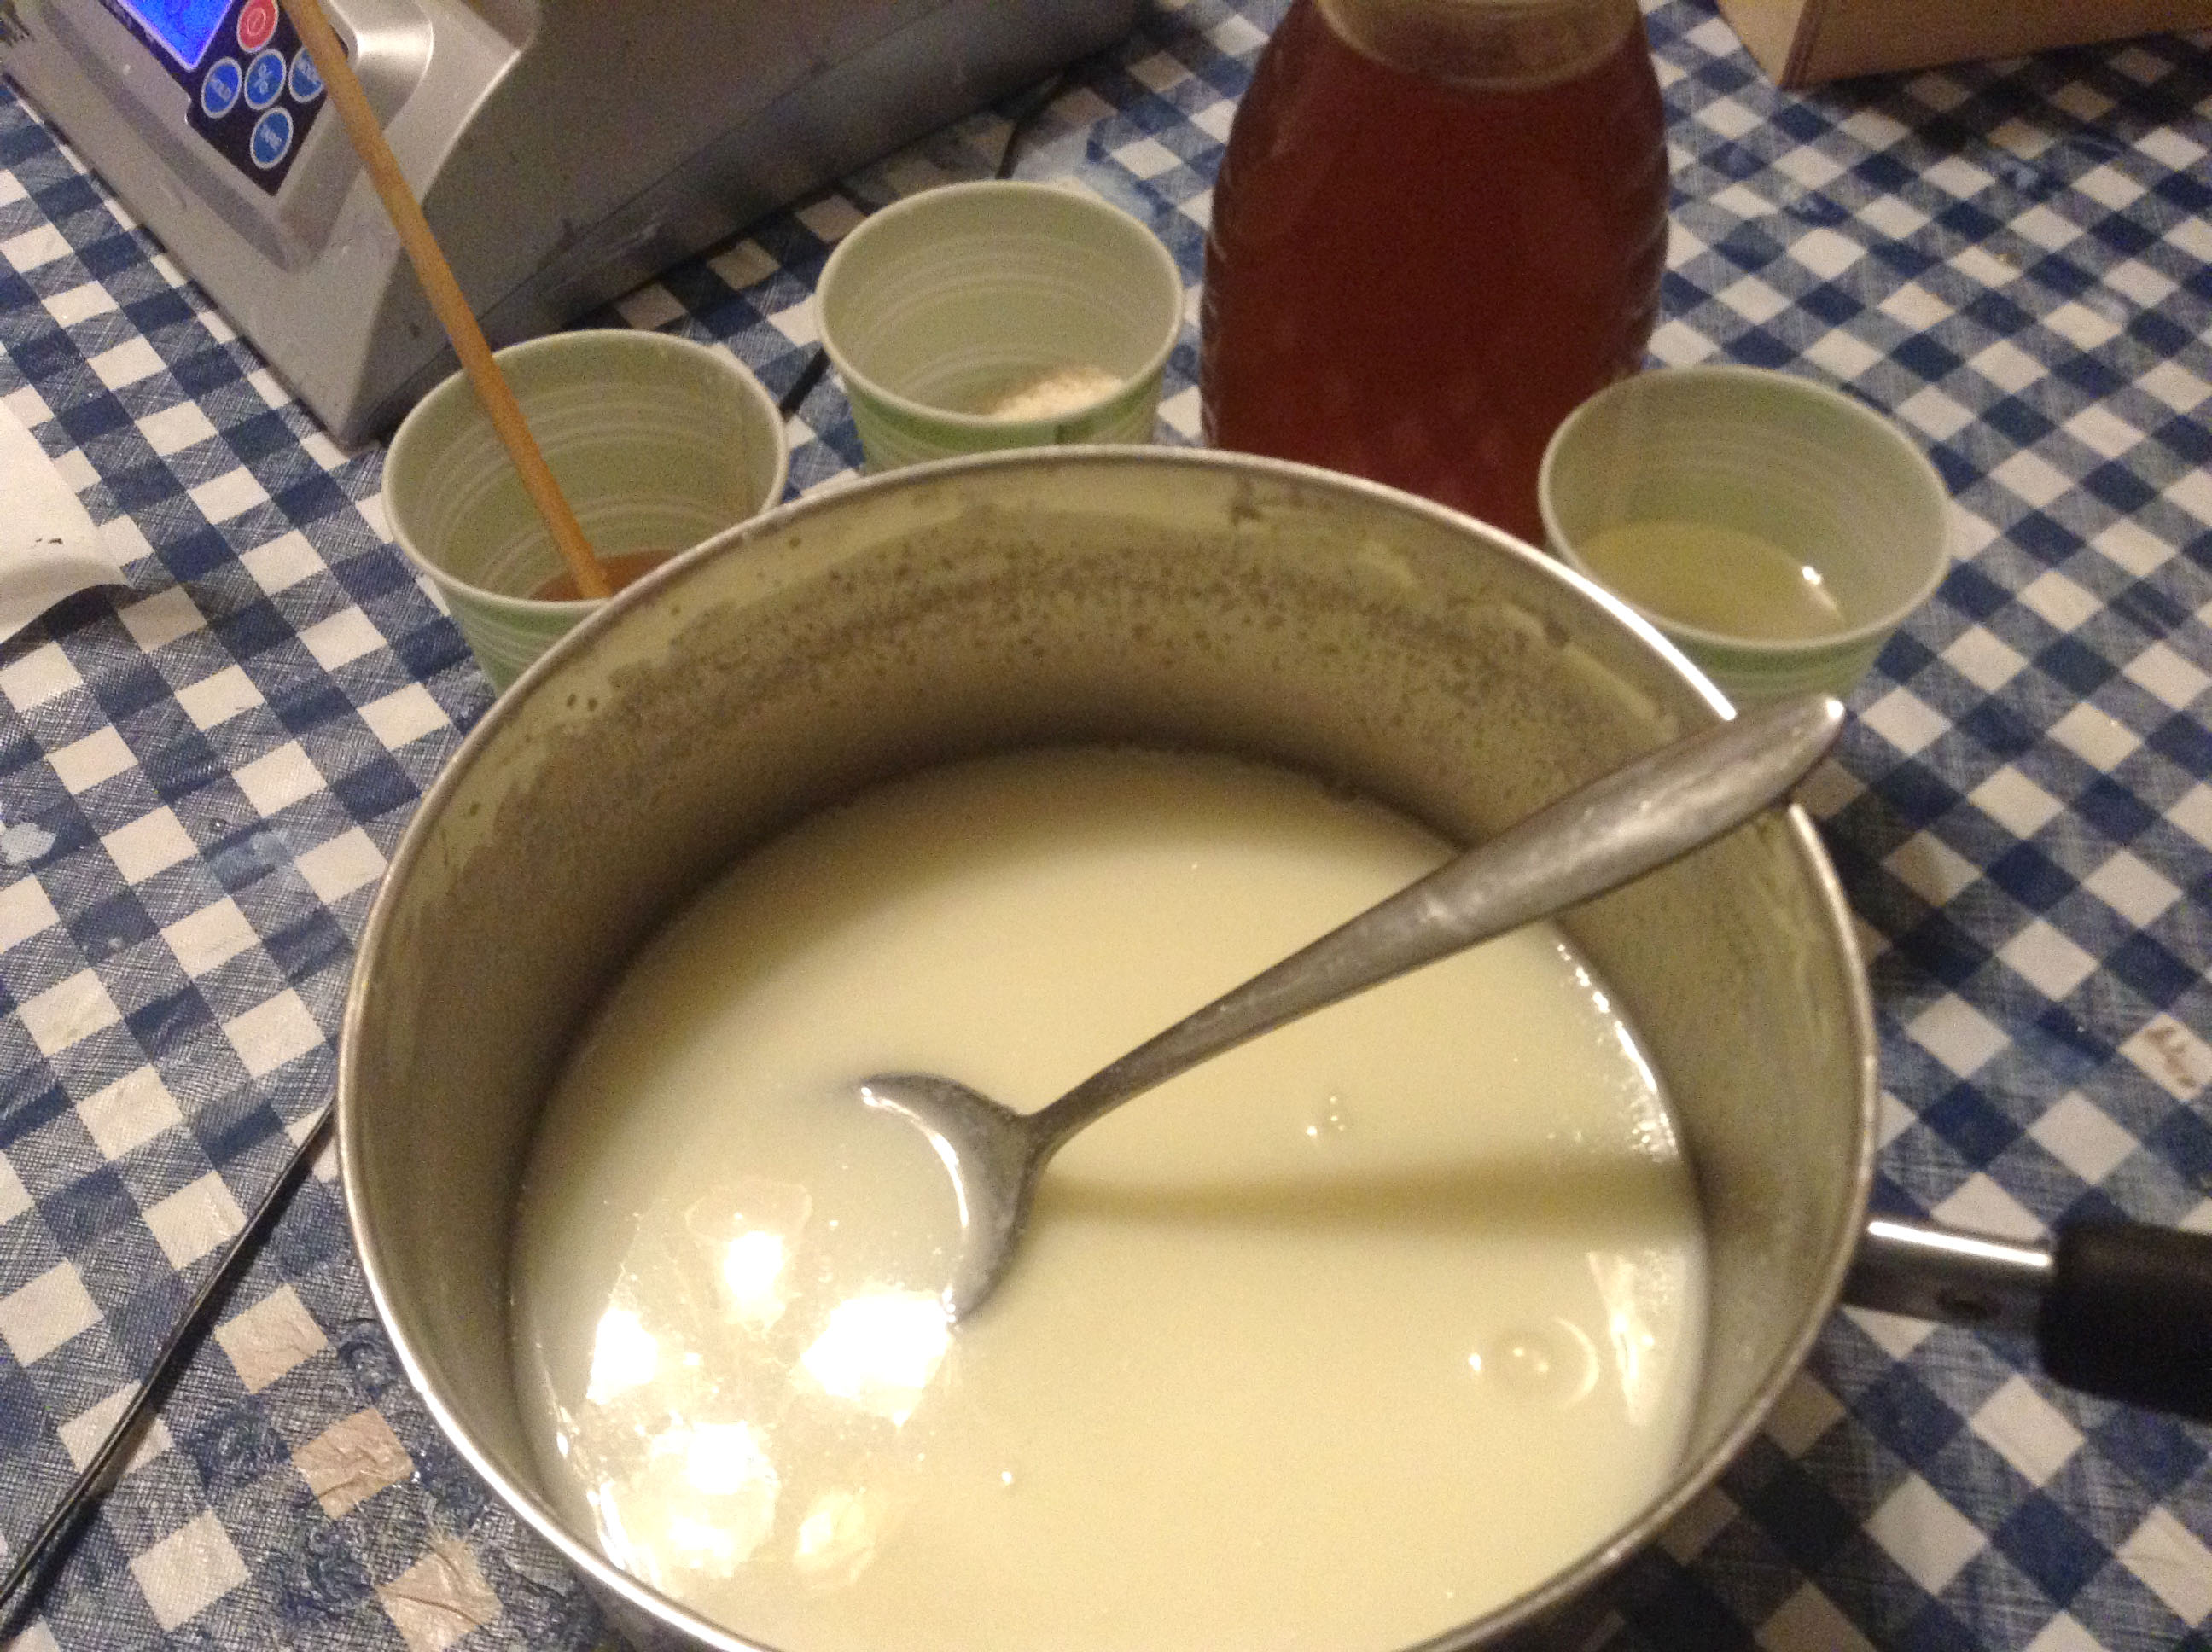
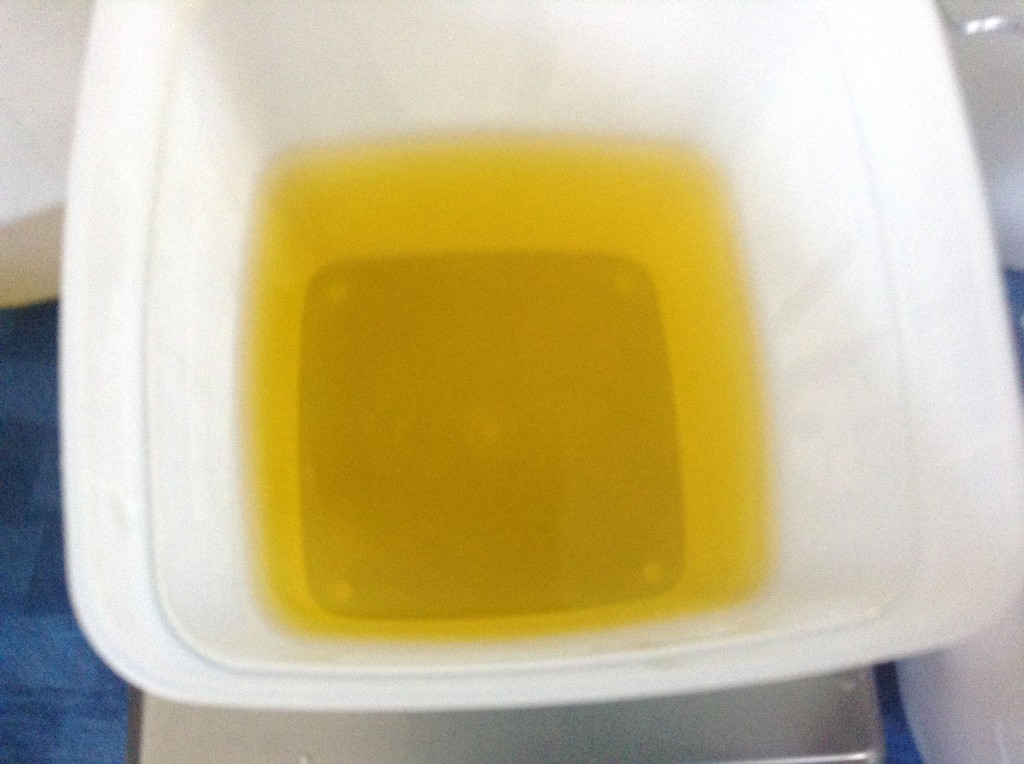
After my oils were prepared, I prepared my milks and lye. Why didn’t I do that before preparing the oils? Well, if I were using water, I would have prepared the lye mixture first because it needs time to cool. However, if I am starting with frozen milk, there is no reason to start with the lye mixture because it doesn’t need to cool. In fact, I find that I can control my milk and lye much better if I prepare it after the oils. I have found that if you prepare the milk and lye before the oils, the fats in the goat milk begin to saponify, and while that’s not necessarily problematic for any reason, I just find I like it better if the milk is still liquid. I used a 6% lye discount in this soap, but you could alter it to your preferred superfat if you like. I find 6% to be my personal sweet spot.
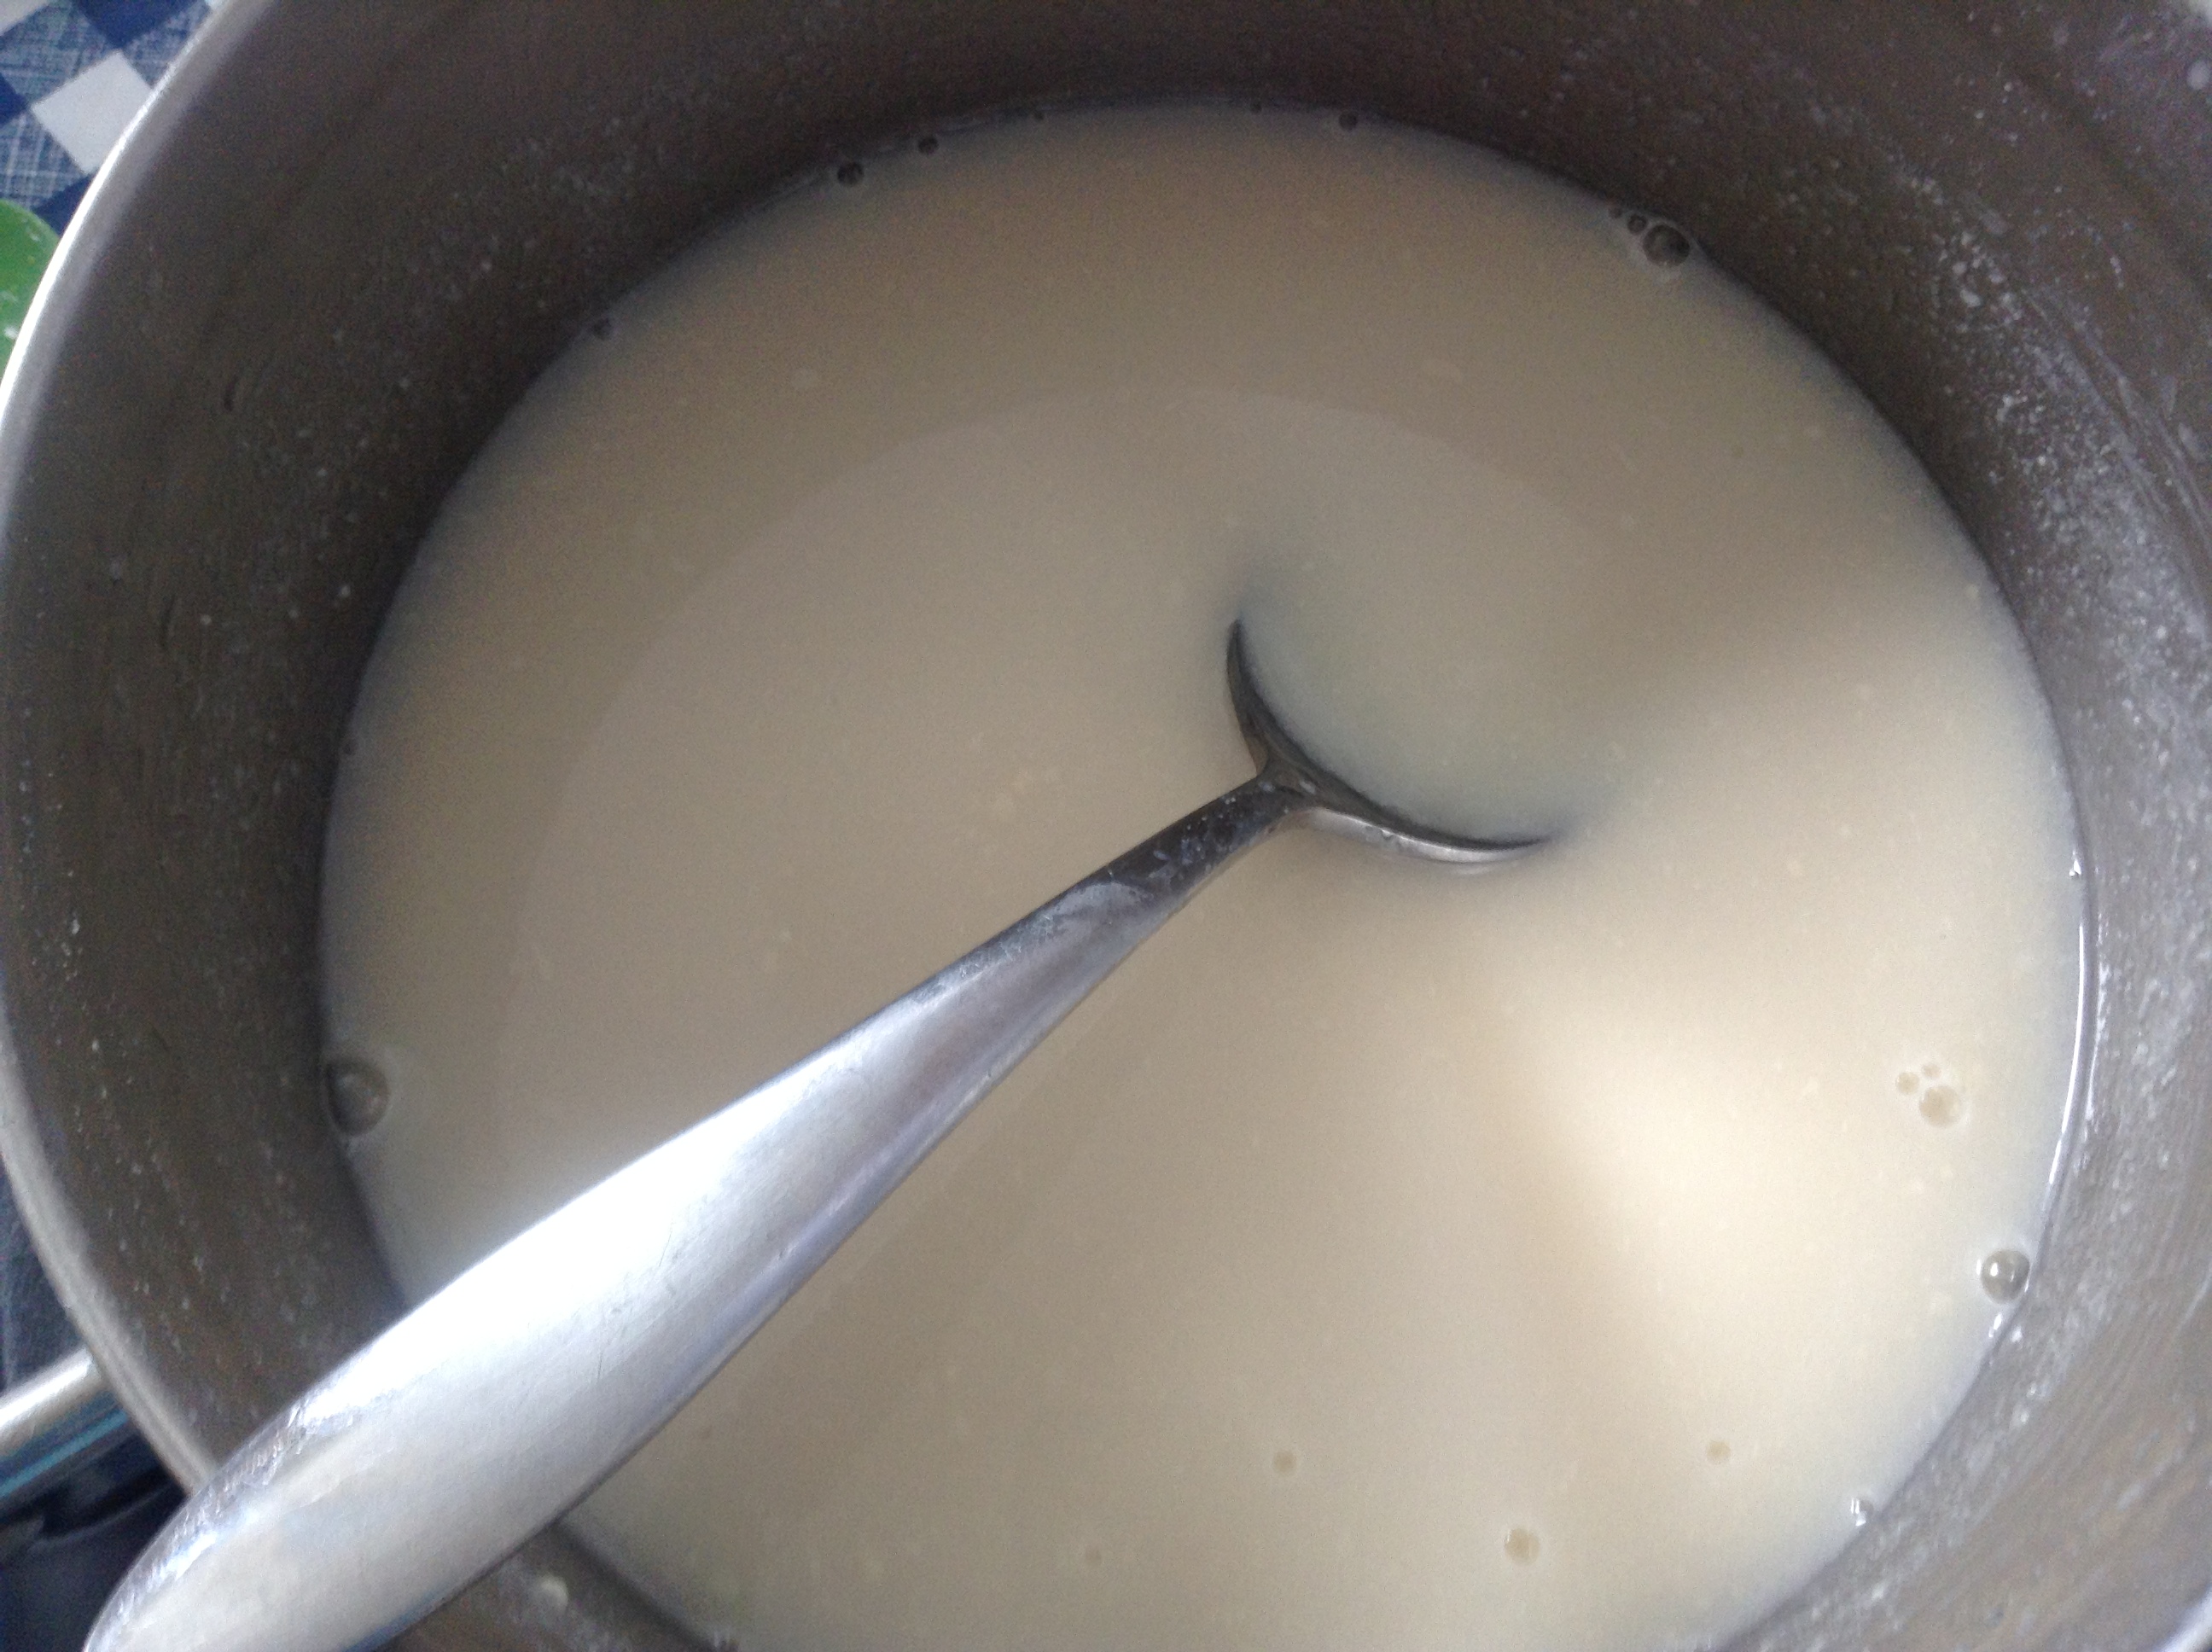
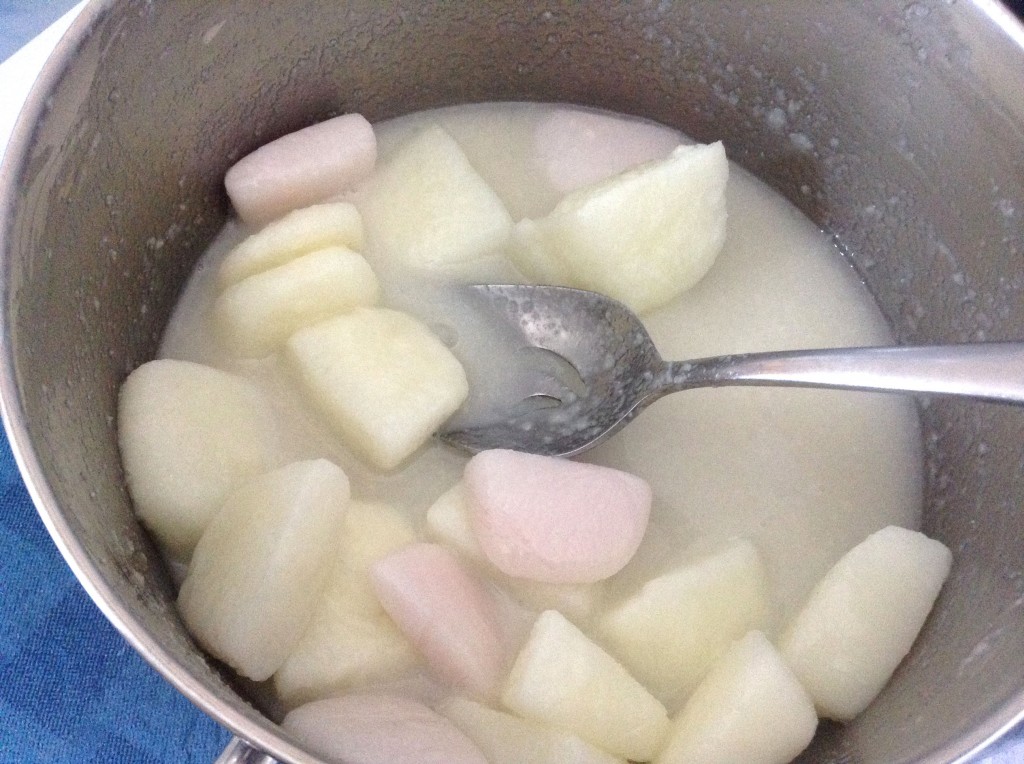 Working with milk requires a bit more effort than working with water. I use a stainless steel pot because if I need to quickly cool it down the mixture, stainless steel is a better conductor (hot or cold) than plastic or glass. I also add the lye to the milk just a little at a time and stir until the lye is dissolved. Then I add more. It can take a little while. Once all the lye was added, and I was relatively sure the all of it had dissolved in the milk, I added the sodium lactate to the lye mixture and stirred well to dissolve it.
 I checked the temperature of the lye mixture, and it was about 82°F. Pretty good. I don’t like it to rise above 90°F. If it starts to become too warm, I put the pan in a cool water bath to bring the temperature down.
Another benefit of preparing the oils first and then the lye mixture is that the oils have a little bit more time to cool down as well. I didn’t take their temperature, but my guess is that they were 90-95°F by the time the lye was ready. They would likely have been about 100°F when I began preparing the lye mixture.
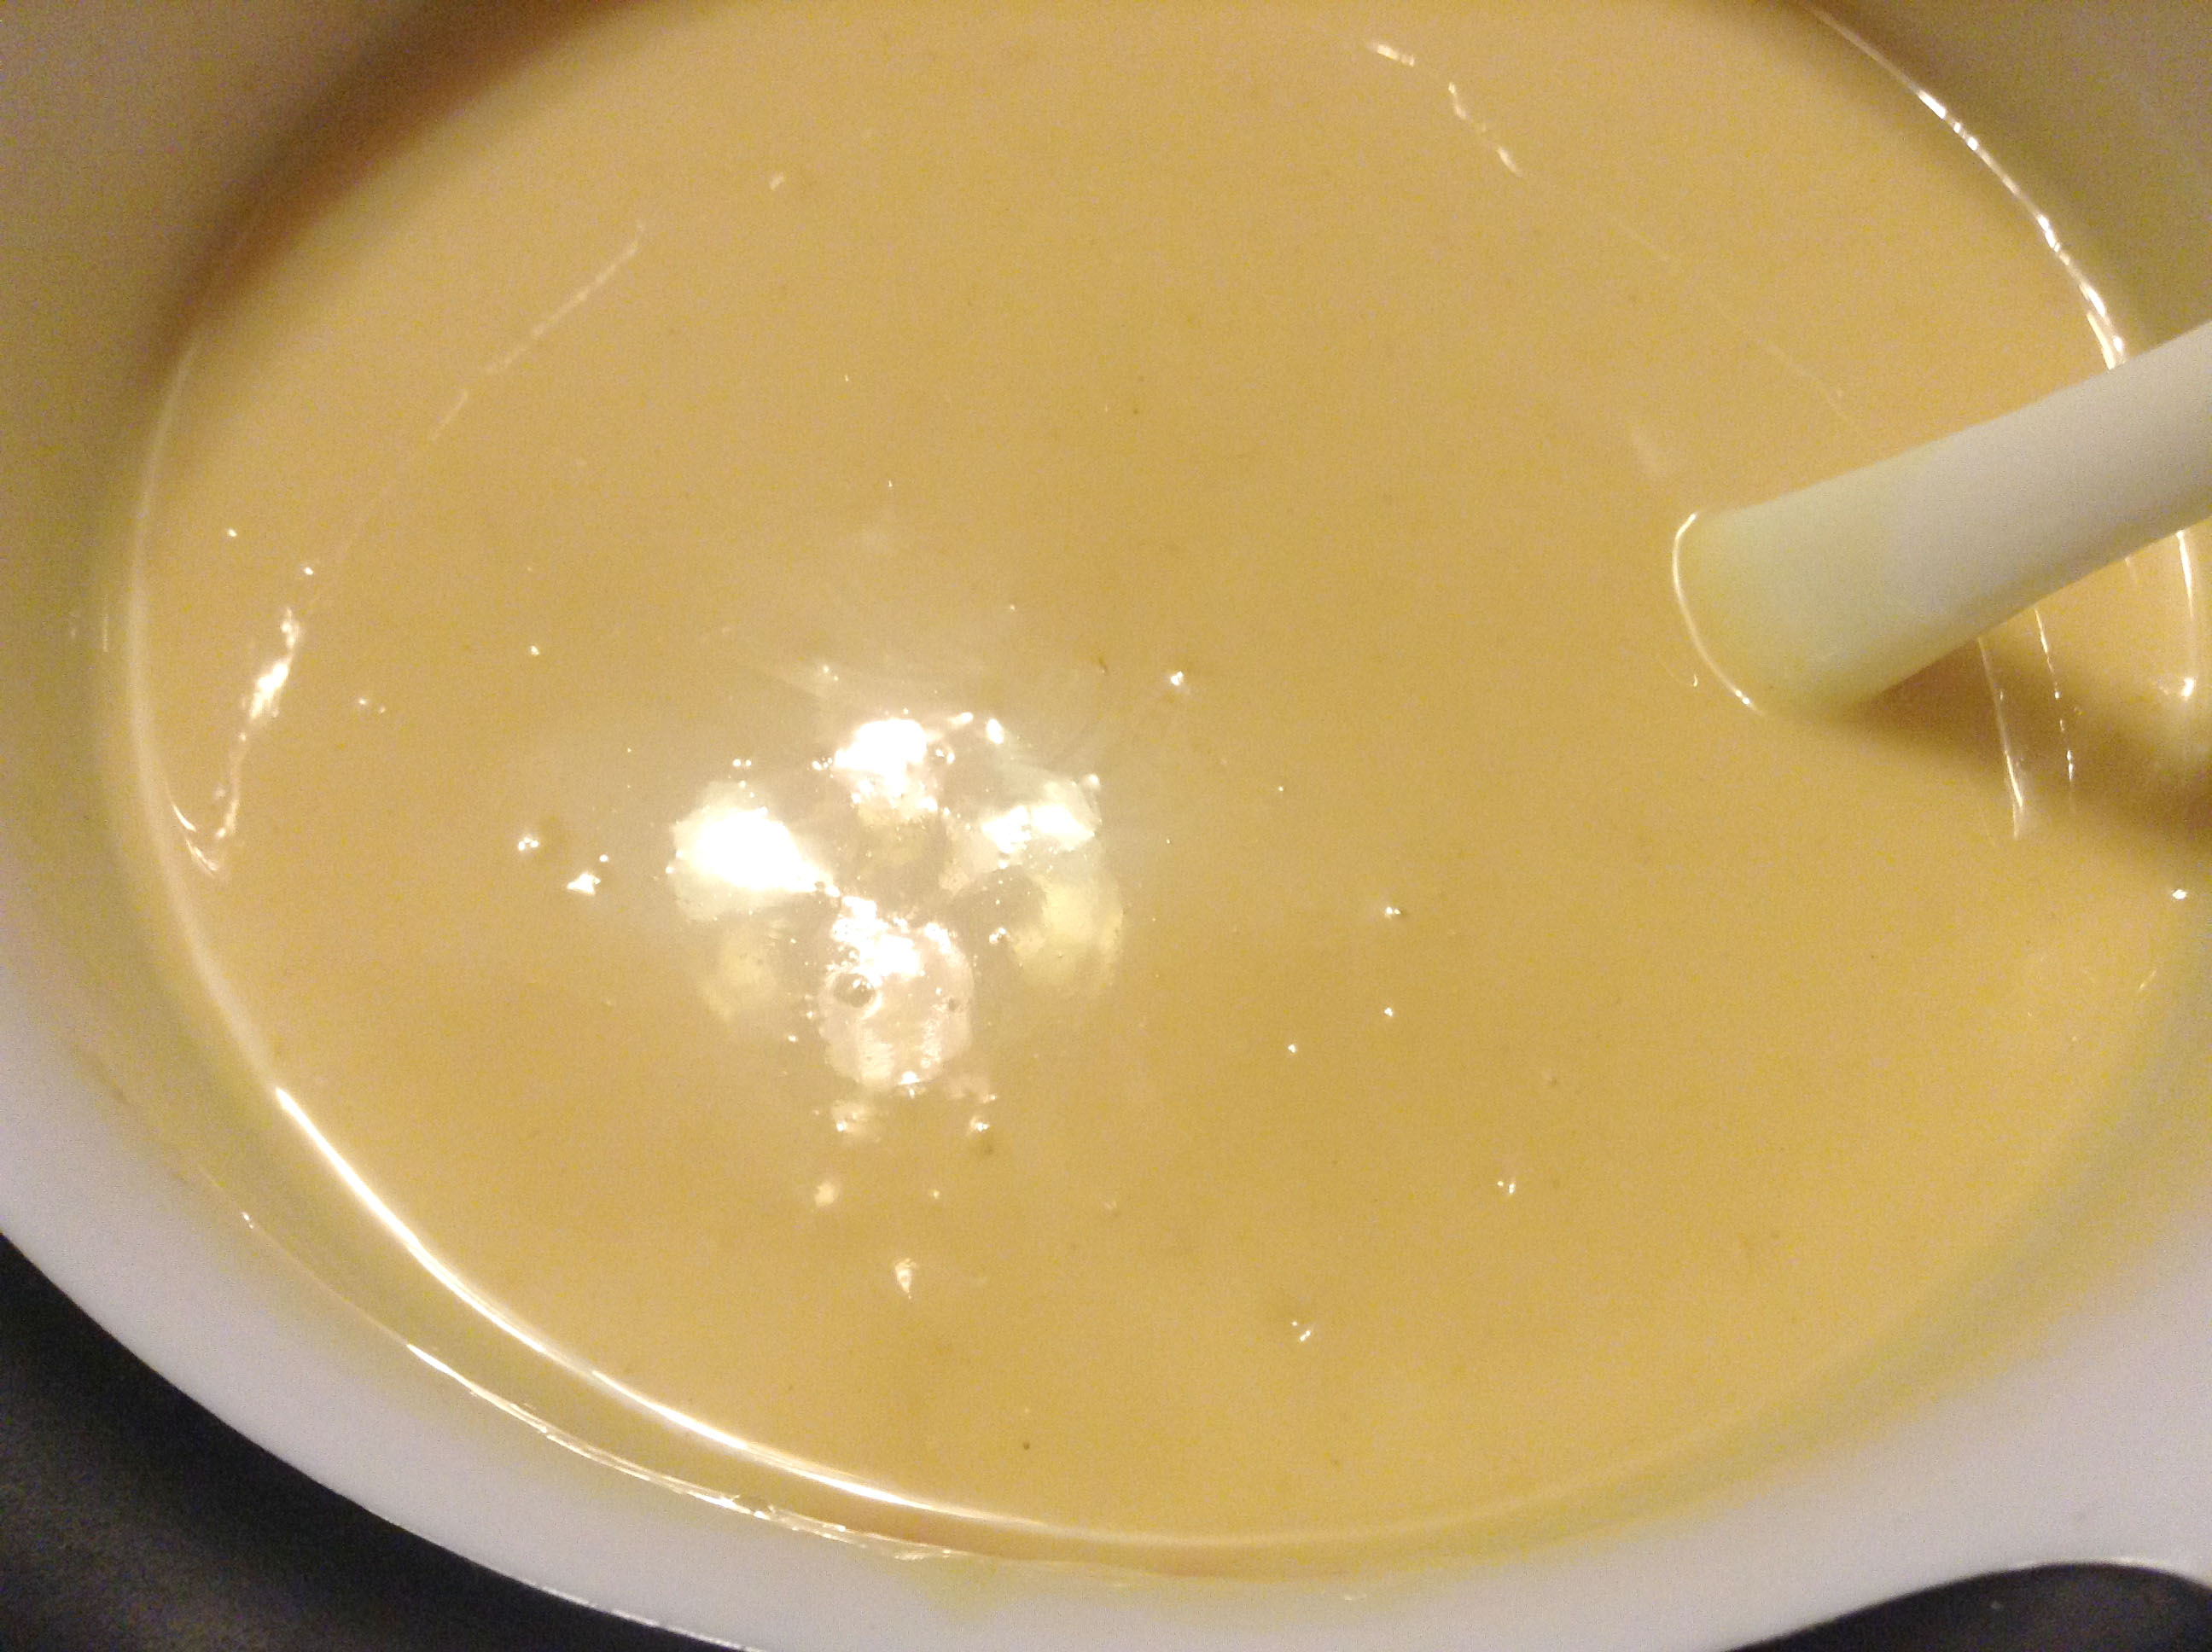
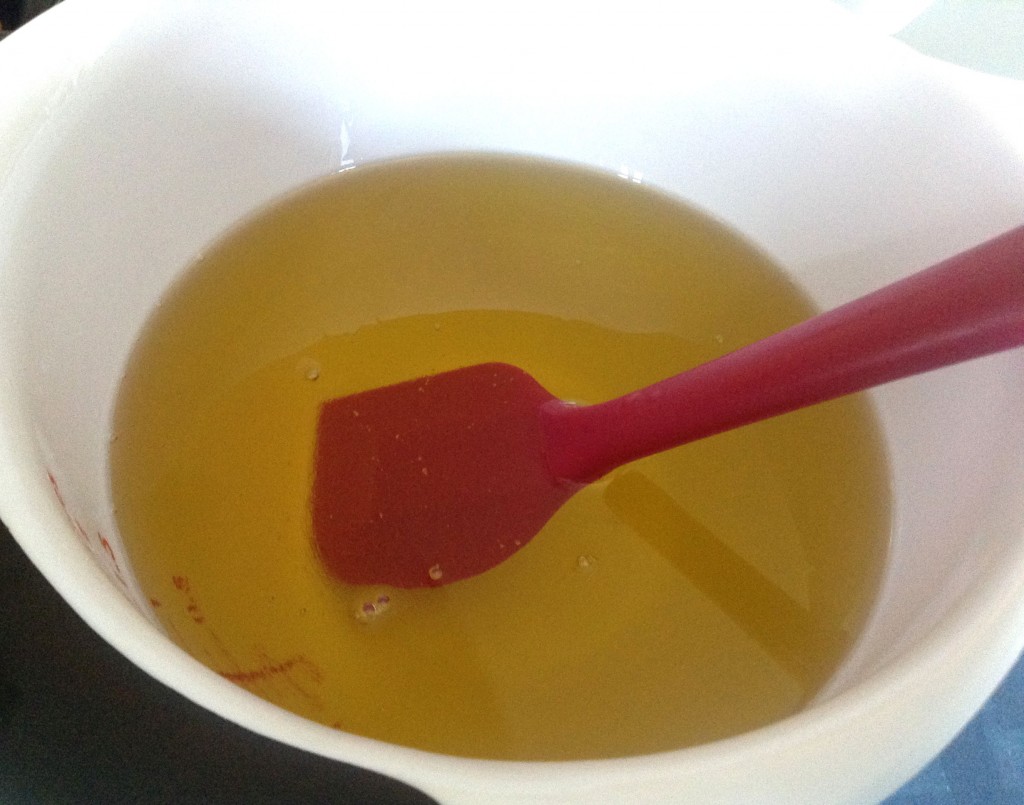
Once the lye mixture was ready, I added it to the oils and stirred a little bit. Anne-Marie Faiola of Bramble Berry likes to pour the lye mixture down the barrel of her stick blender to reduce splashing and bubbles. I did that this time, too.
 I stick blended until a very light trace, then I added the honey. Honey will accelerate trace, so make sure you add it at a light trace, or you may find you have gone too far with the stick blending. When I use honey in soap, I mix it with an equal amount of distilled water. In this case, I used 1.5 t of honey, so I mixed it with 1.5 t of water. Then I microwave the honey for a very short time—only 5-10 seconds. I stir until it dissolves in the water. I find that I have fewer issues with scorching, overheating, and caverns in soap if I dissolve the honey. I have also learned not to use more honey than I need. I wouldn’t go higher than a tablespoon in a batch of this size, and given I used a log mold instead of a slab mold, even that much might have caused temperature issues. Honey is a natural humectant and contributes to the lather in soap.
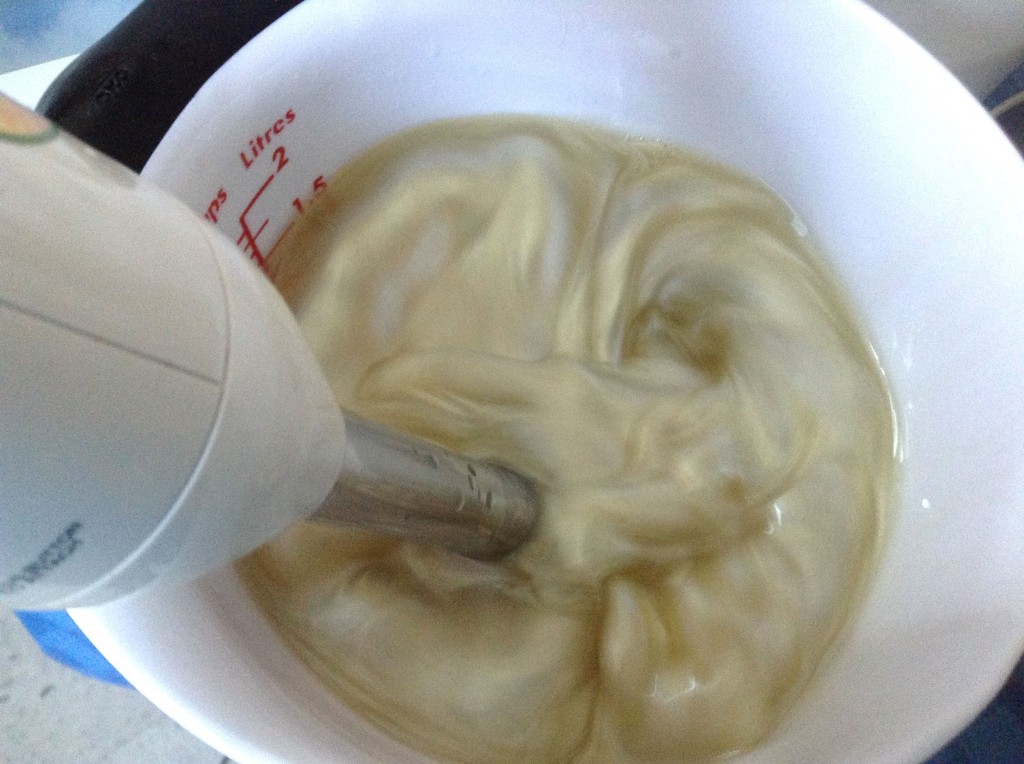
I added my fragrance, which was Nature’s Garden’s Brown Sugar and Fig. I wanted a scent that evoked the creaminess of the soap. I chose this fragrance also because I knew that it had a very small amount of vanillin in it, and reviews said that it didn’t discolor. I love the fragrance description:
This magical, complex fragrance oil by Nature’s Garden is composed of top notes of fresh figs, peaches, and passion fruit; followed by middle notes of coconut milk, vanilla orchid, jasmine, muguet, and freesia; well-balanced with base notes of vanilla beans, caramel, maple sugar, fig leaves, and musk.
To be honest, I don’t smell any fruit notes, with the possible exception of the fig. I mostly smell vanilla, sugar, and musk. It smells great, and I think it’s perfect in this soap. I had no issues with acceleration or ricing. I’ll have to wait and see as the soap cures to determine whether the claims that it doesn’t discolor are true.
I should think other good fragrance choices might be Nature’s Garden’s Baby Bee Buttermilk or Oatmeal, Milk, and Honey or Bramble Berry’s Wildflower Honey (which will discolor, but to a nice honey shade).
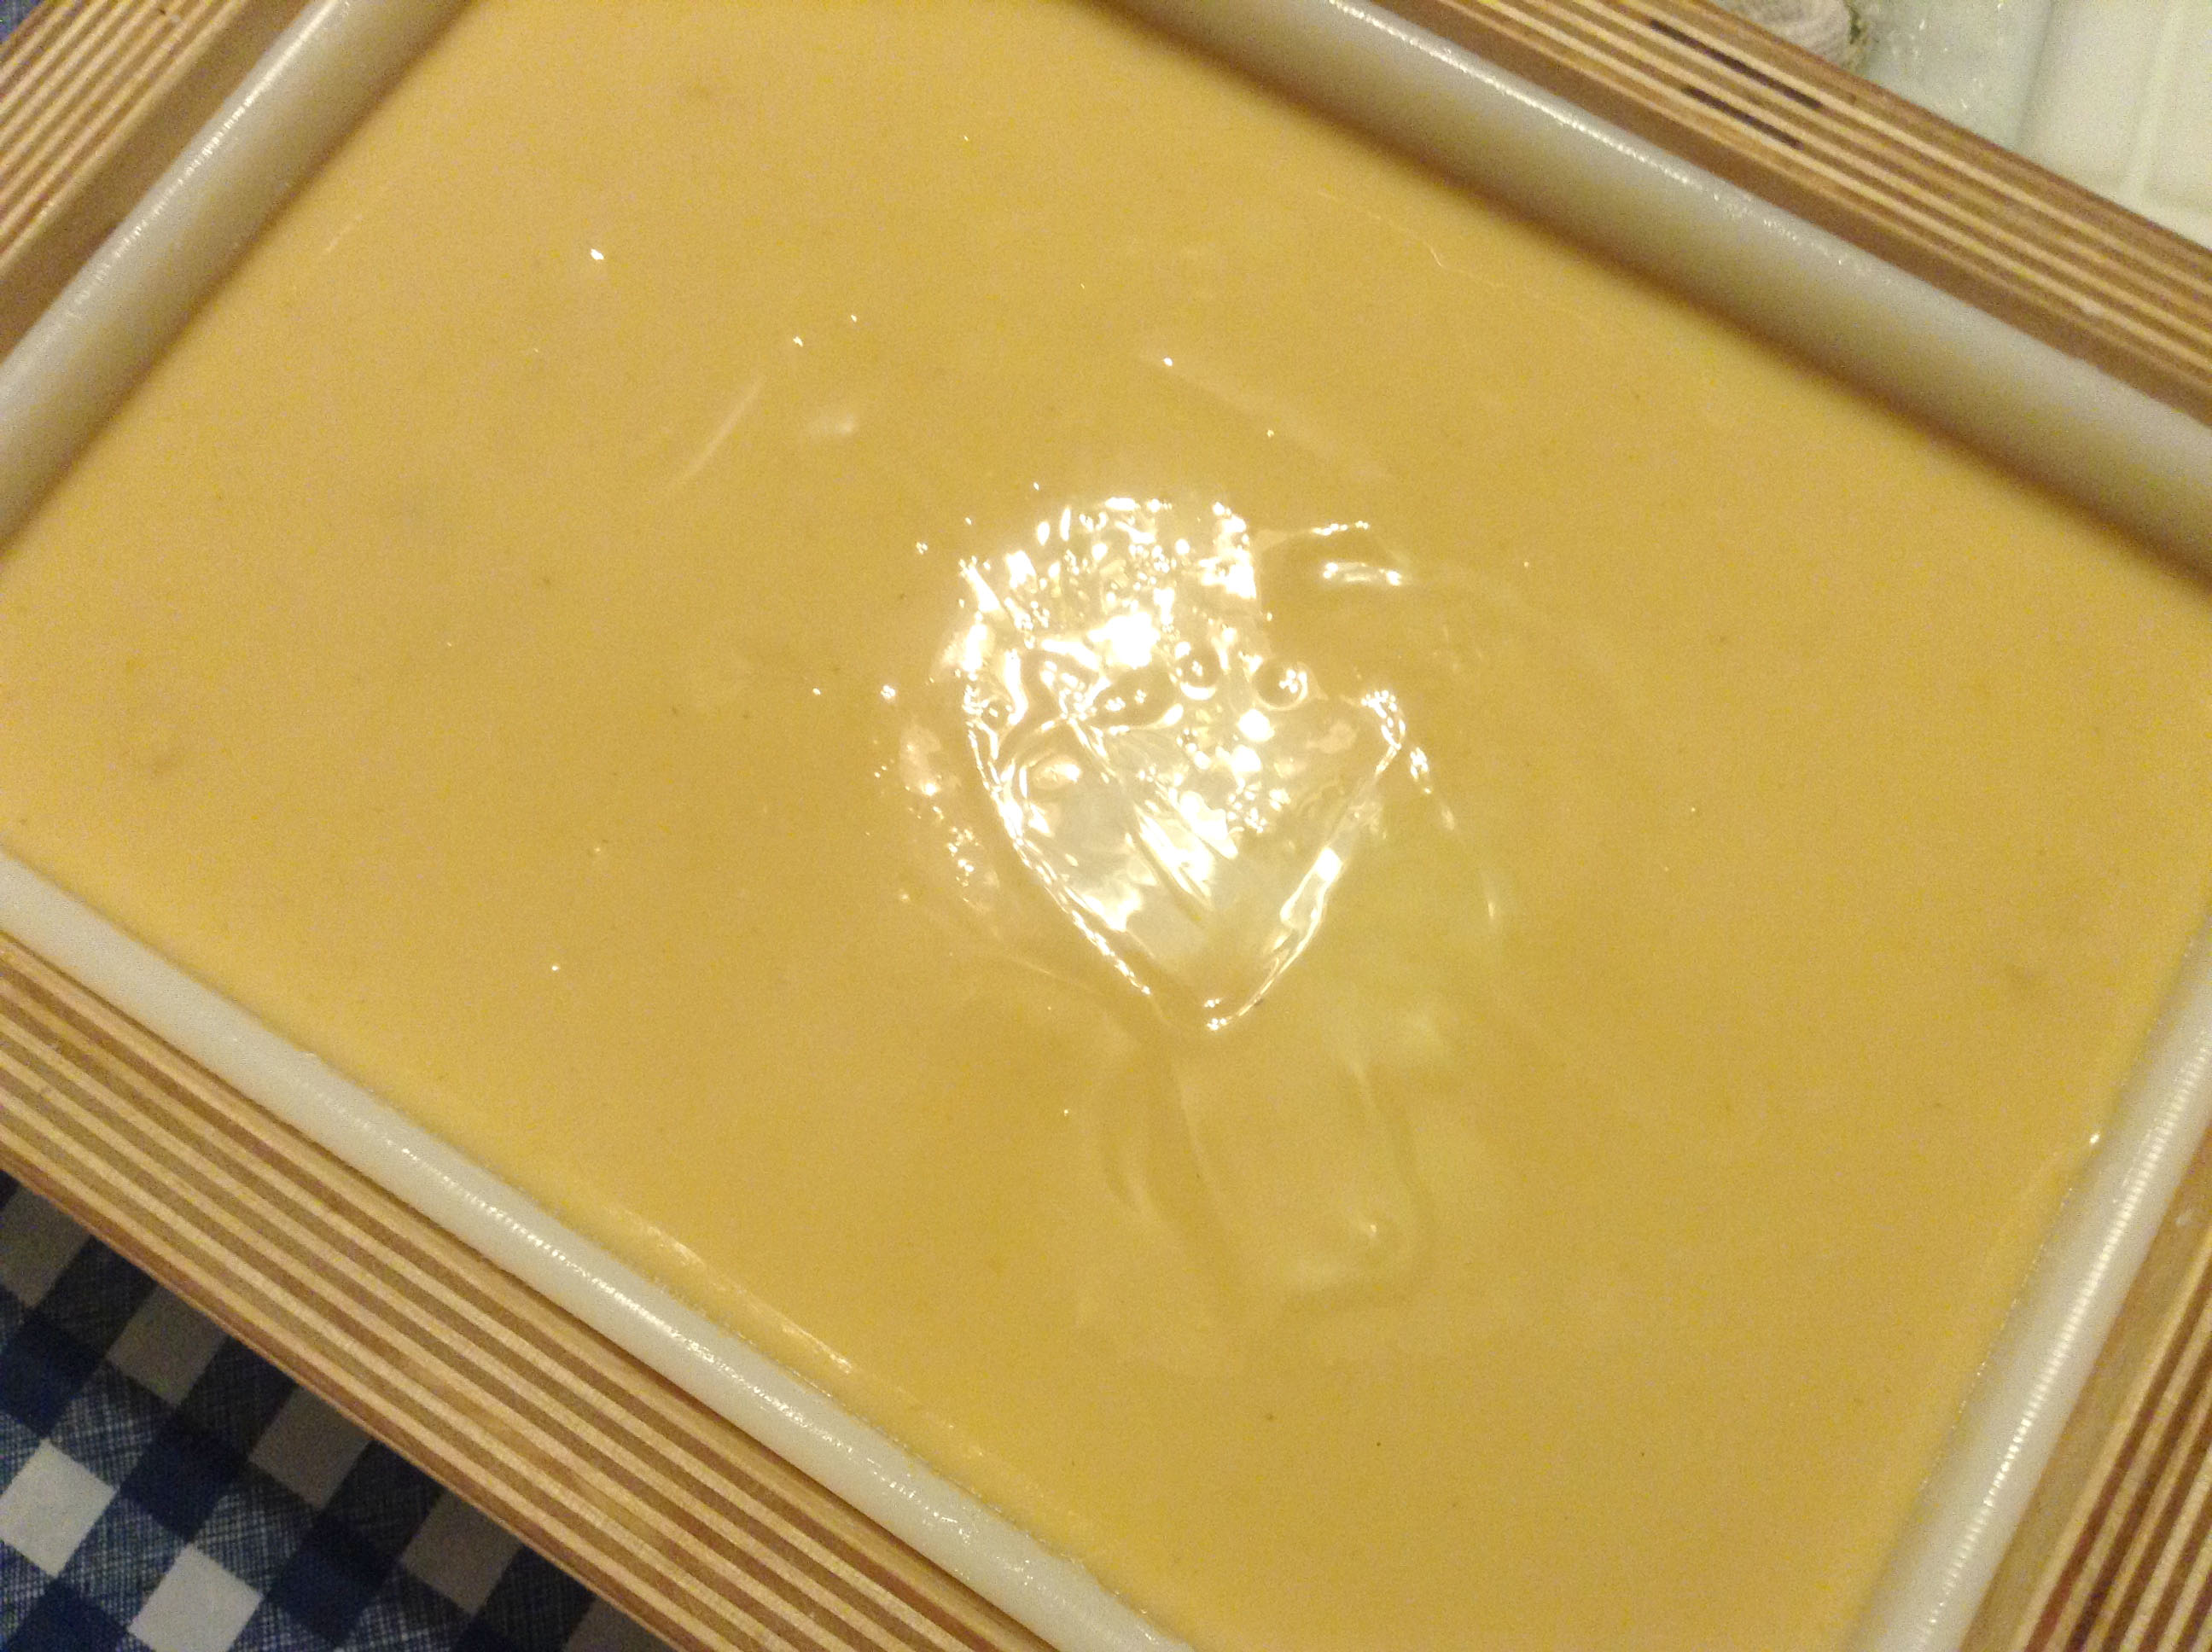
 I blended to a pretty thick trace, then poured the soap into my 10-inch silicone loaf mold, which was the perfect size for this recipe. Bramble Berry recommends using sodium lactate to make it easier to remove soap from this mold, and in any case, sodium lactate adds a nice silky feel to soap.
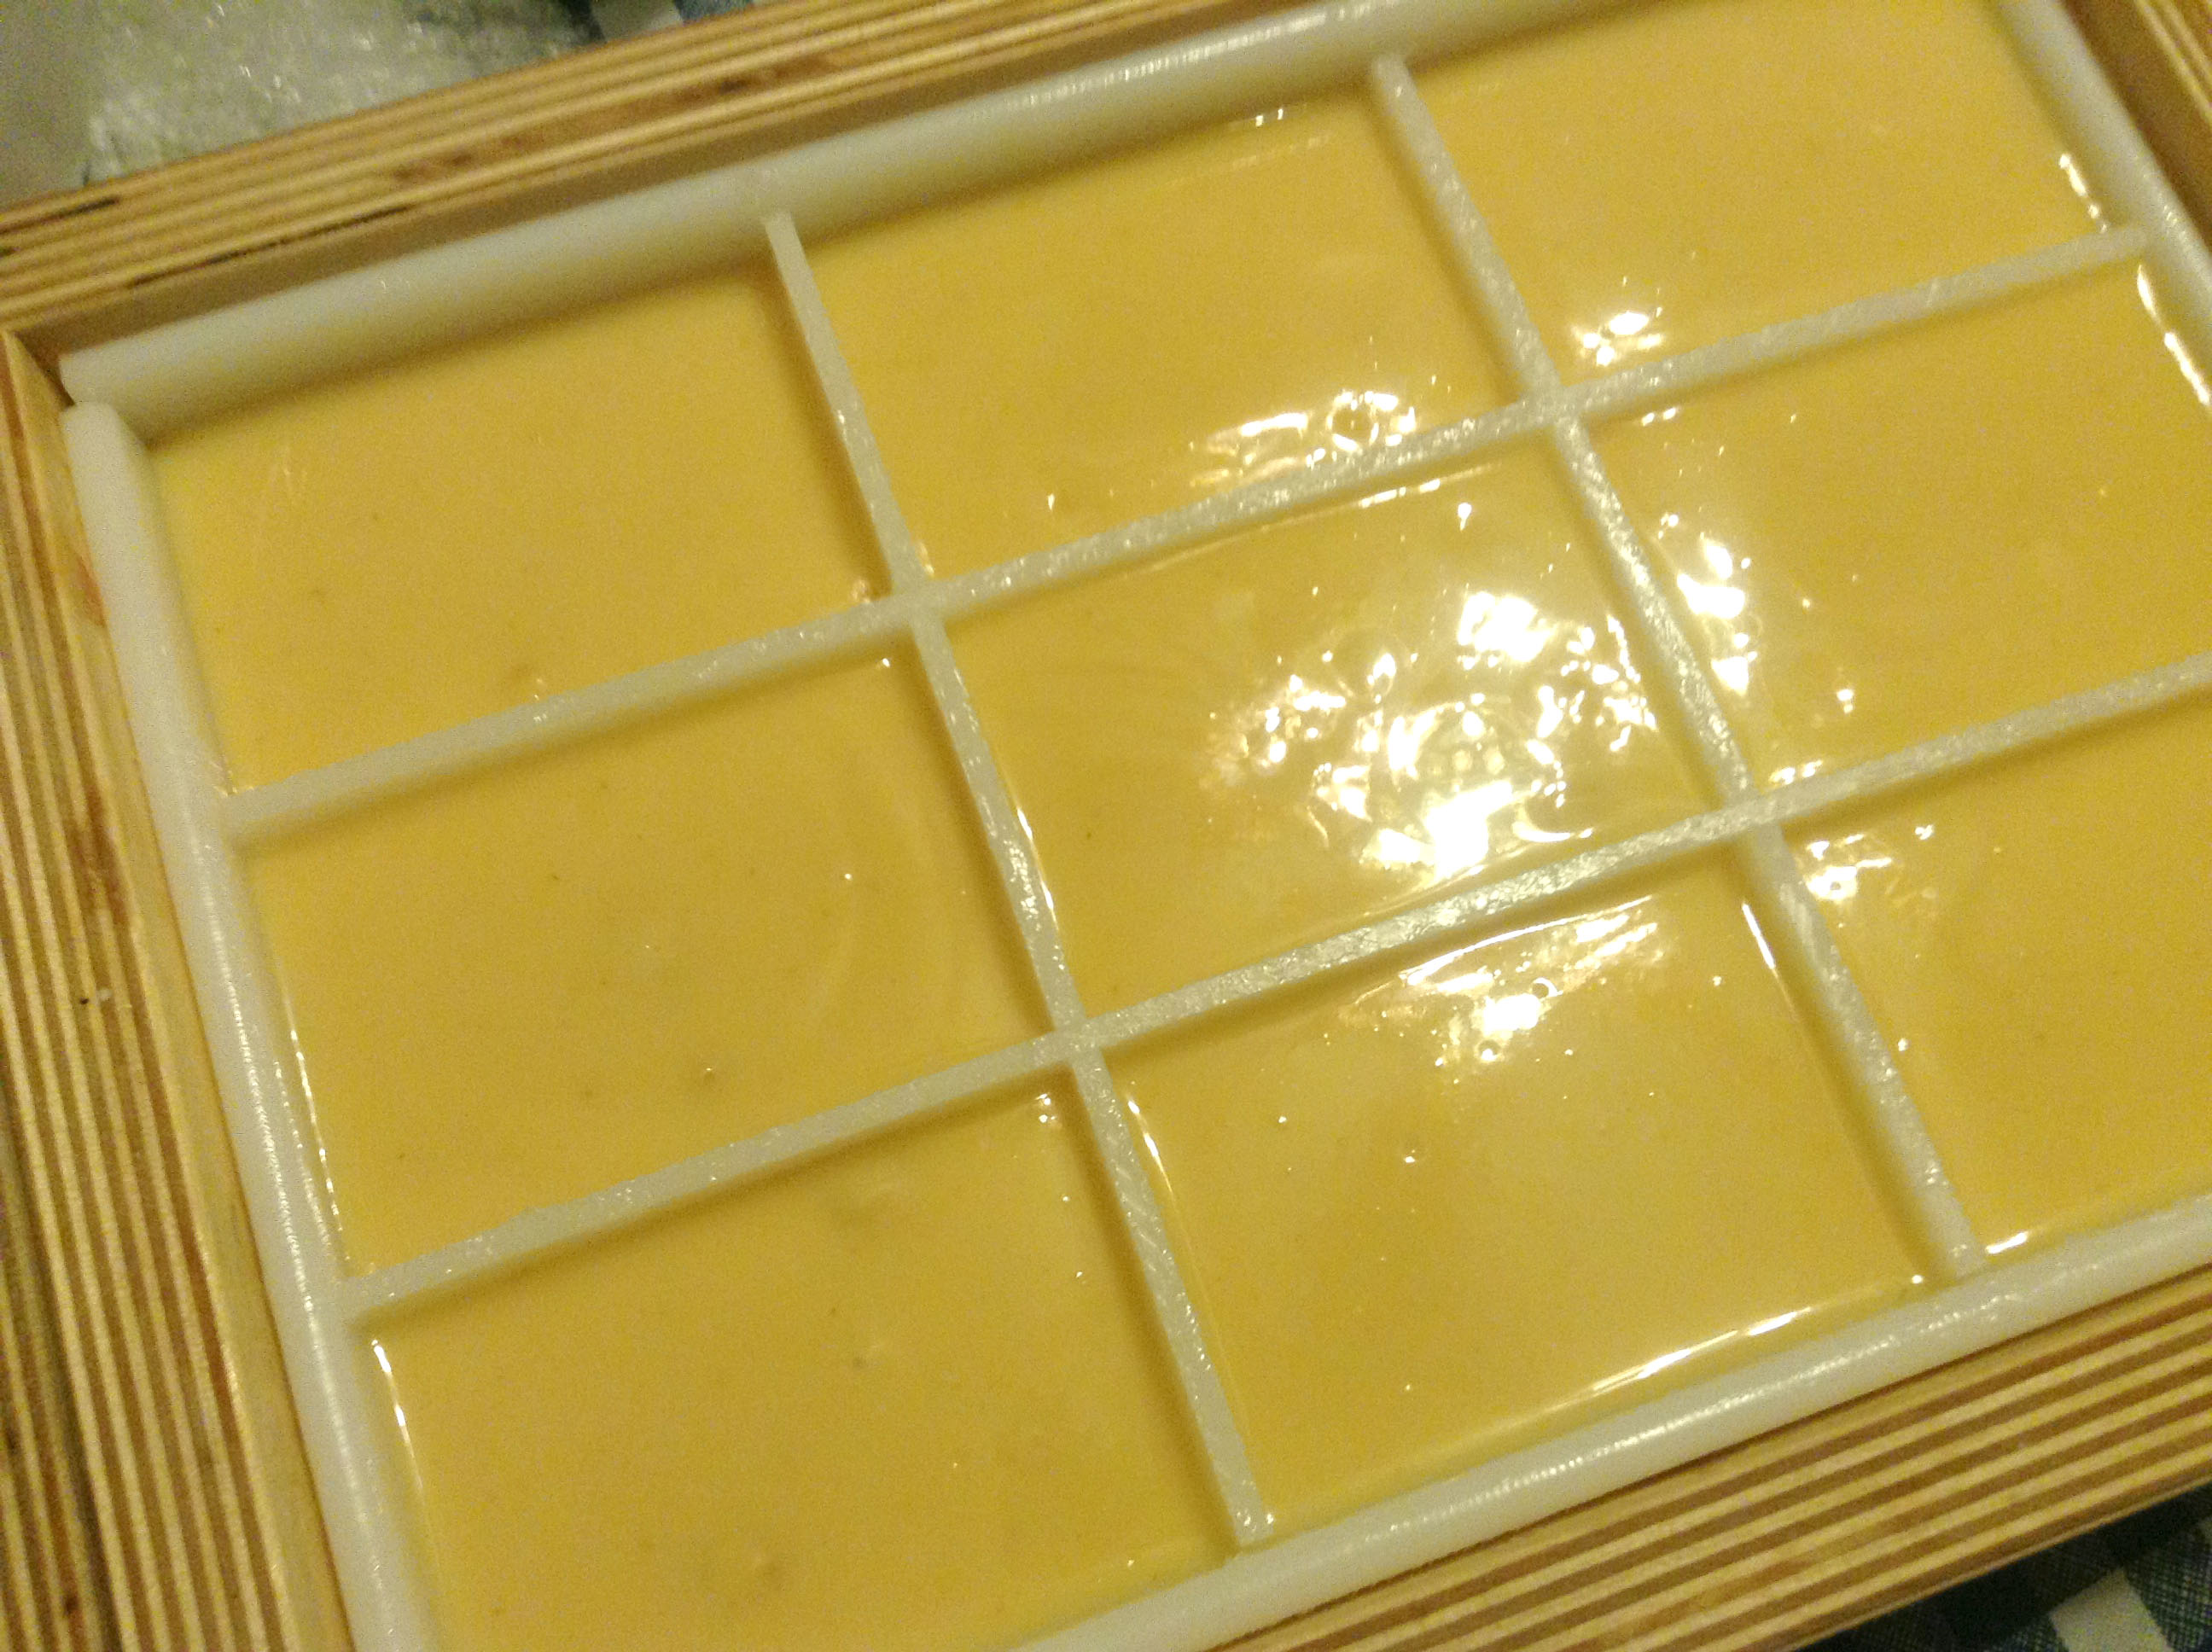
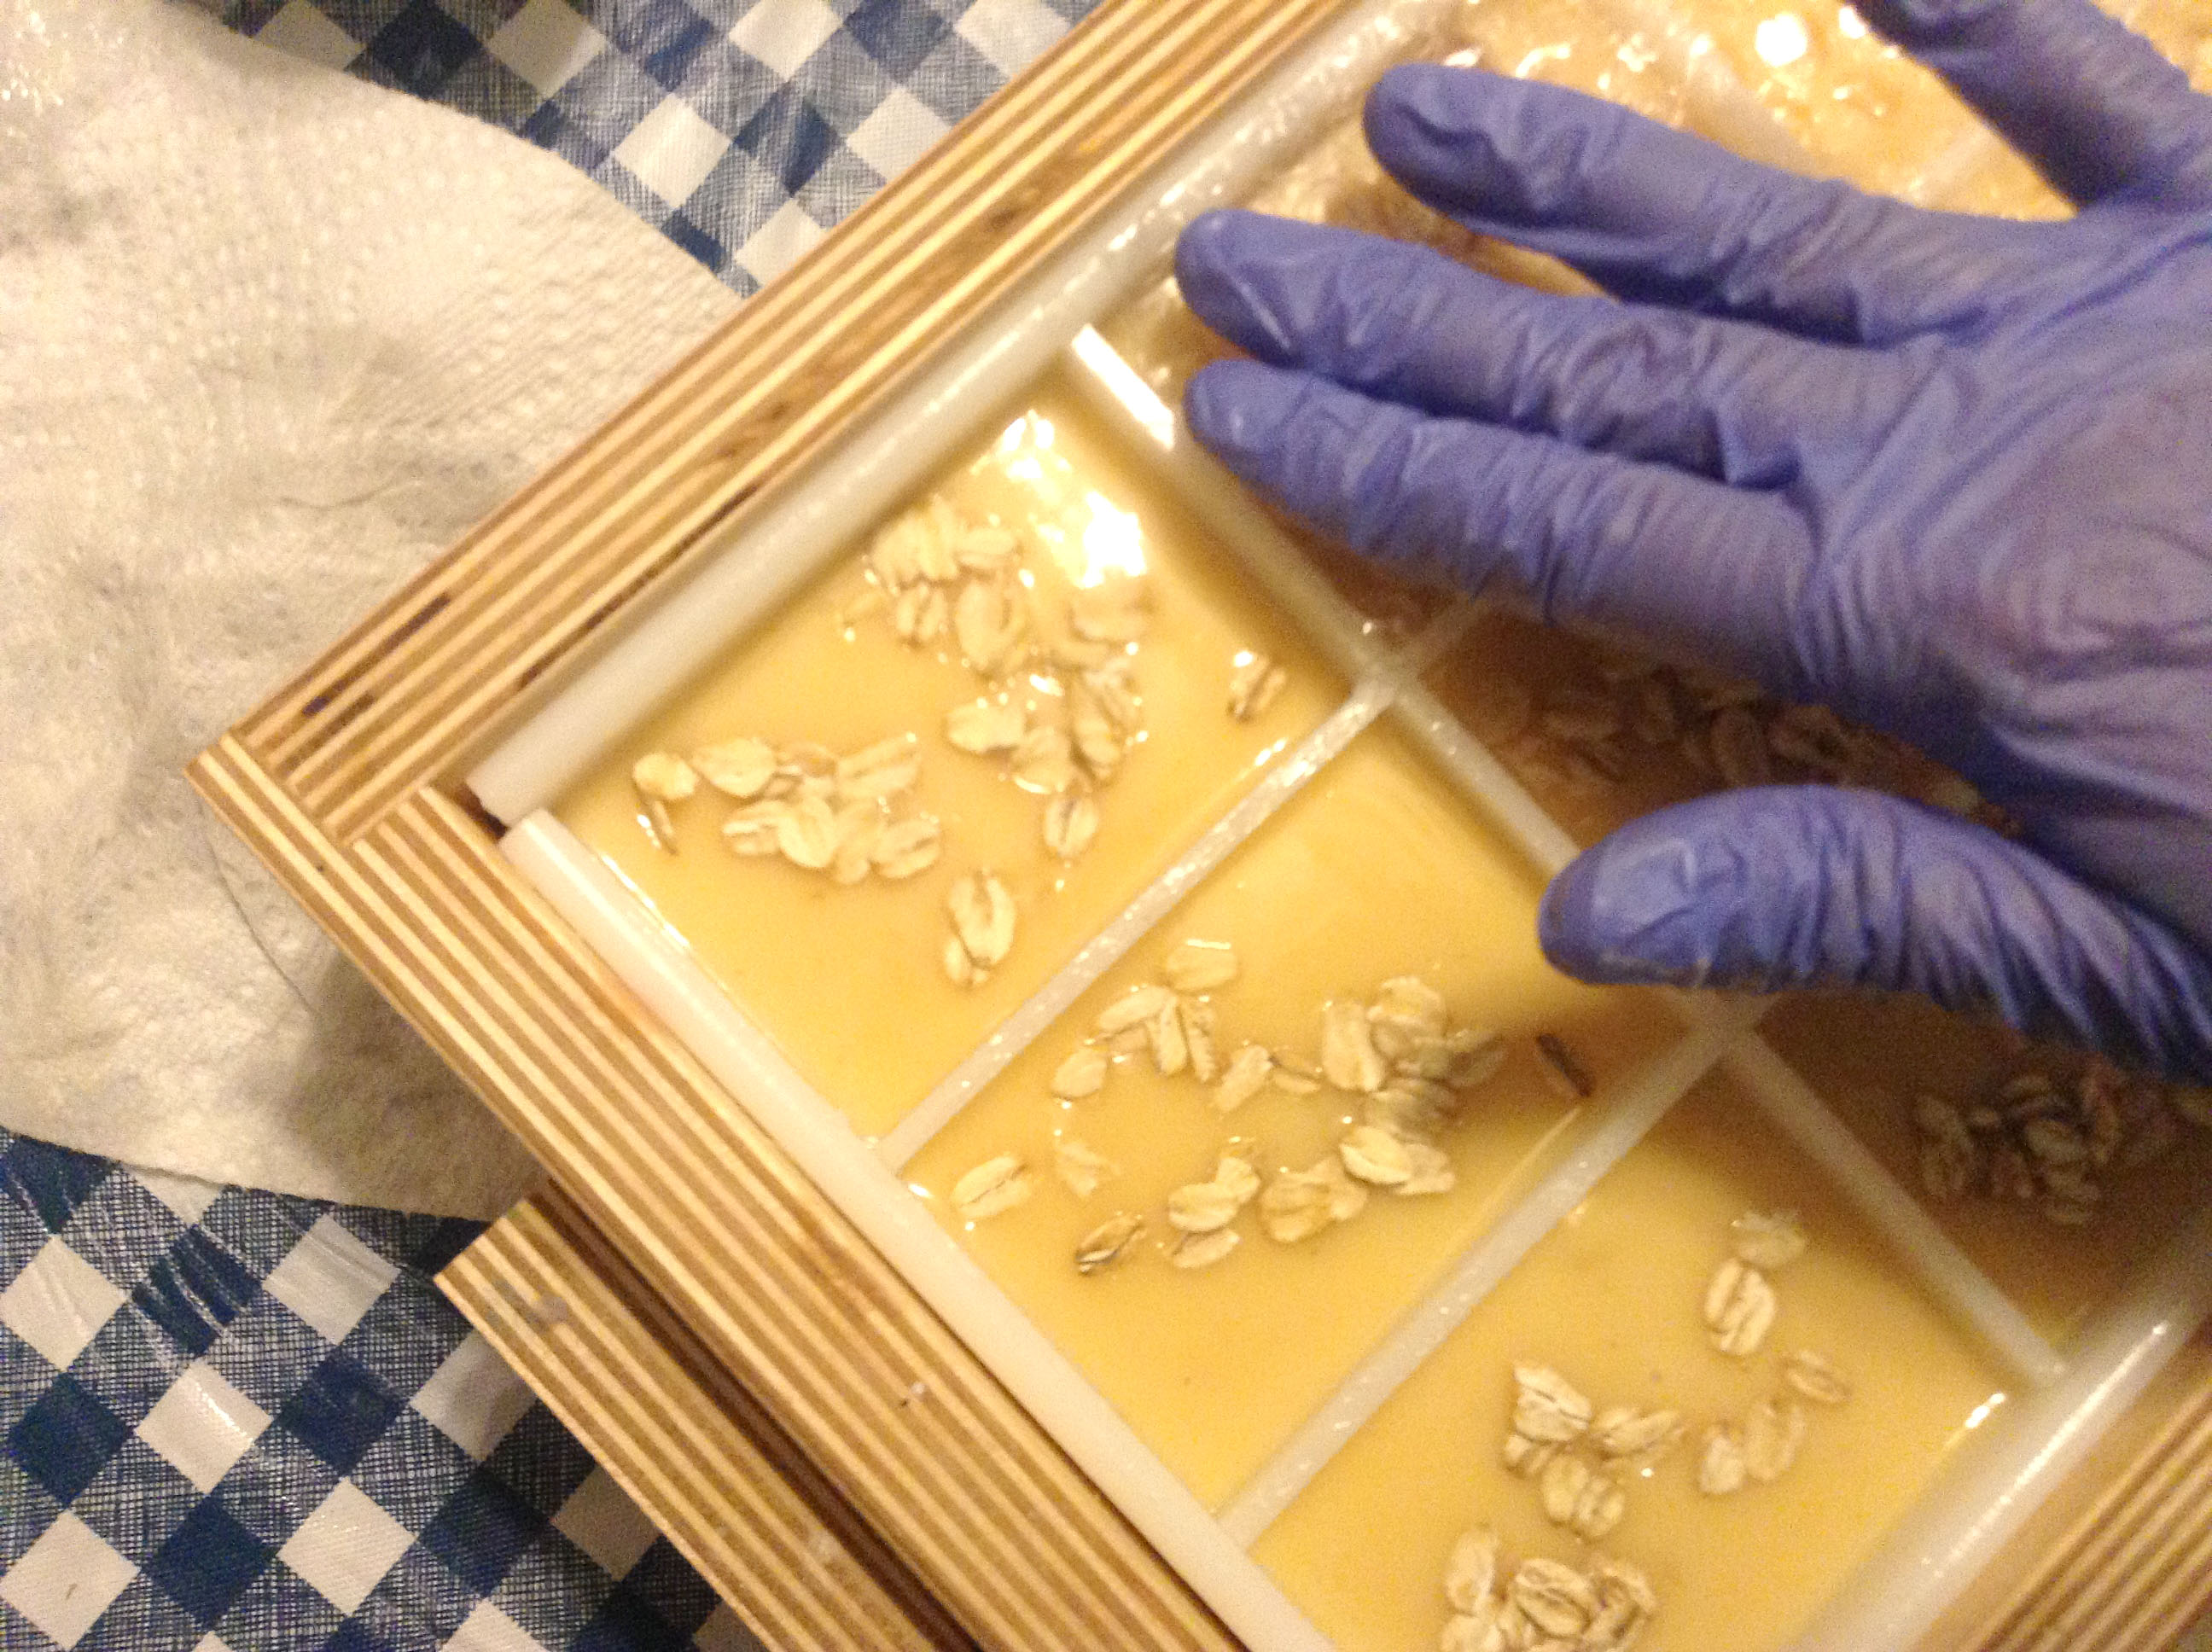
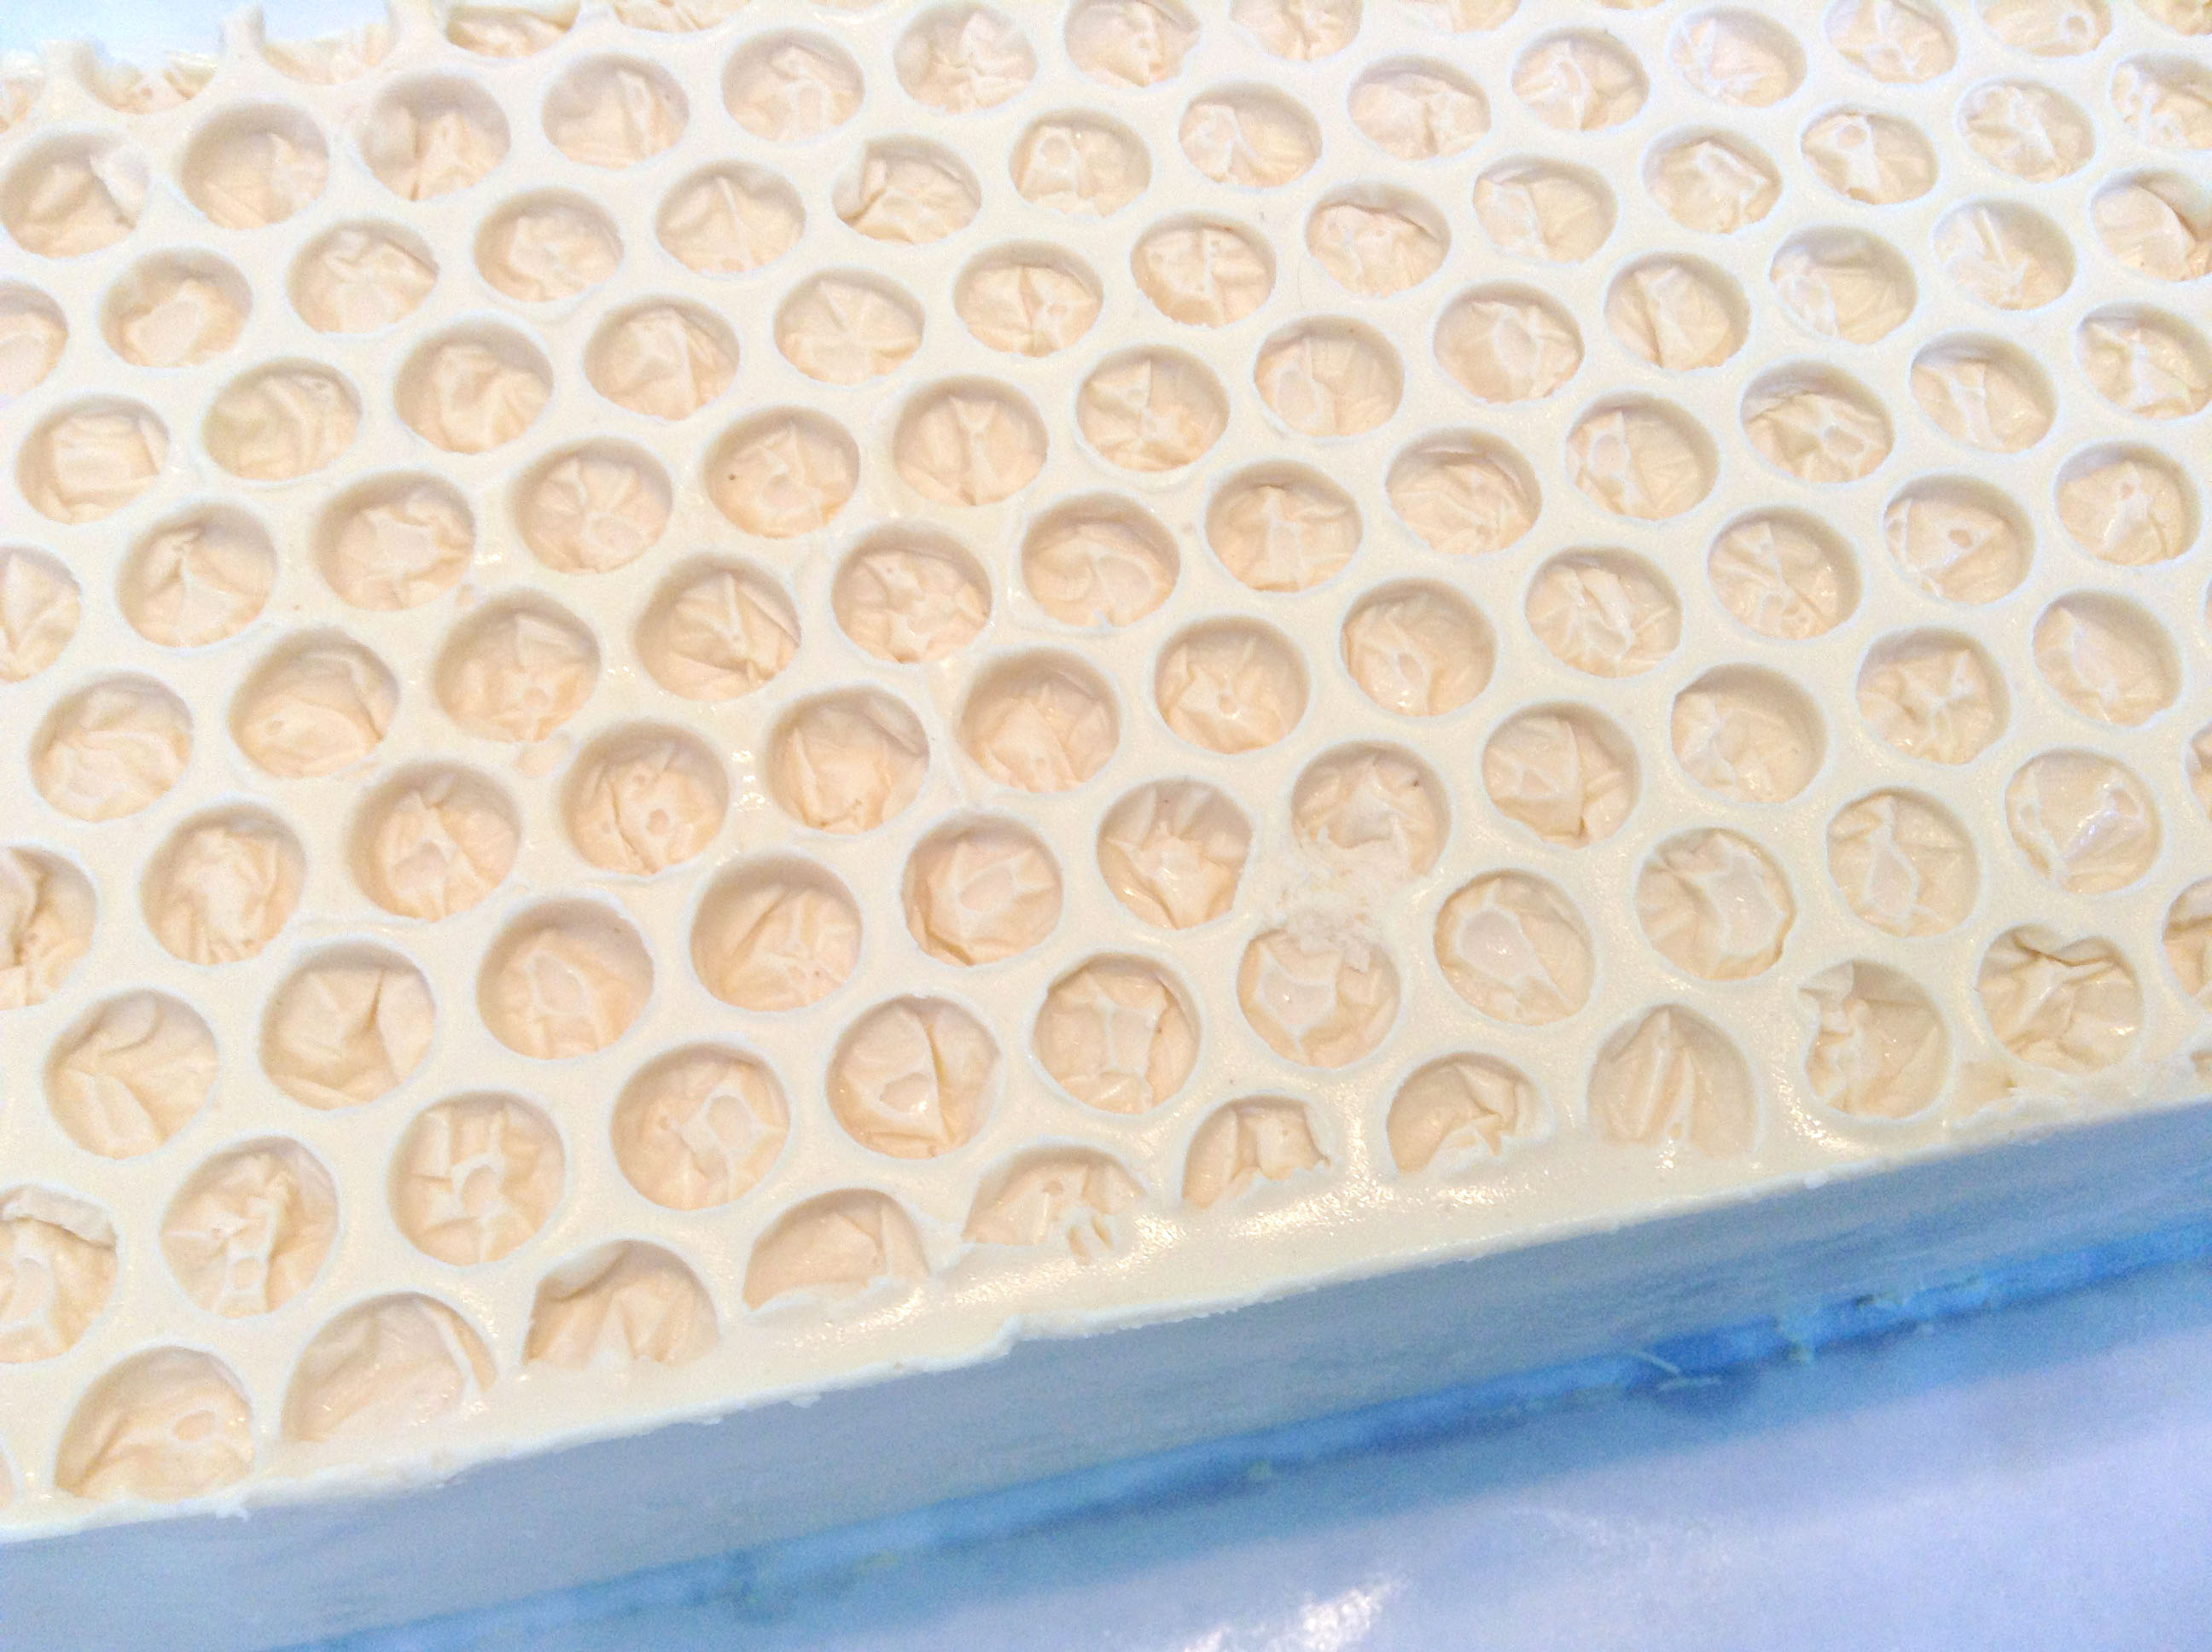
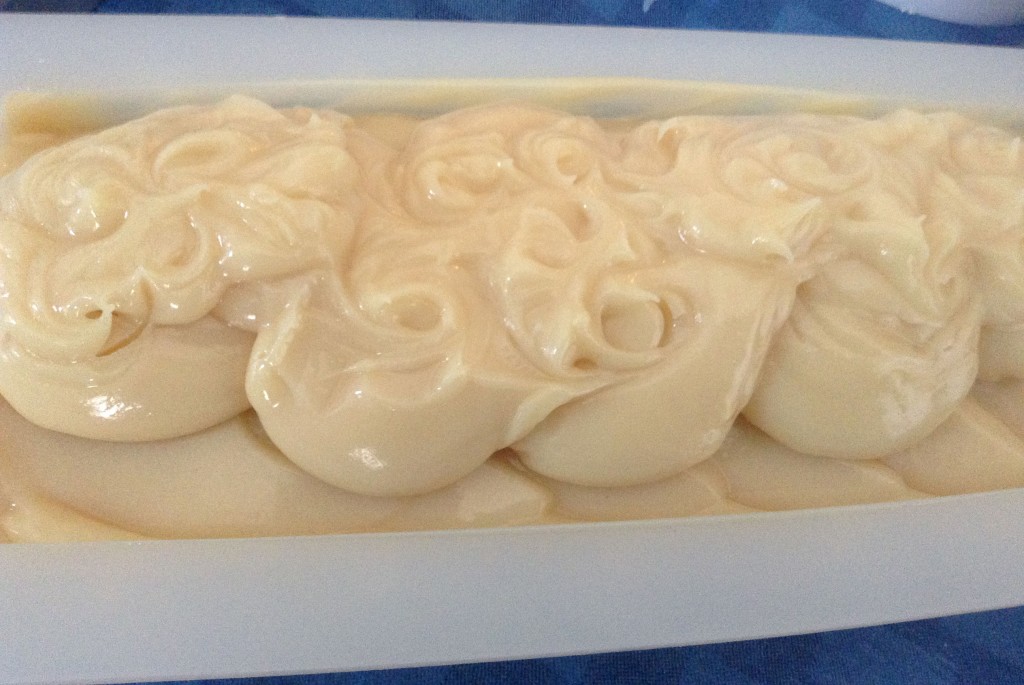
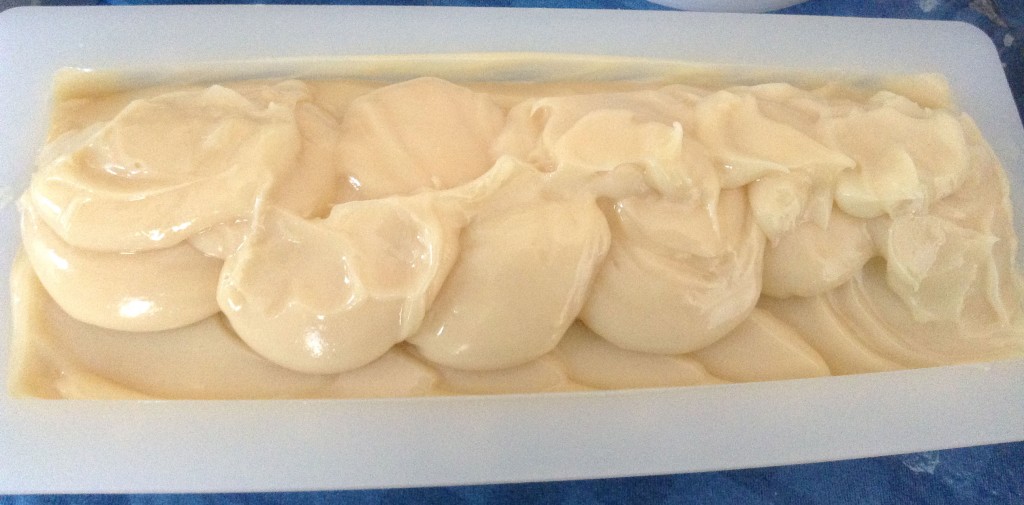 Like Cee, I spooned soap on the top after doing a little bit of sculpting, but I didn’t think my tops were as pretty as hers, so I experimented a bit with a skewer to create a slightly different design.
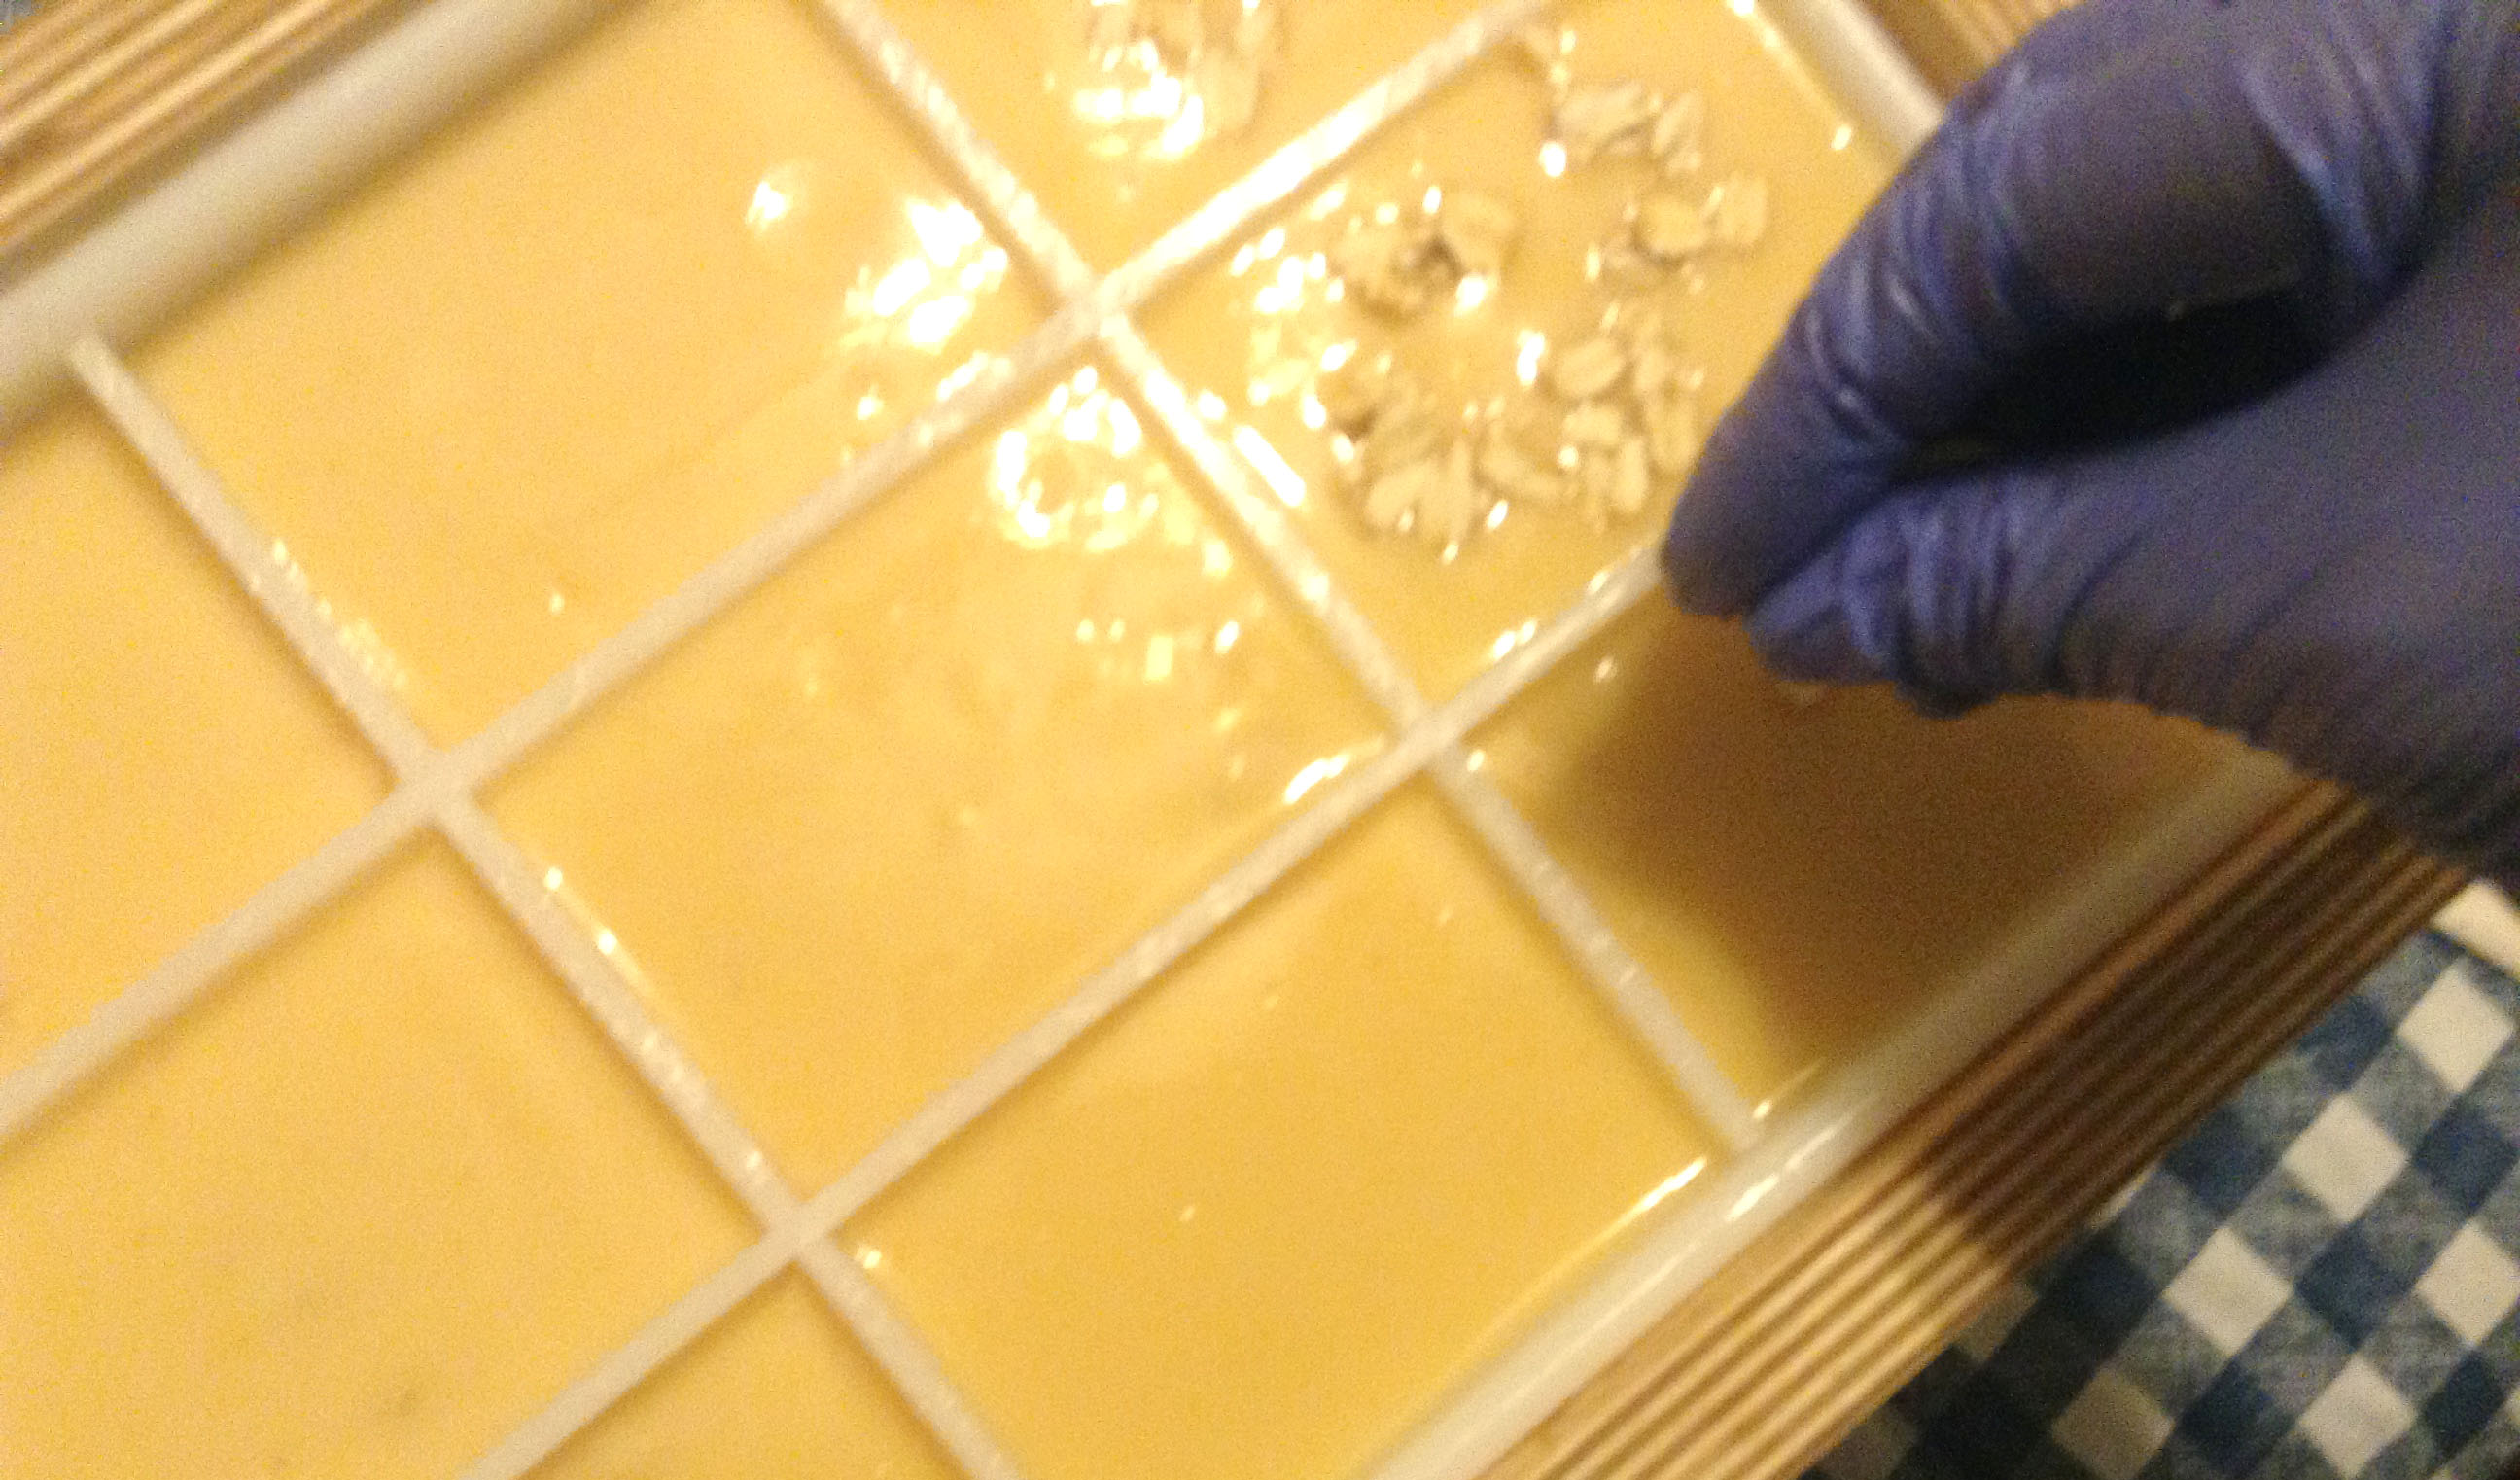
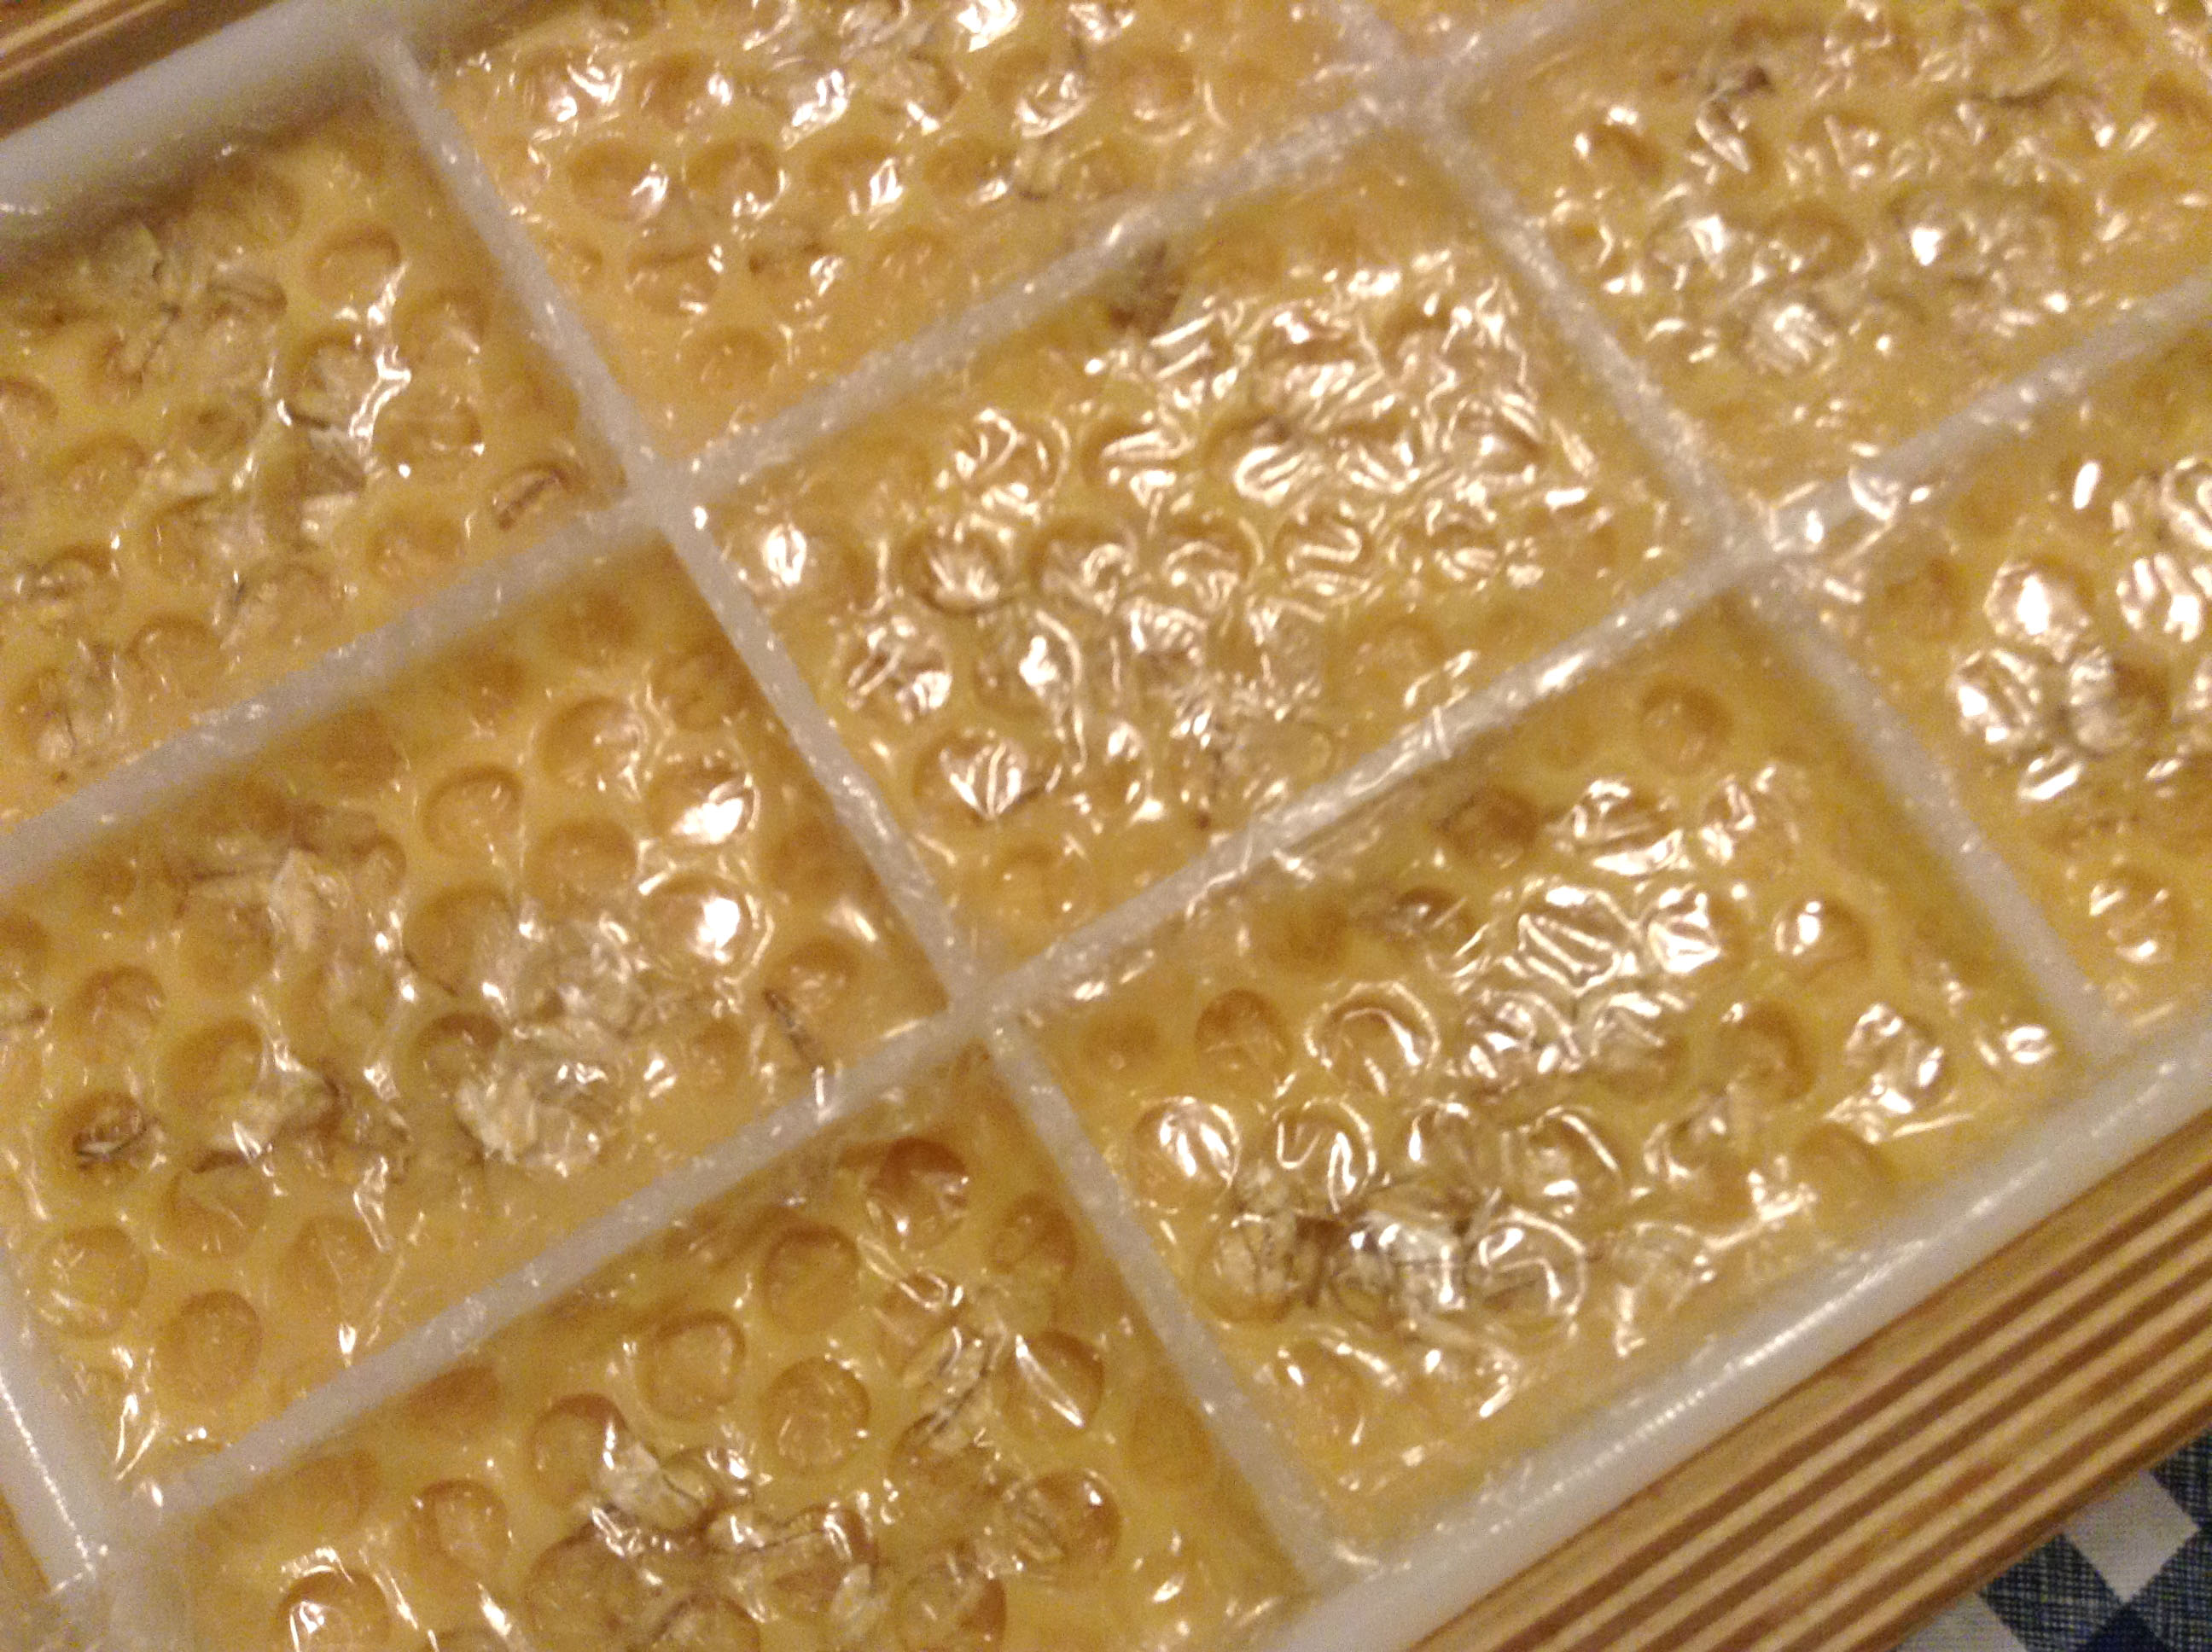
 I spritzed it with 91% isopropyl alcohol, which might not have been strictly necessary since I didn’t choose to gel the soap, but it can’t hurt anyway. Isopropyl alcohol can help prevent soda ash on the tops of soap, but it’s not 100% effective.
A quick word about gelling milk soaps. You will hear some soapmakers insist that you can’t or shouldn’t gel milk soaps. I don’t see any problem with it. I gel most of my milk soaps. Even the ones with honey in them, too. I have only had a problem with overheating once, and it was because I used way too much honey. My advice is to do what you want. I chose not to gel this one because I didn’t want it to darken as much as I knew it would if I gelled it. You might not need to insulate, or perhaps just to insulate lightly, but your milk soaps will gel just fine if you are mindful of the other additives you use and keep an eye on the temperature.
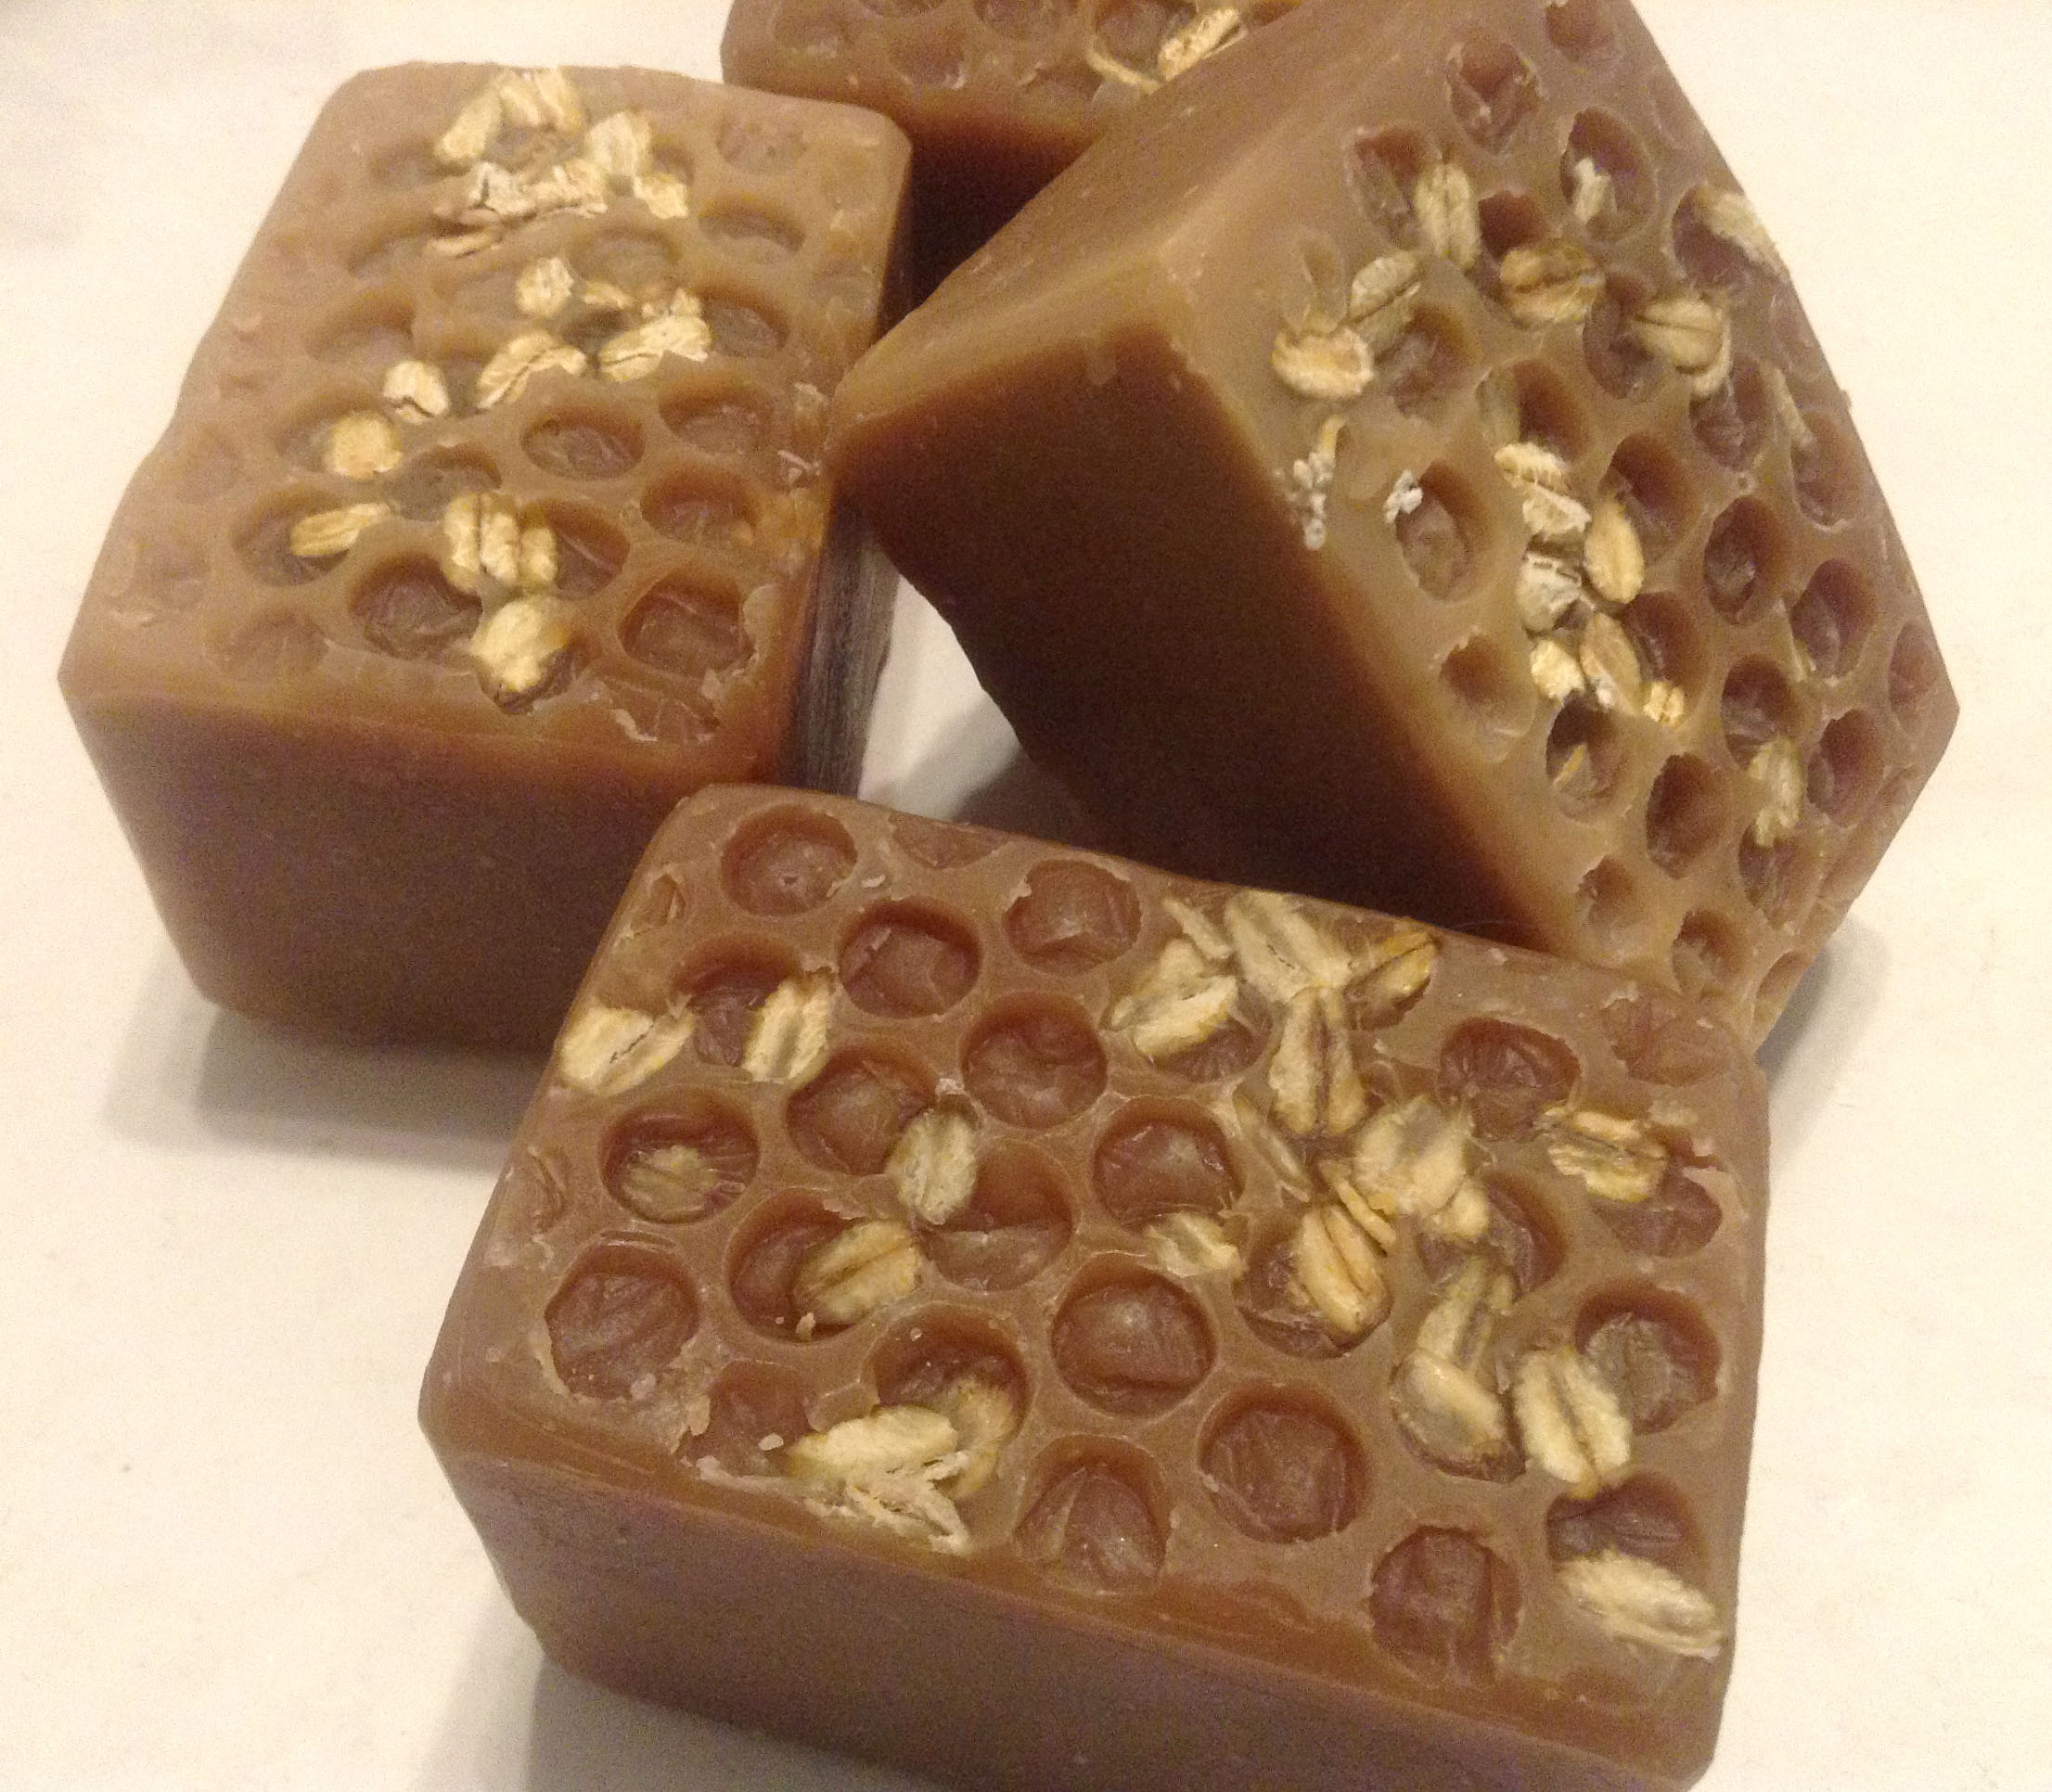
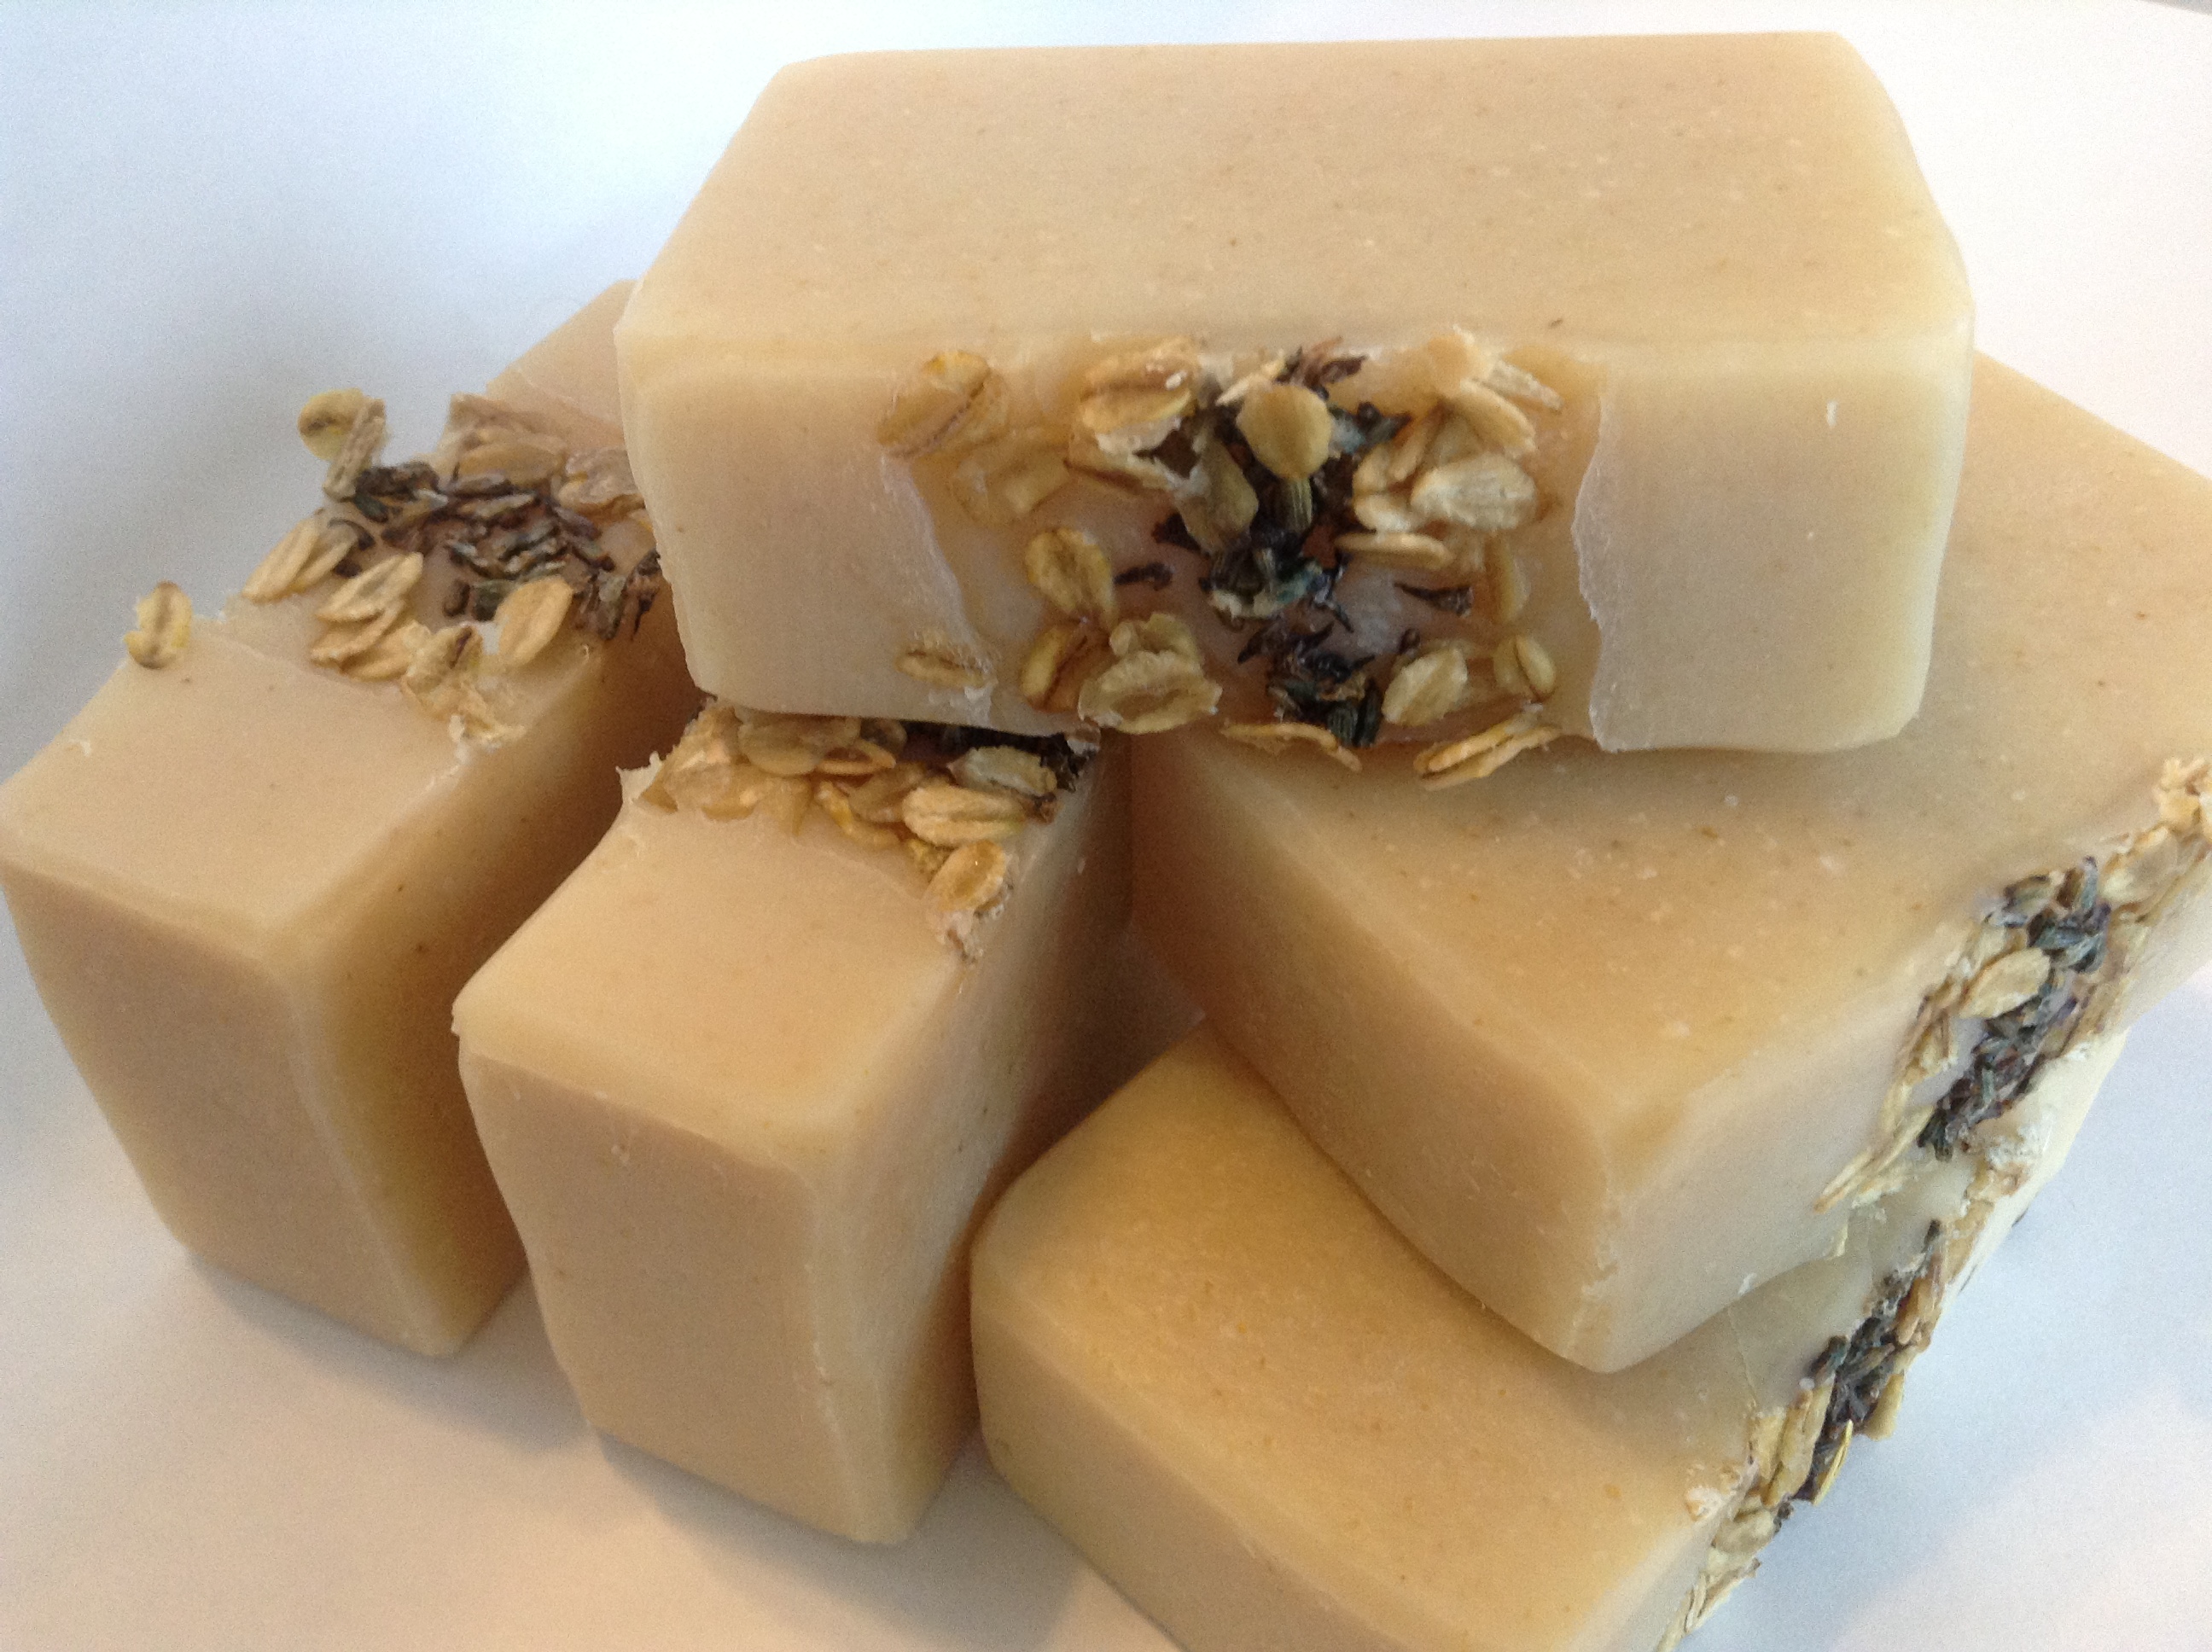
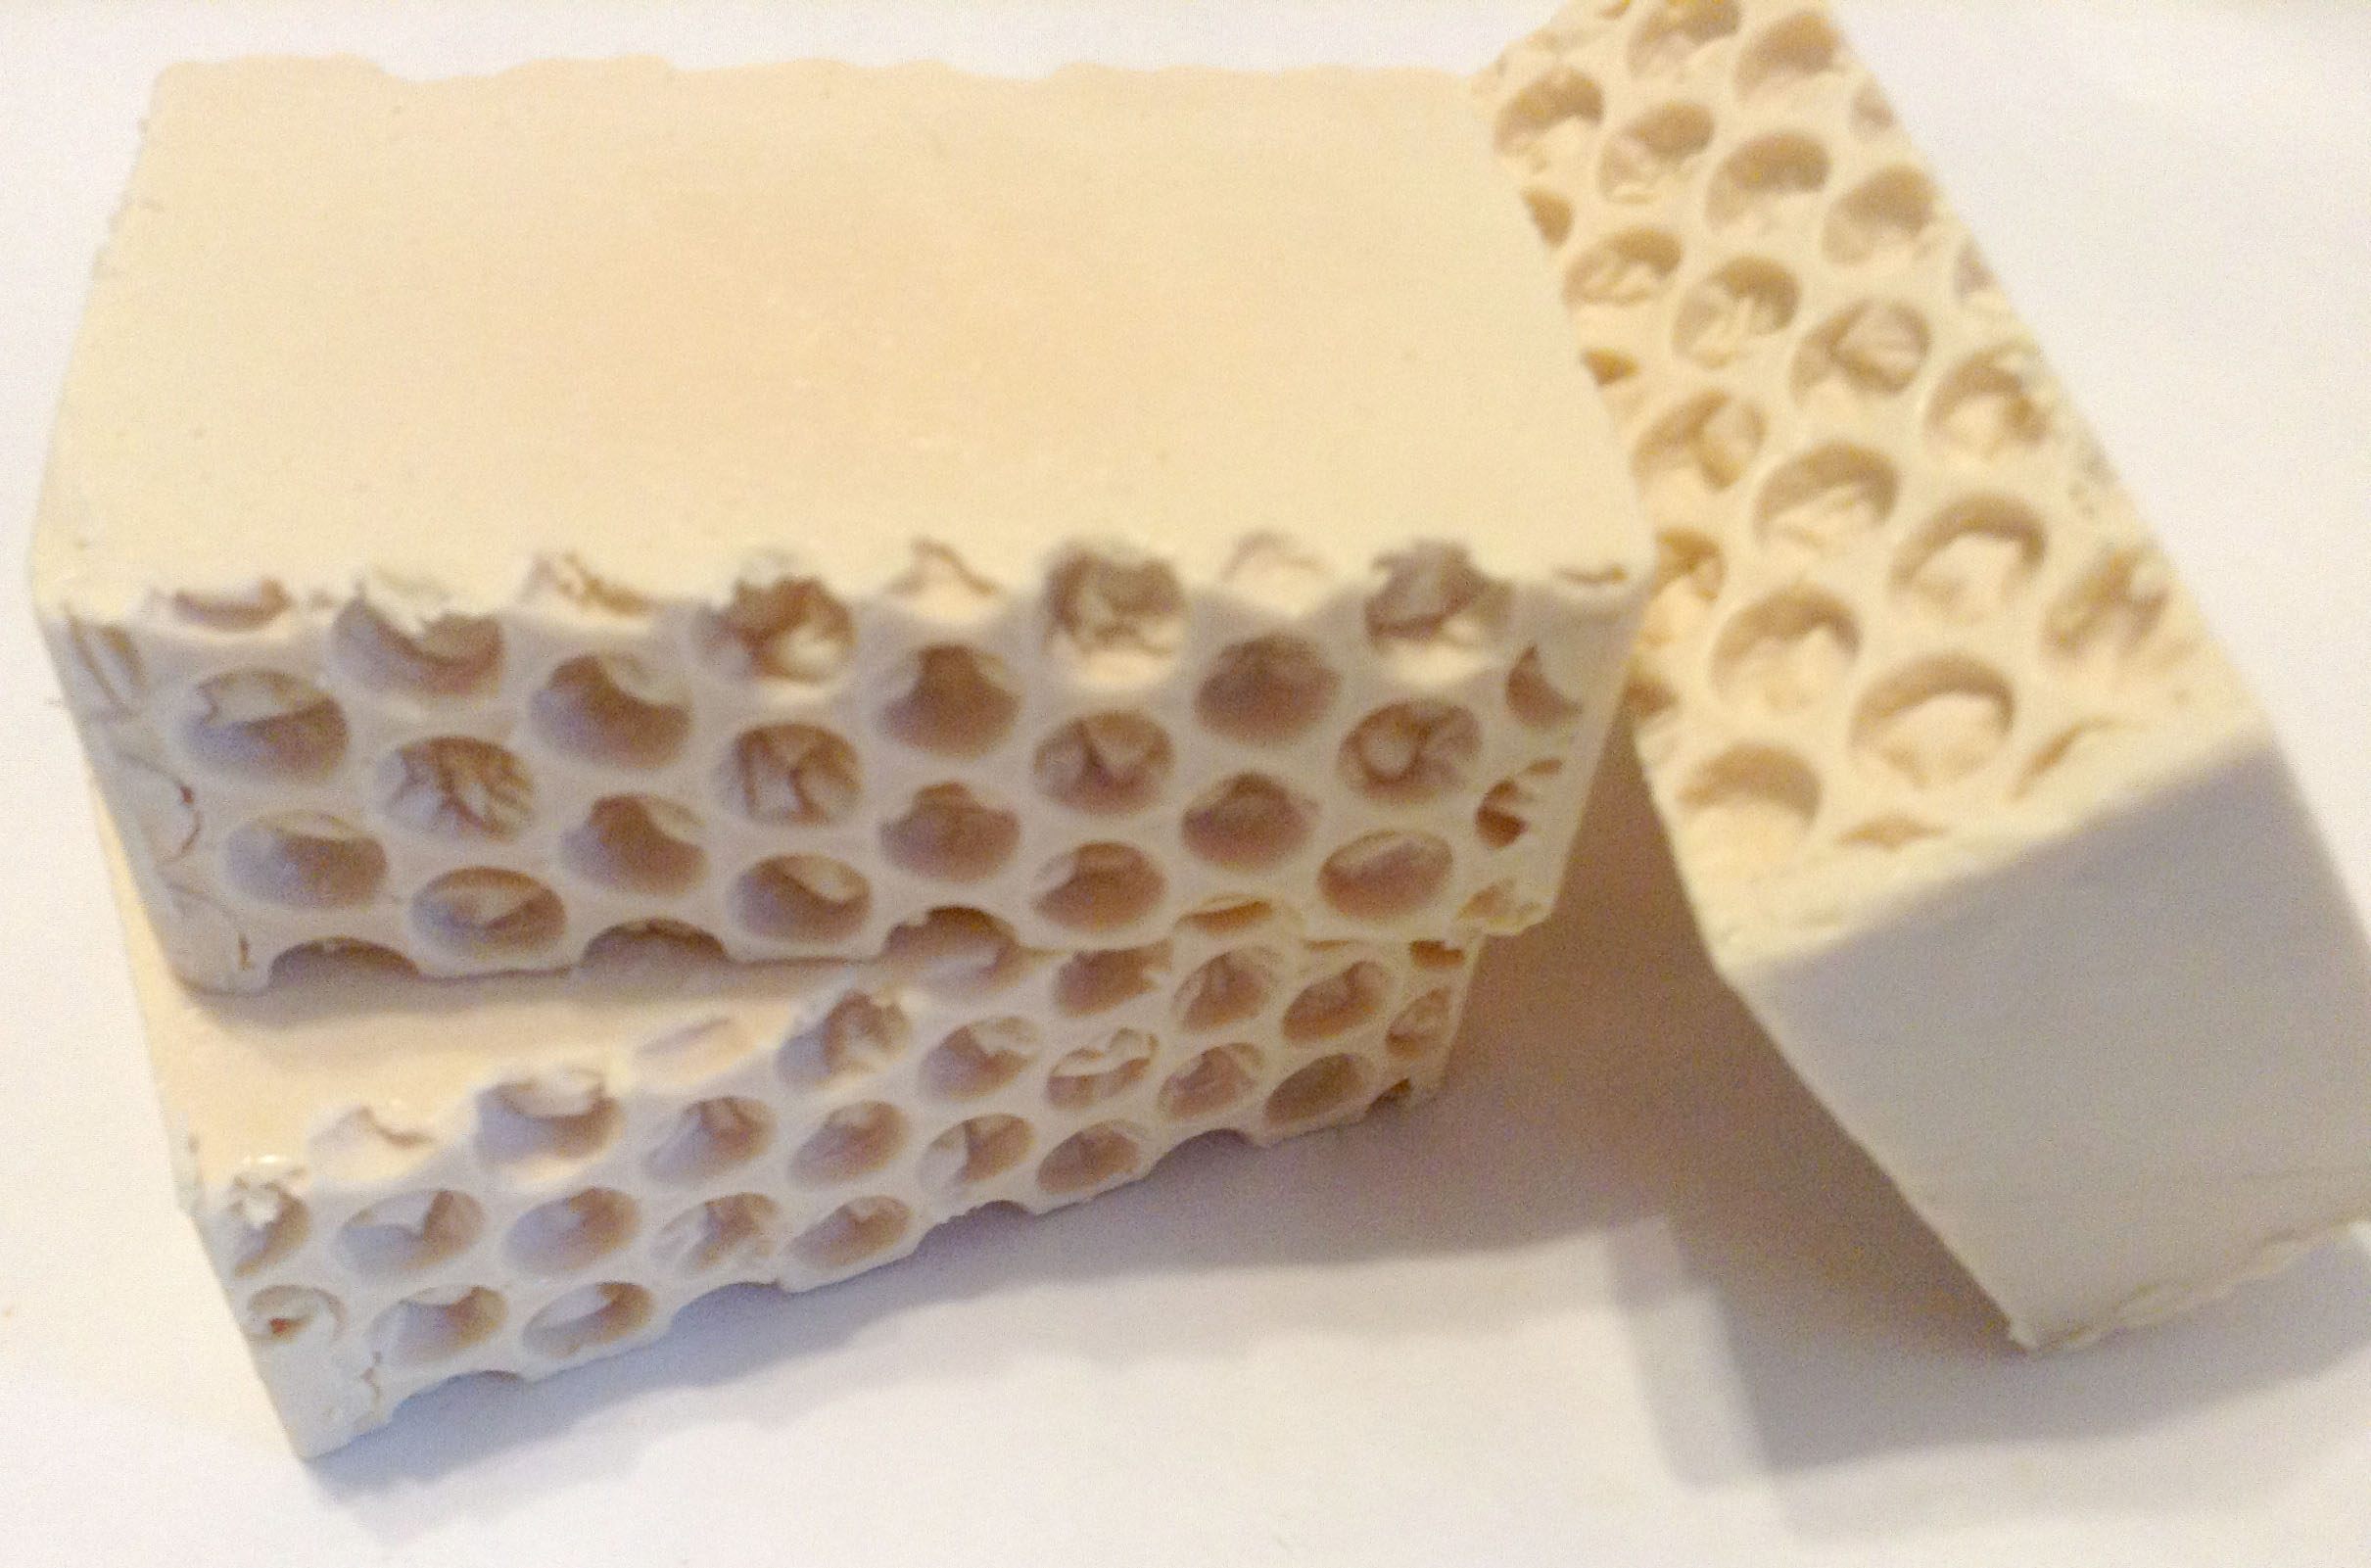
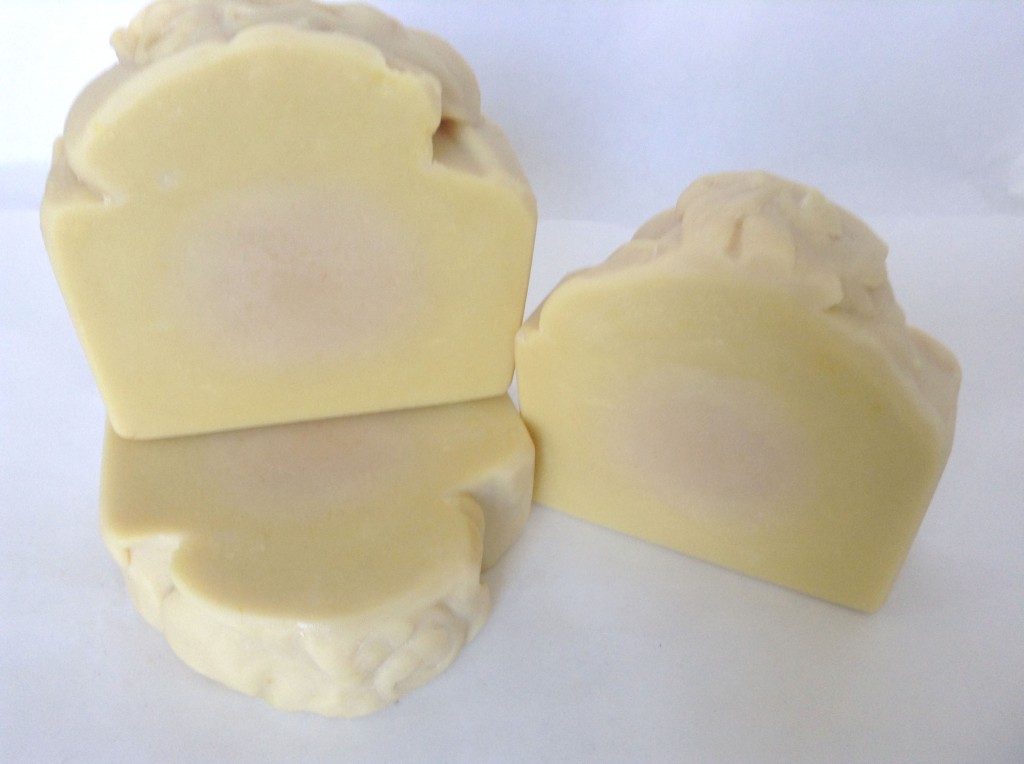 The cut soaps smell wonderful. I am going to let them have a nice long cure and give them to family and friends for Christmas.