Woah, There: When Good Fragrances Misbehave

Most soapmakers experience accelerated trace at some point. Trace, of course, is the term for oils and lye that have been emulsified to the point that when a dribble of soap is dropped on top of the rest of the soap batter, the dribble stays on the surface of the batter for a short period of time and leaves a “trace” on the surface. Trace can accelerate for a variety of reasons.

In his book Scientific Soapmaking, chemistry professor Kevin Dunn says that trace can be accelerated based on three elements:

  1. water content
  2. temperature
  3. the presence of catalysts (e.g., ingredients in some fragrances)

If you want to slow down or accelerate trace, the easiest thing to do is control the water content or temperature. For example, if you know the recipe you are using is slow to trace and you want it to move more quickly, you can discount the water and mix the oils and lye at a higher temperature. This is a handy tip for making Castile soap, as olive oil is notoriously slow to trace when it makes up 100% of the oil content. Instead of using full water (38%), you can discount to, say, 33%, and you can mix the oil and lye at 110°.

It’s always a good practice not to discount water or mix at a higher temperature when you are working with a fragrance you haven’t used before, precisely because sometimes fragrances contain ingredients, such as clove oil, that will accelerate trace. If you have already discounted water and mixed at a high temperature, you could wind up with a seize, sometimes known as “soap on a stick.” It takes an experienced soapmaker to save soap that has seized, and sometimes, even experienced soapmakers aren’t able to salvage it.

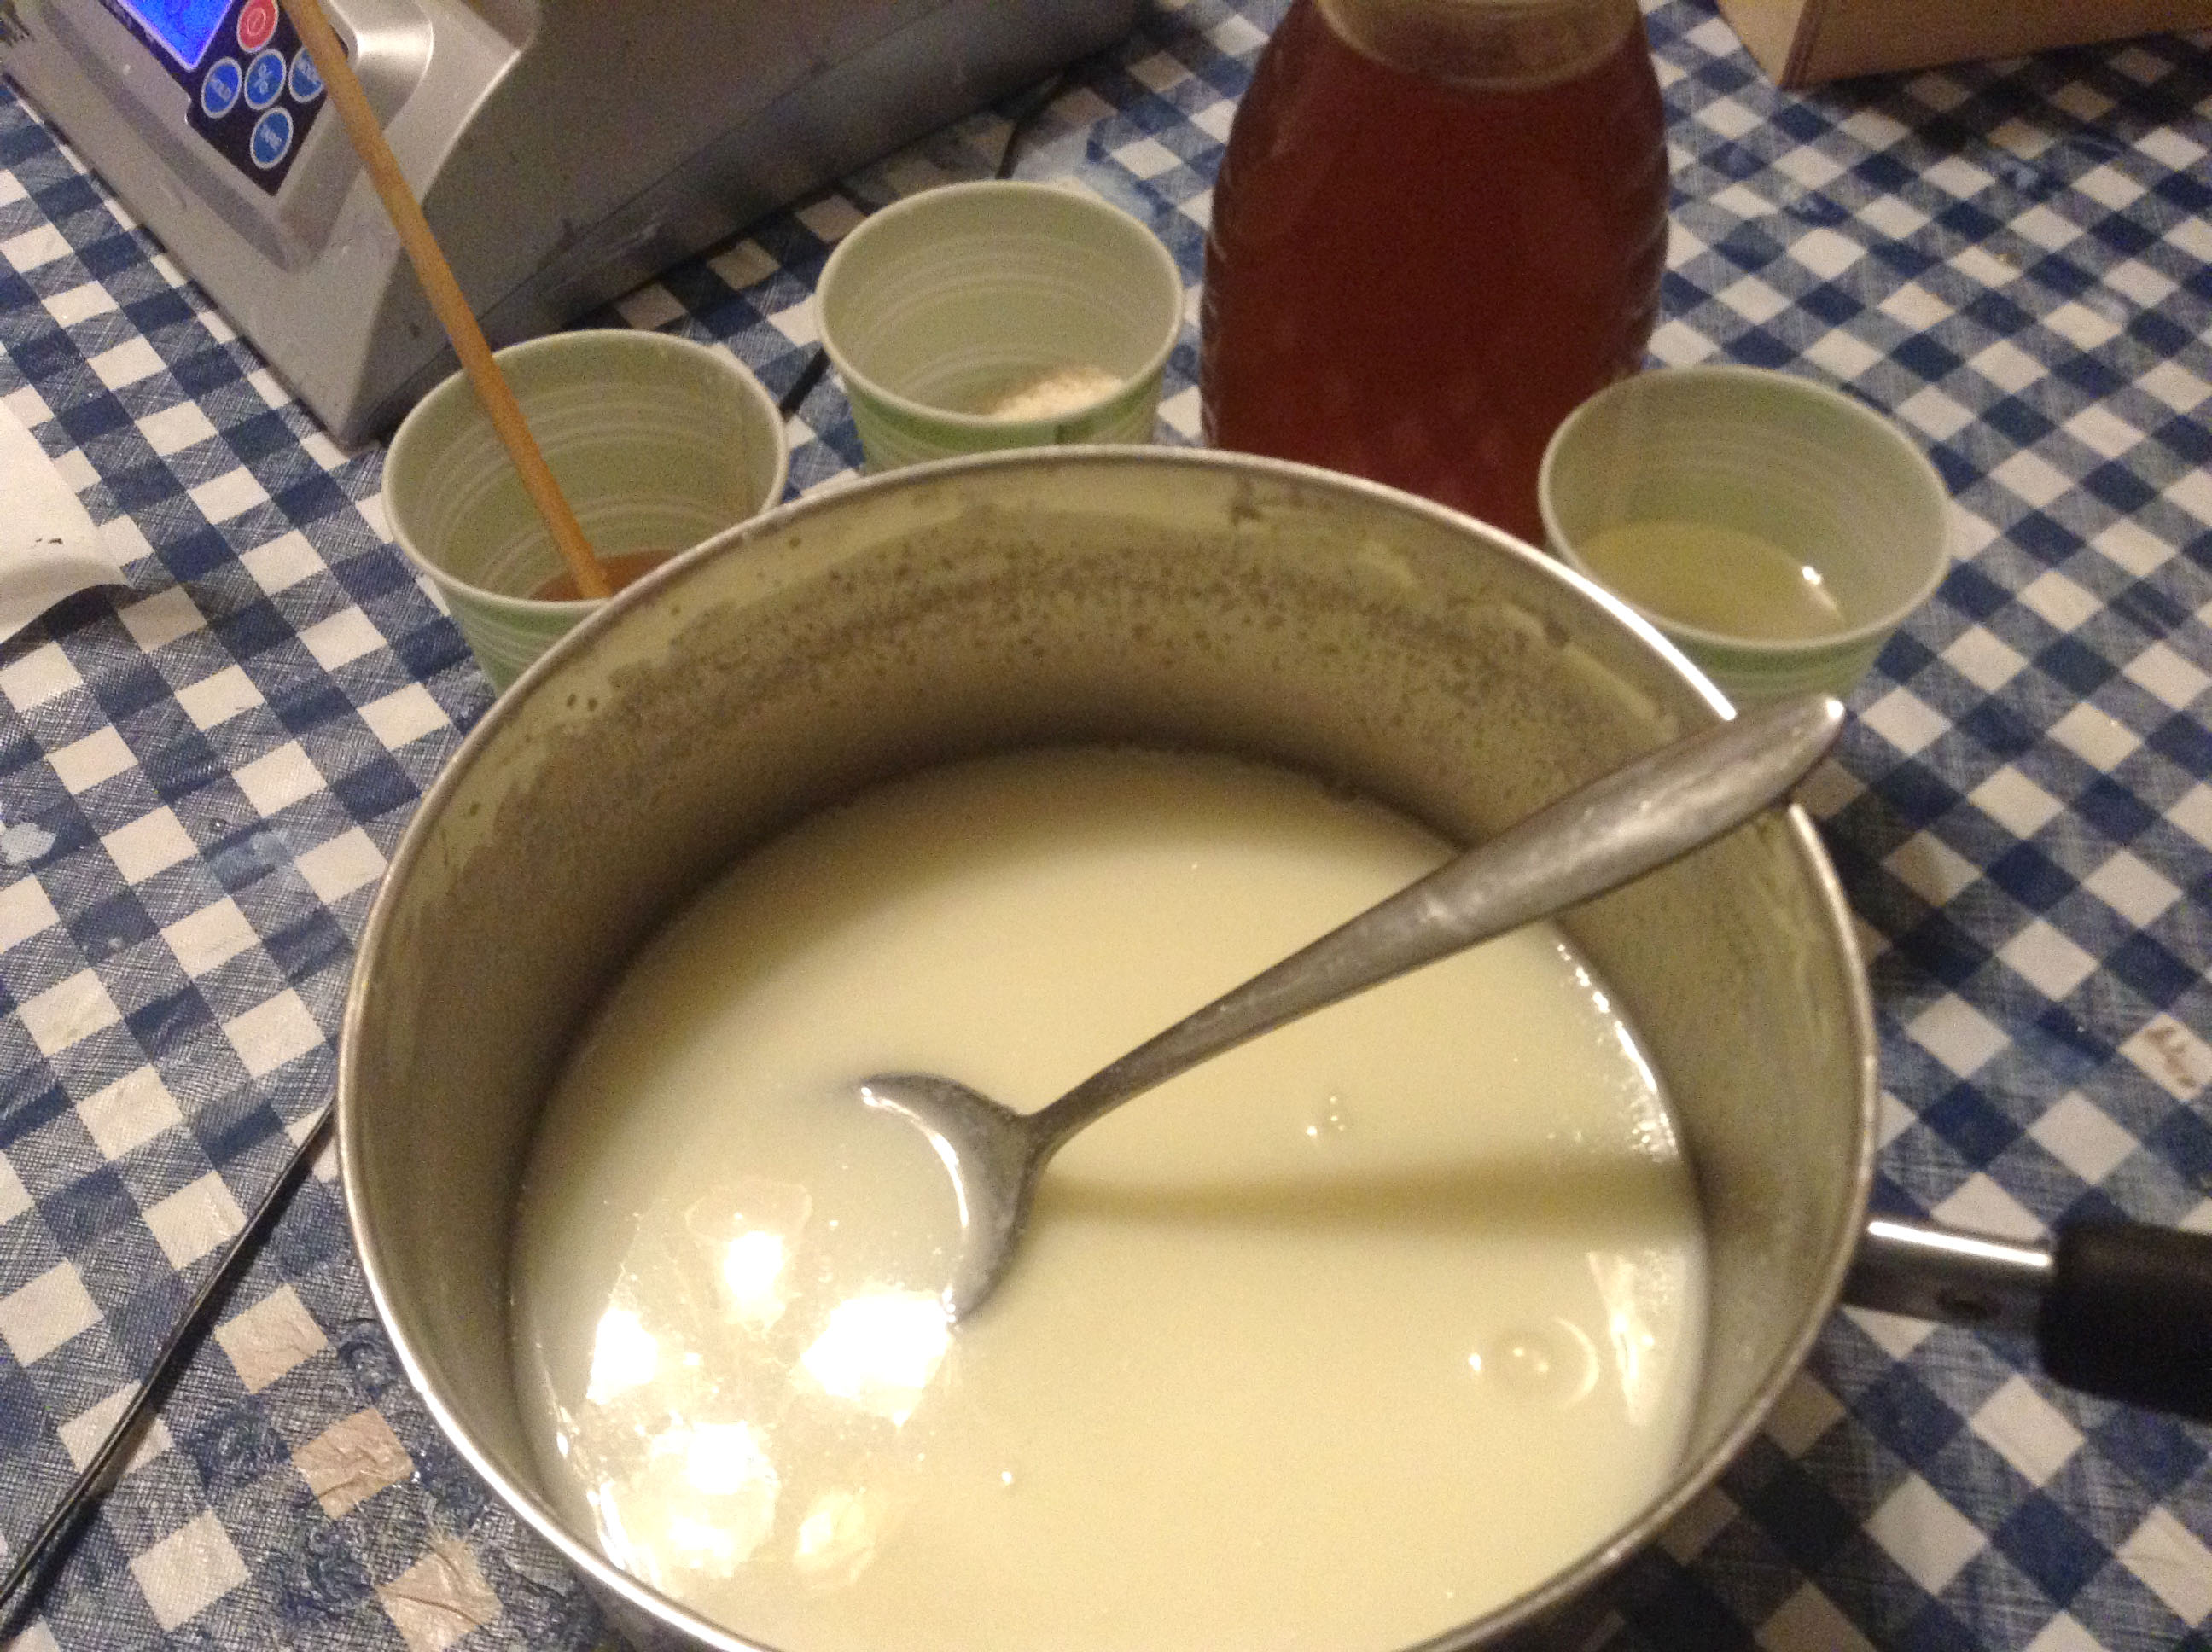
I recently experienced some major acceleration using a new fragrance called Pumpkin Cheesecake.

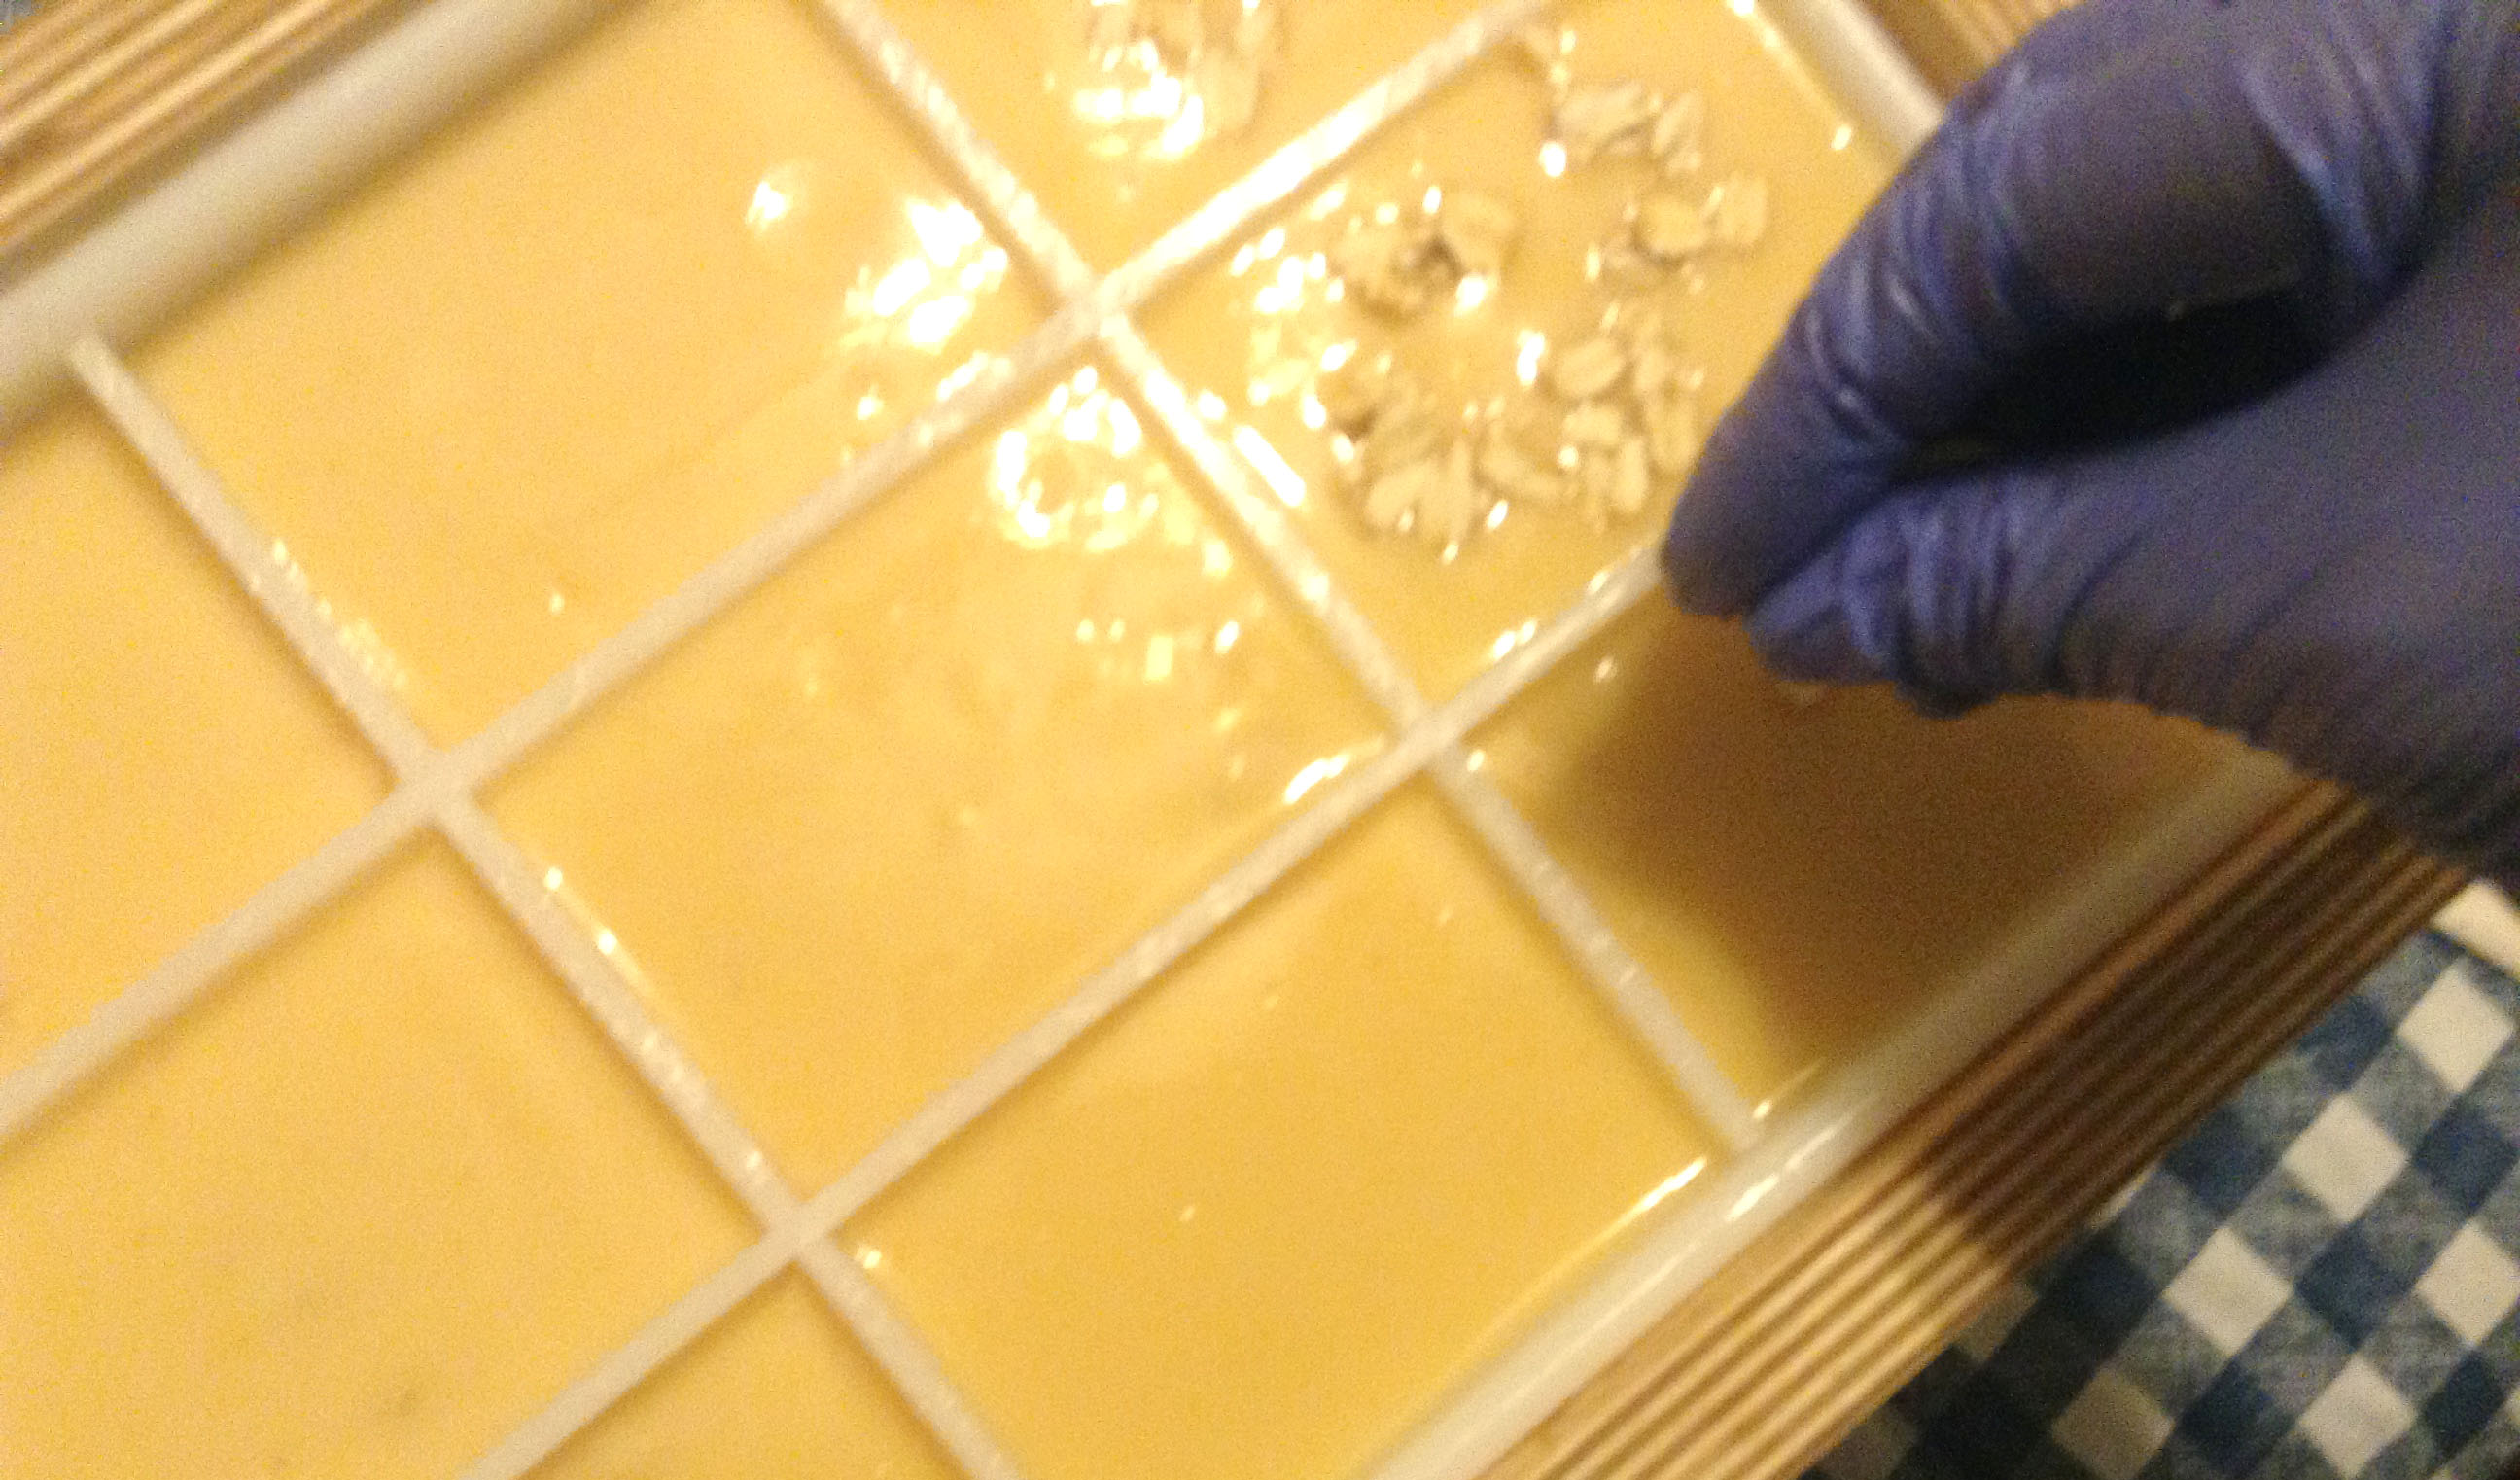
Just about as soon as I added the fragrance to my soap, it started to thicken up, and it was just about all I could do to get it into the mold and attempt a swirl before it completely hardened.

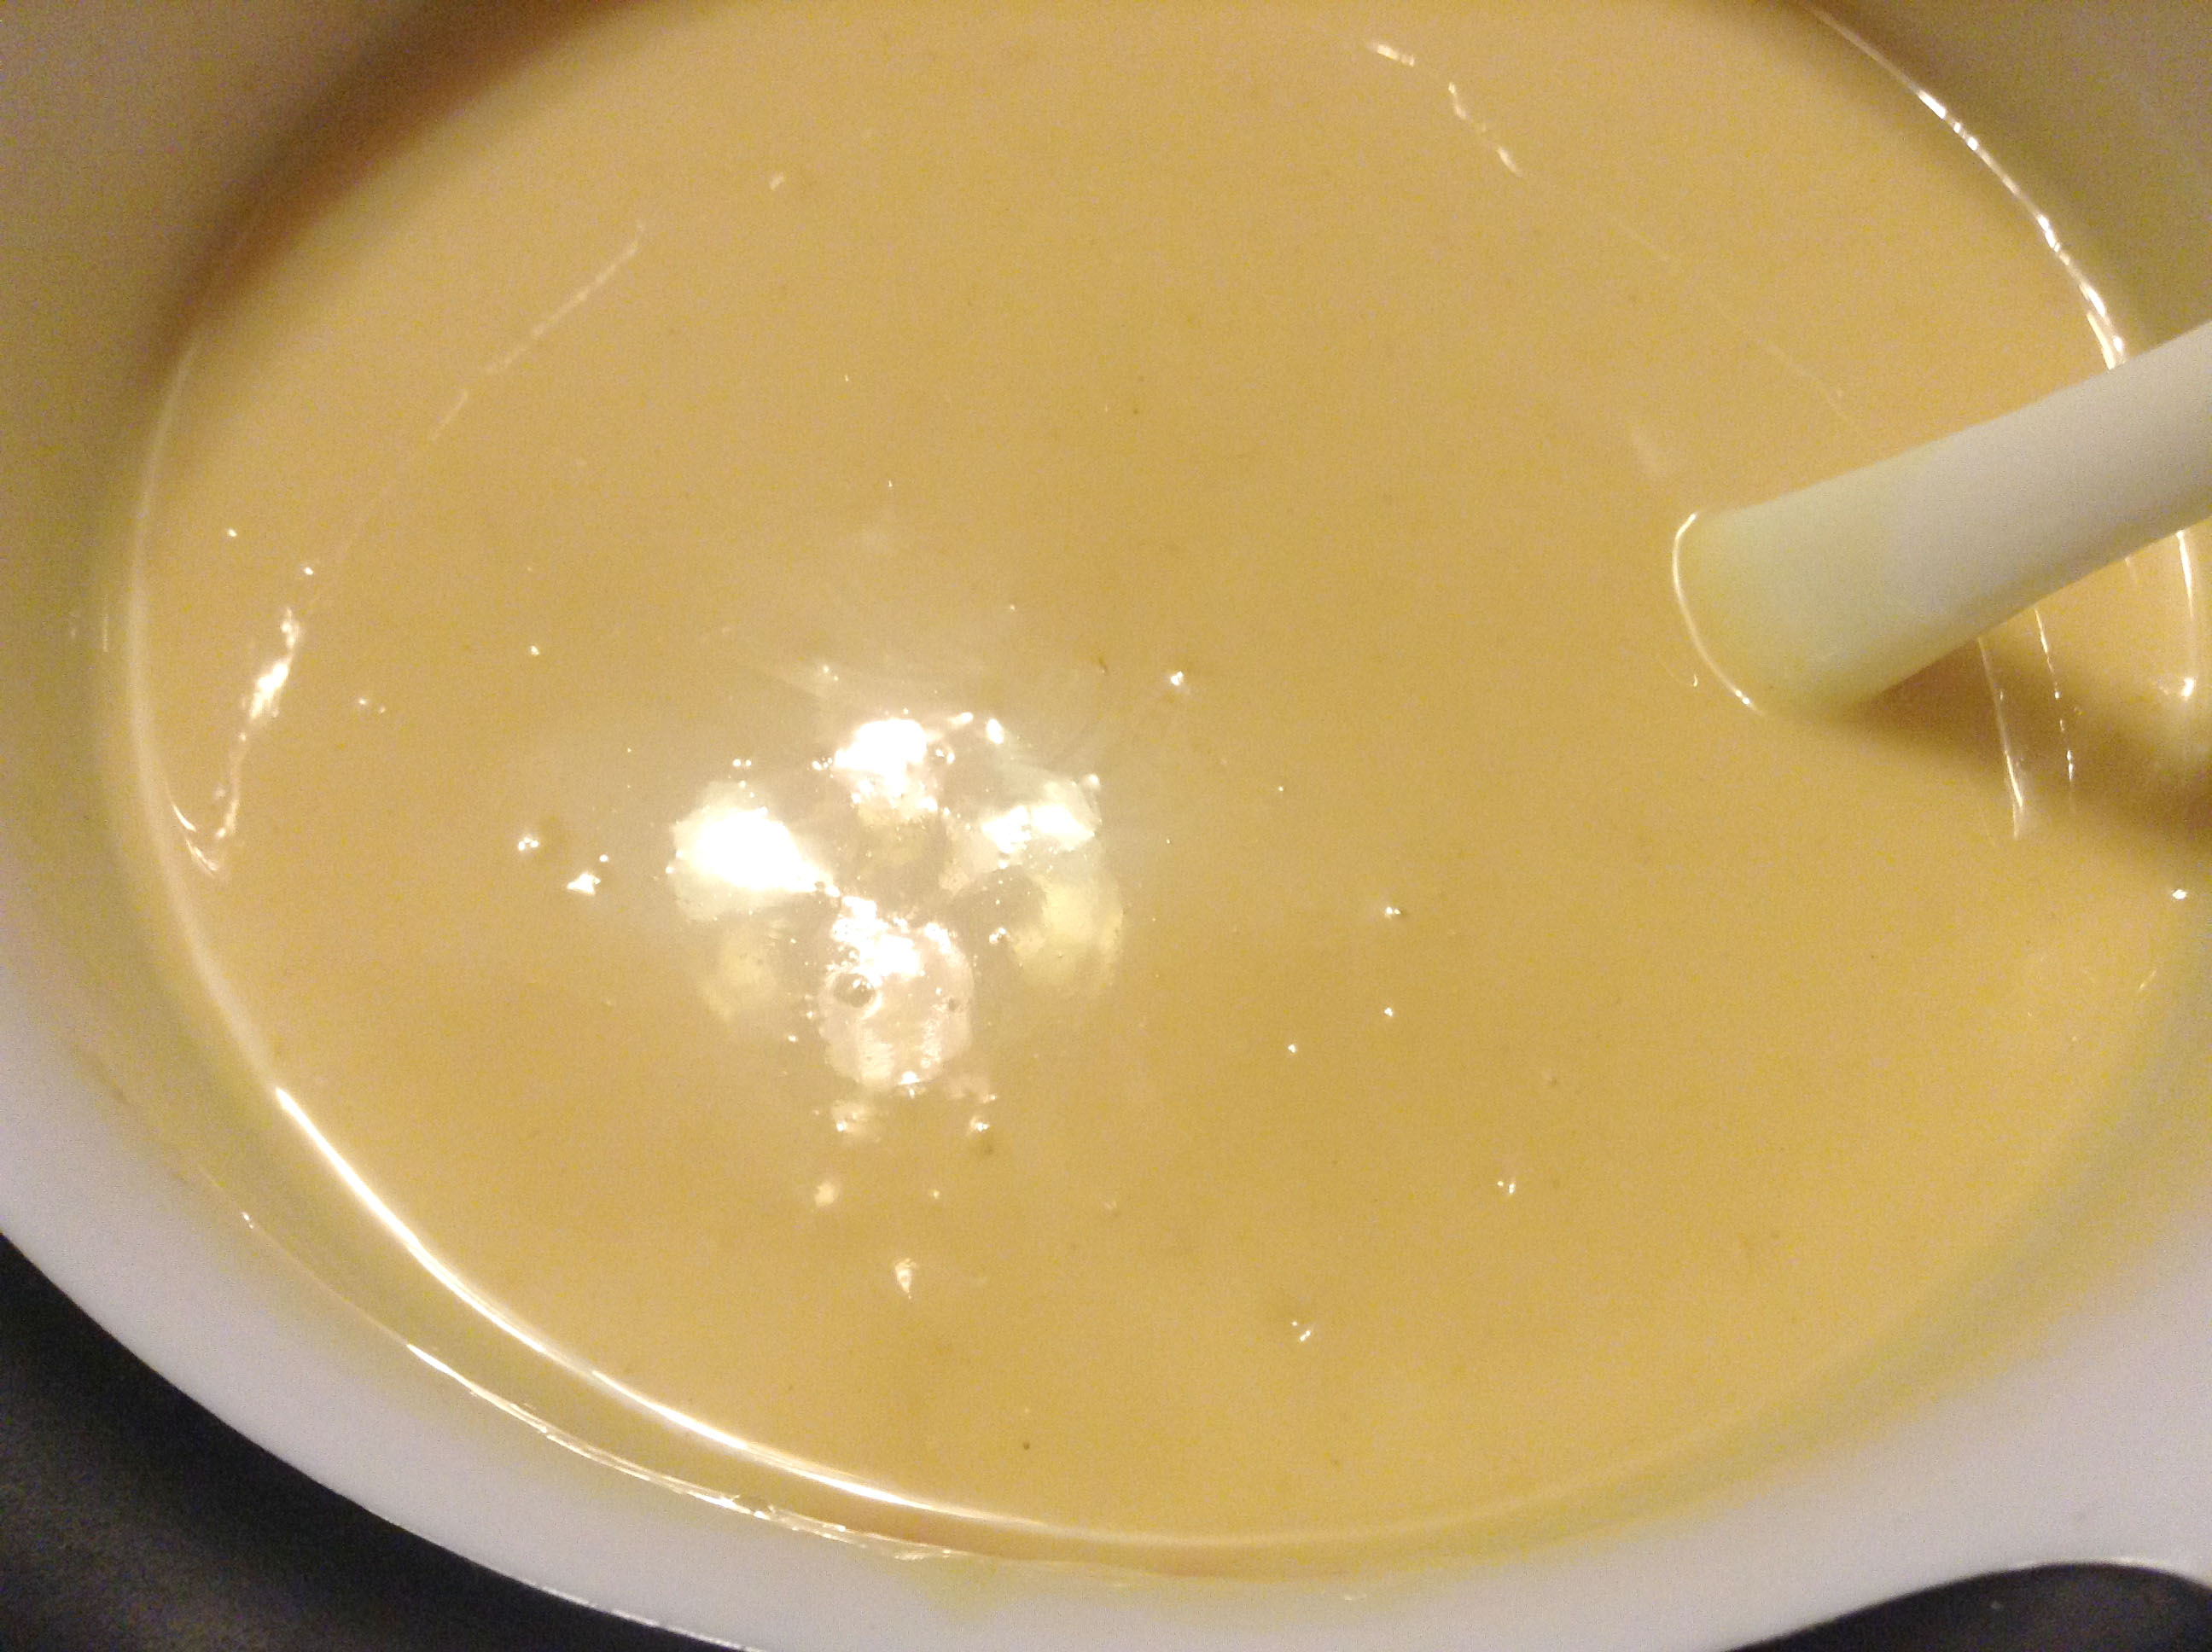
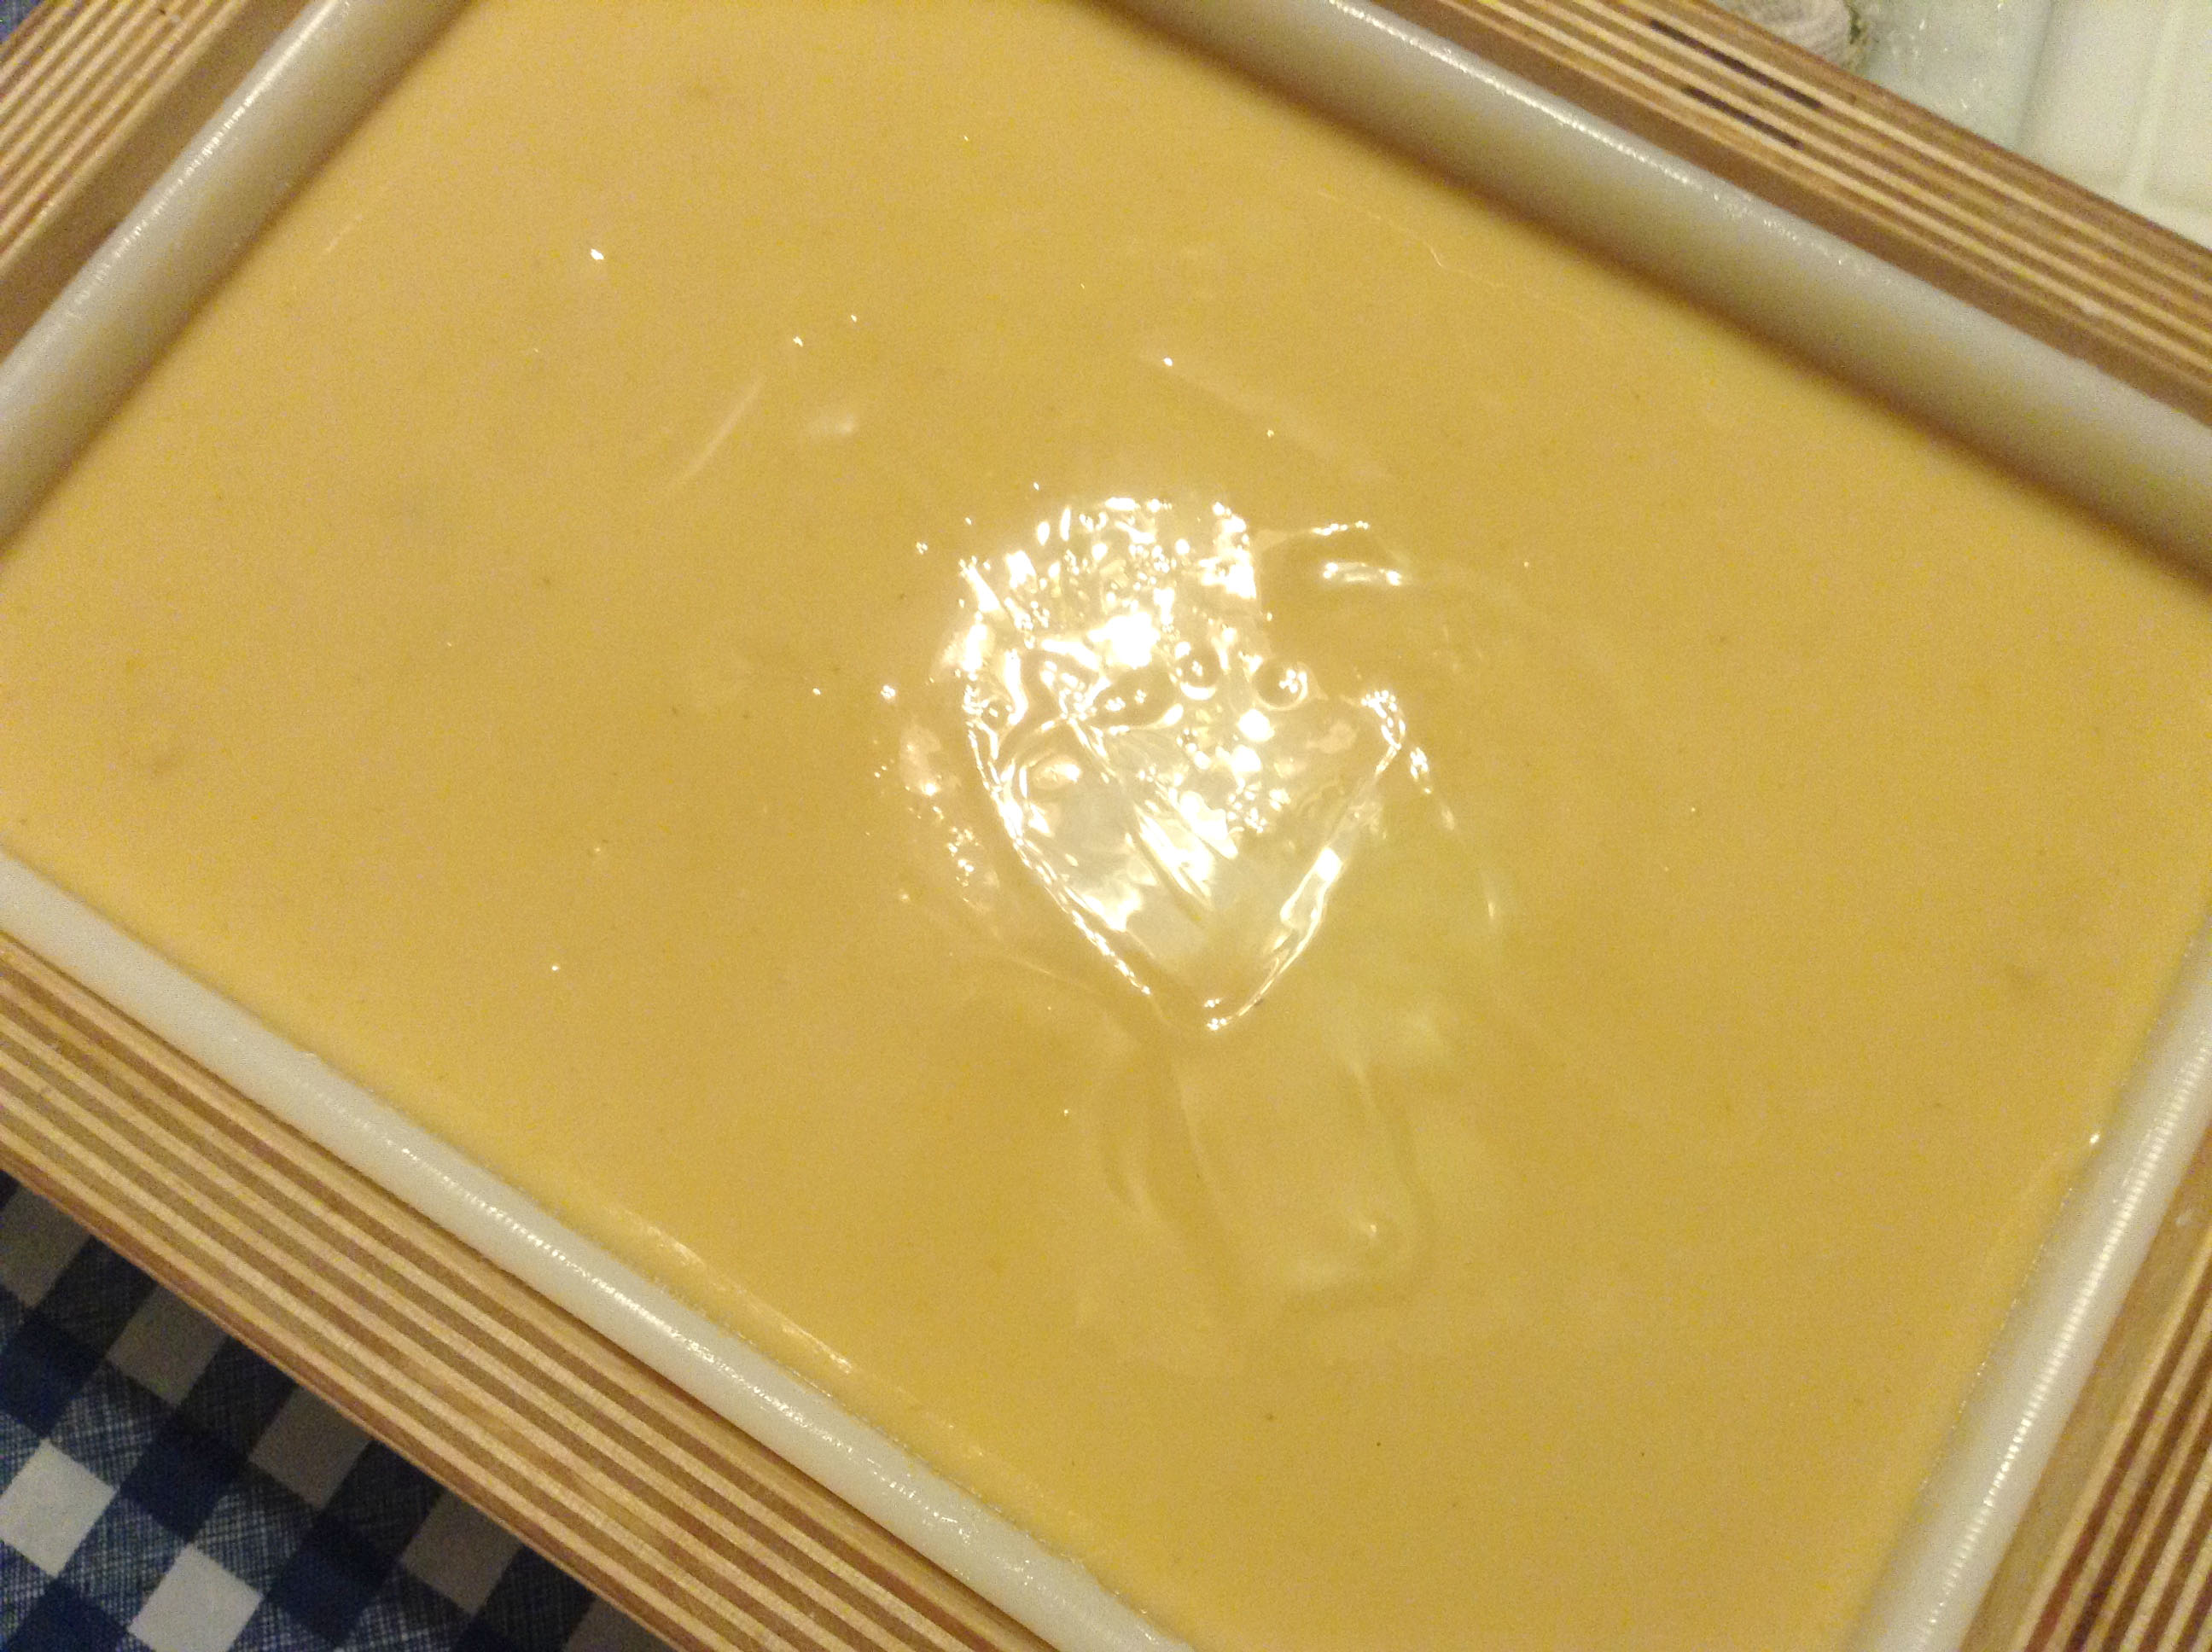
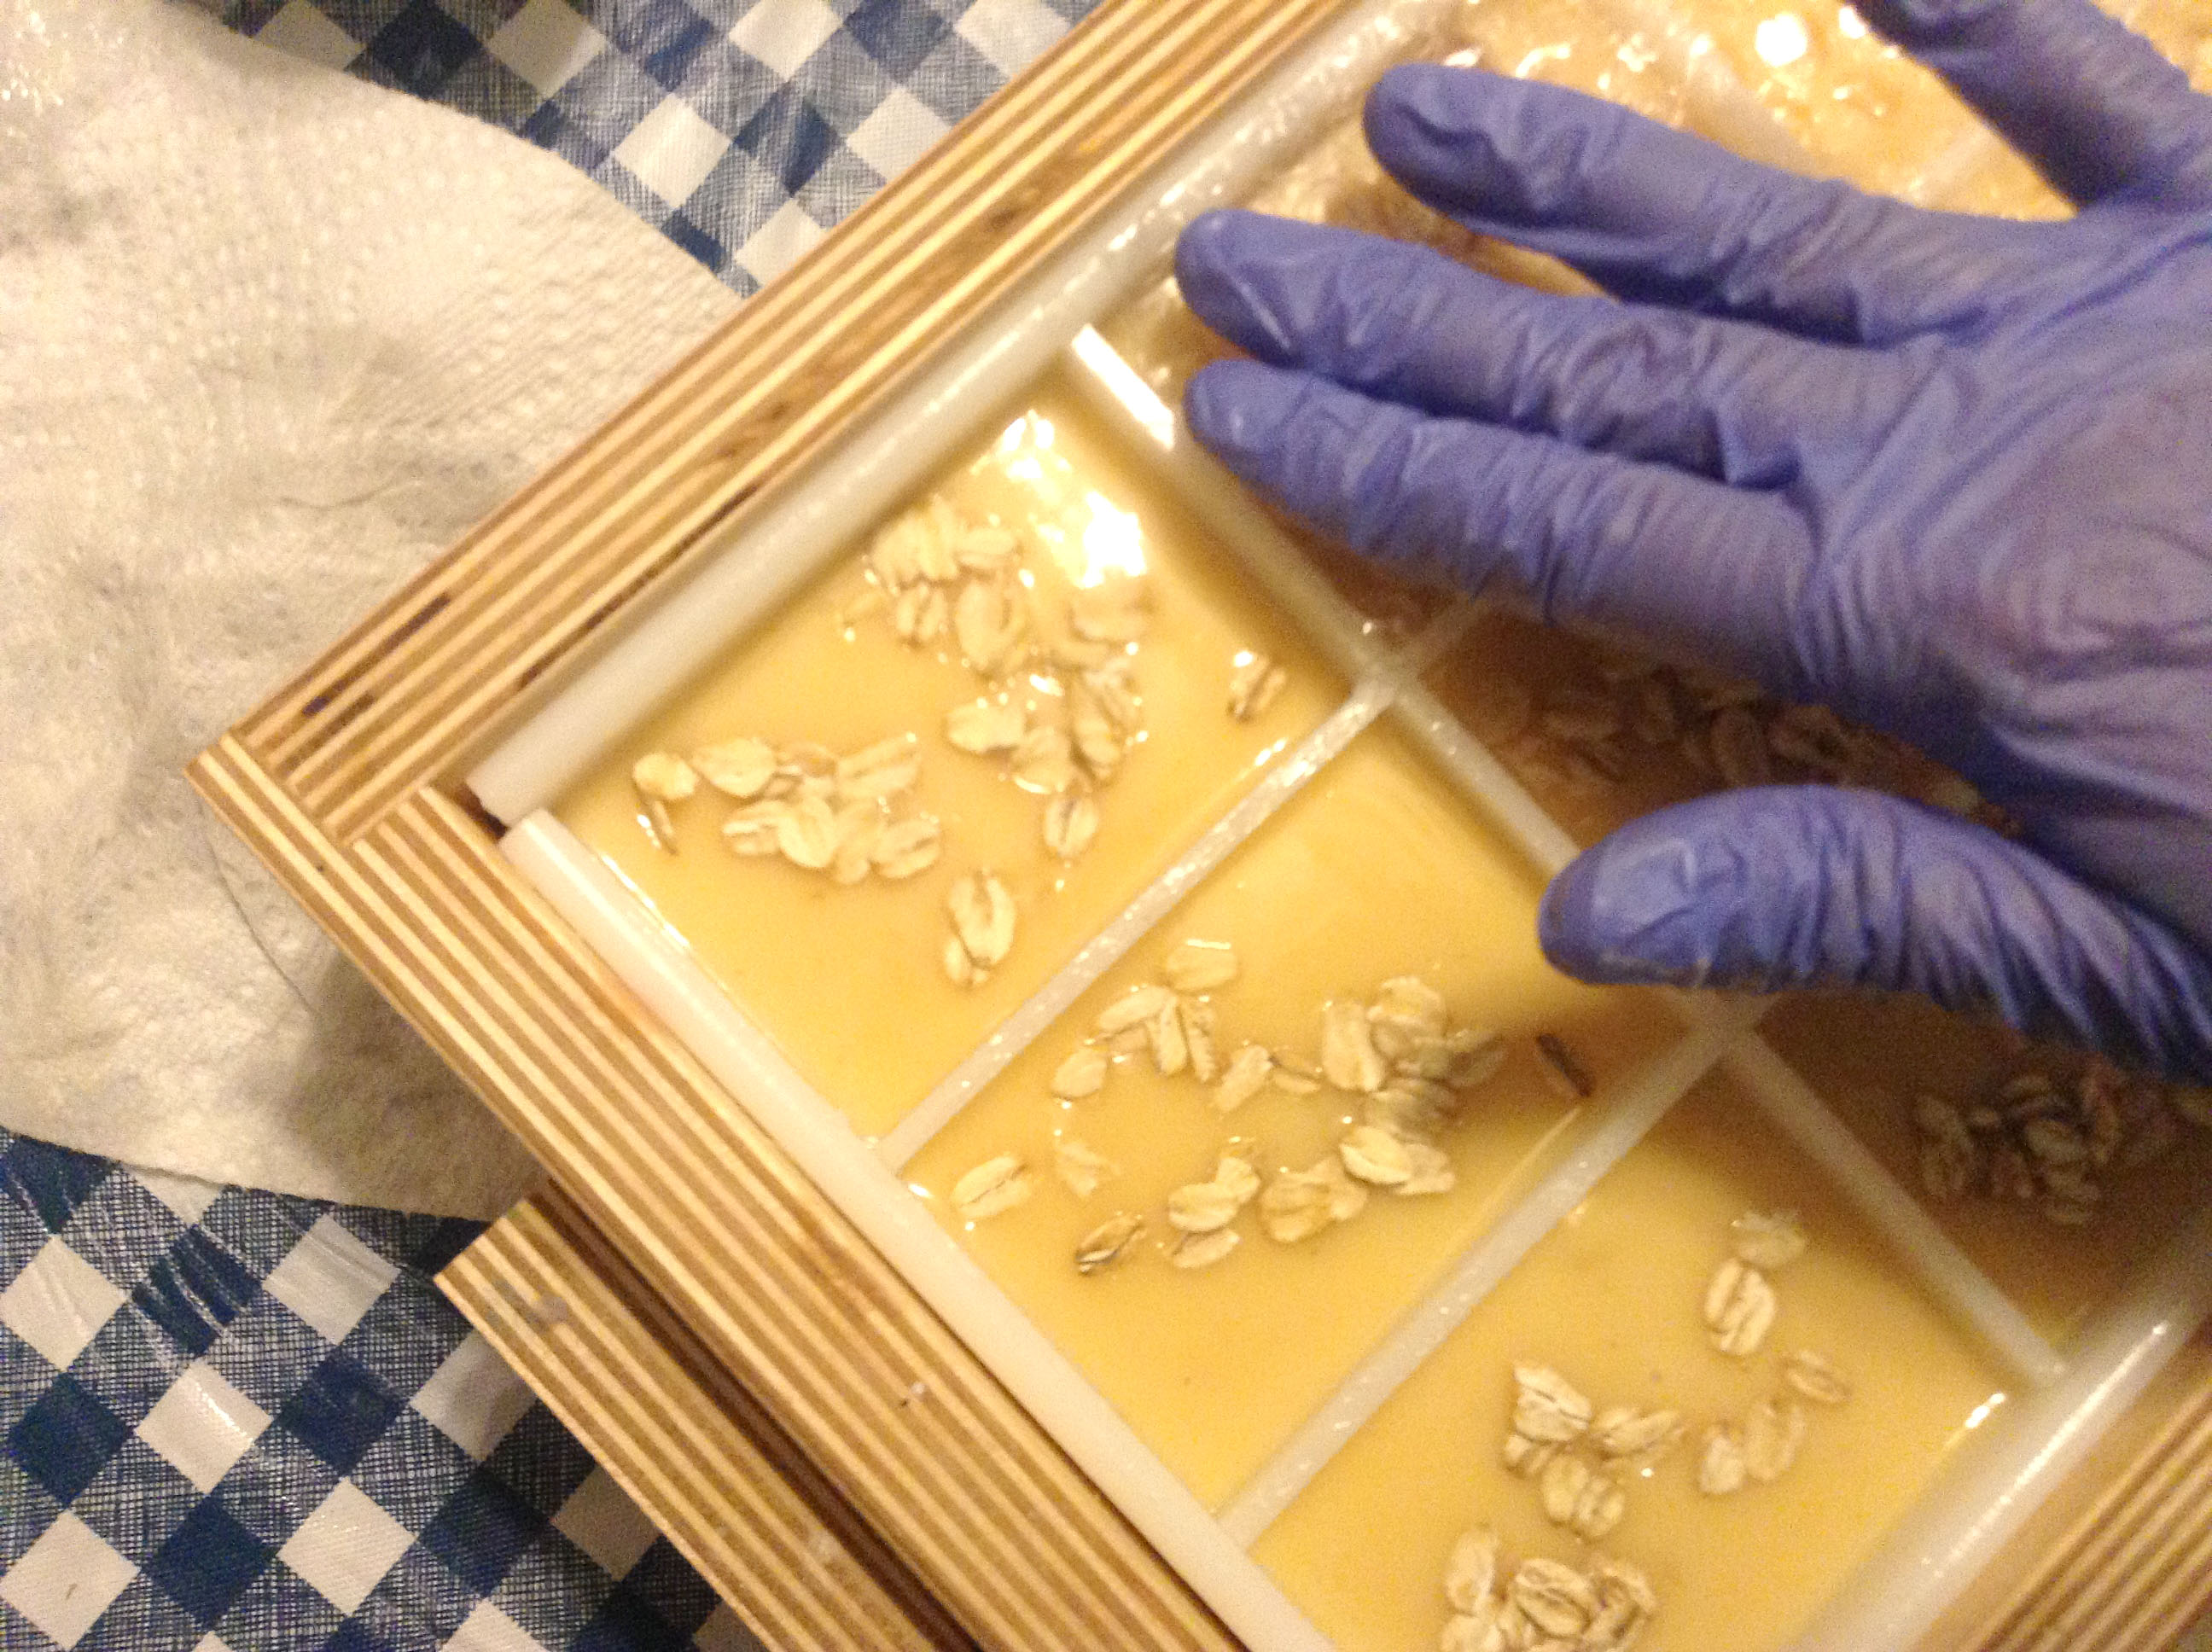
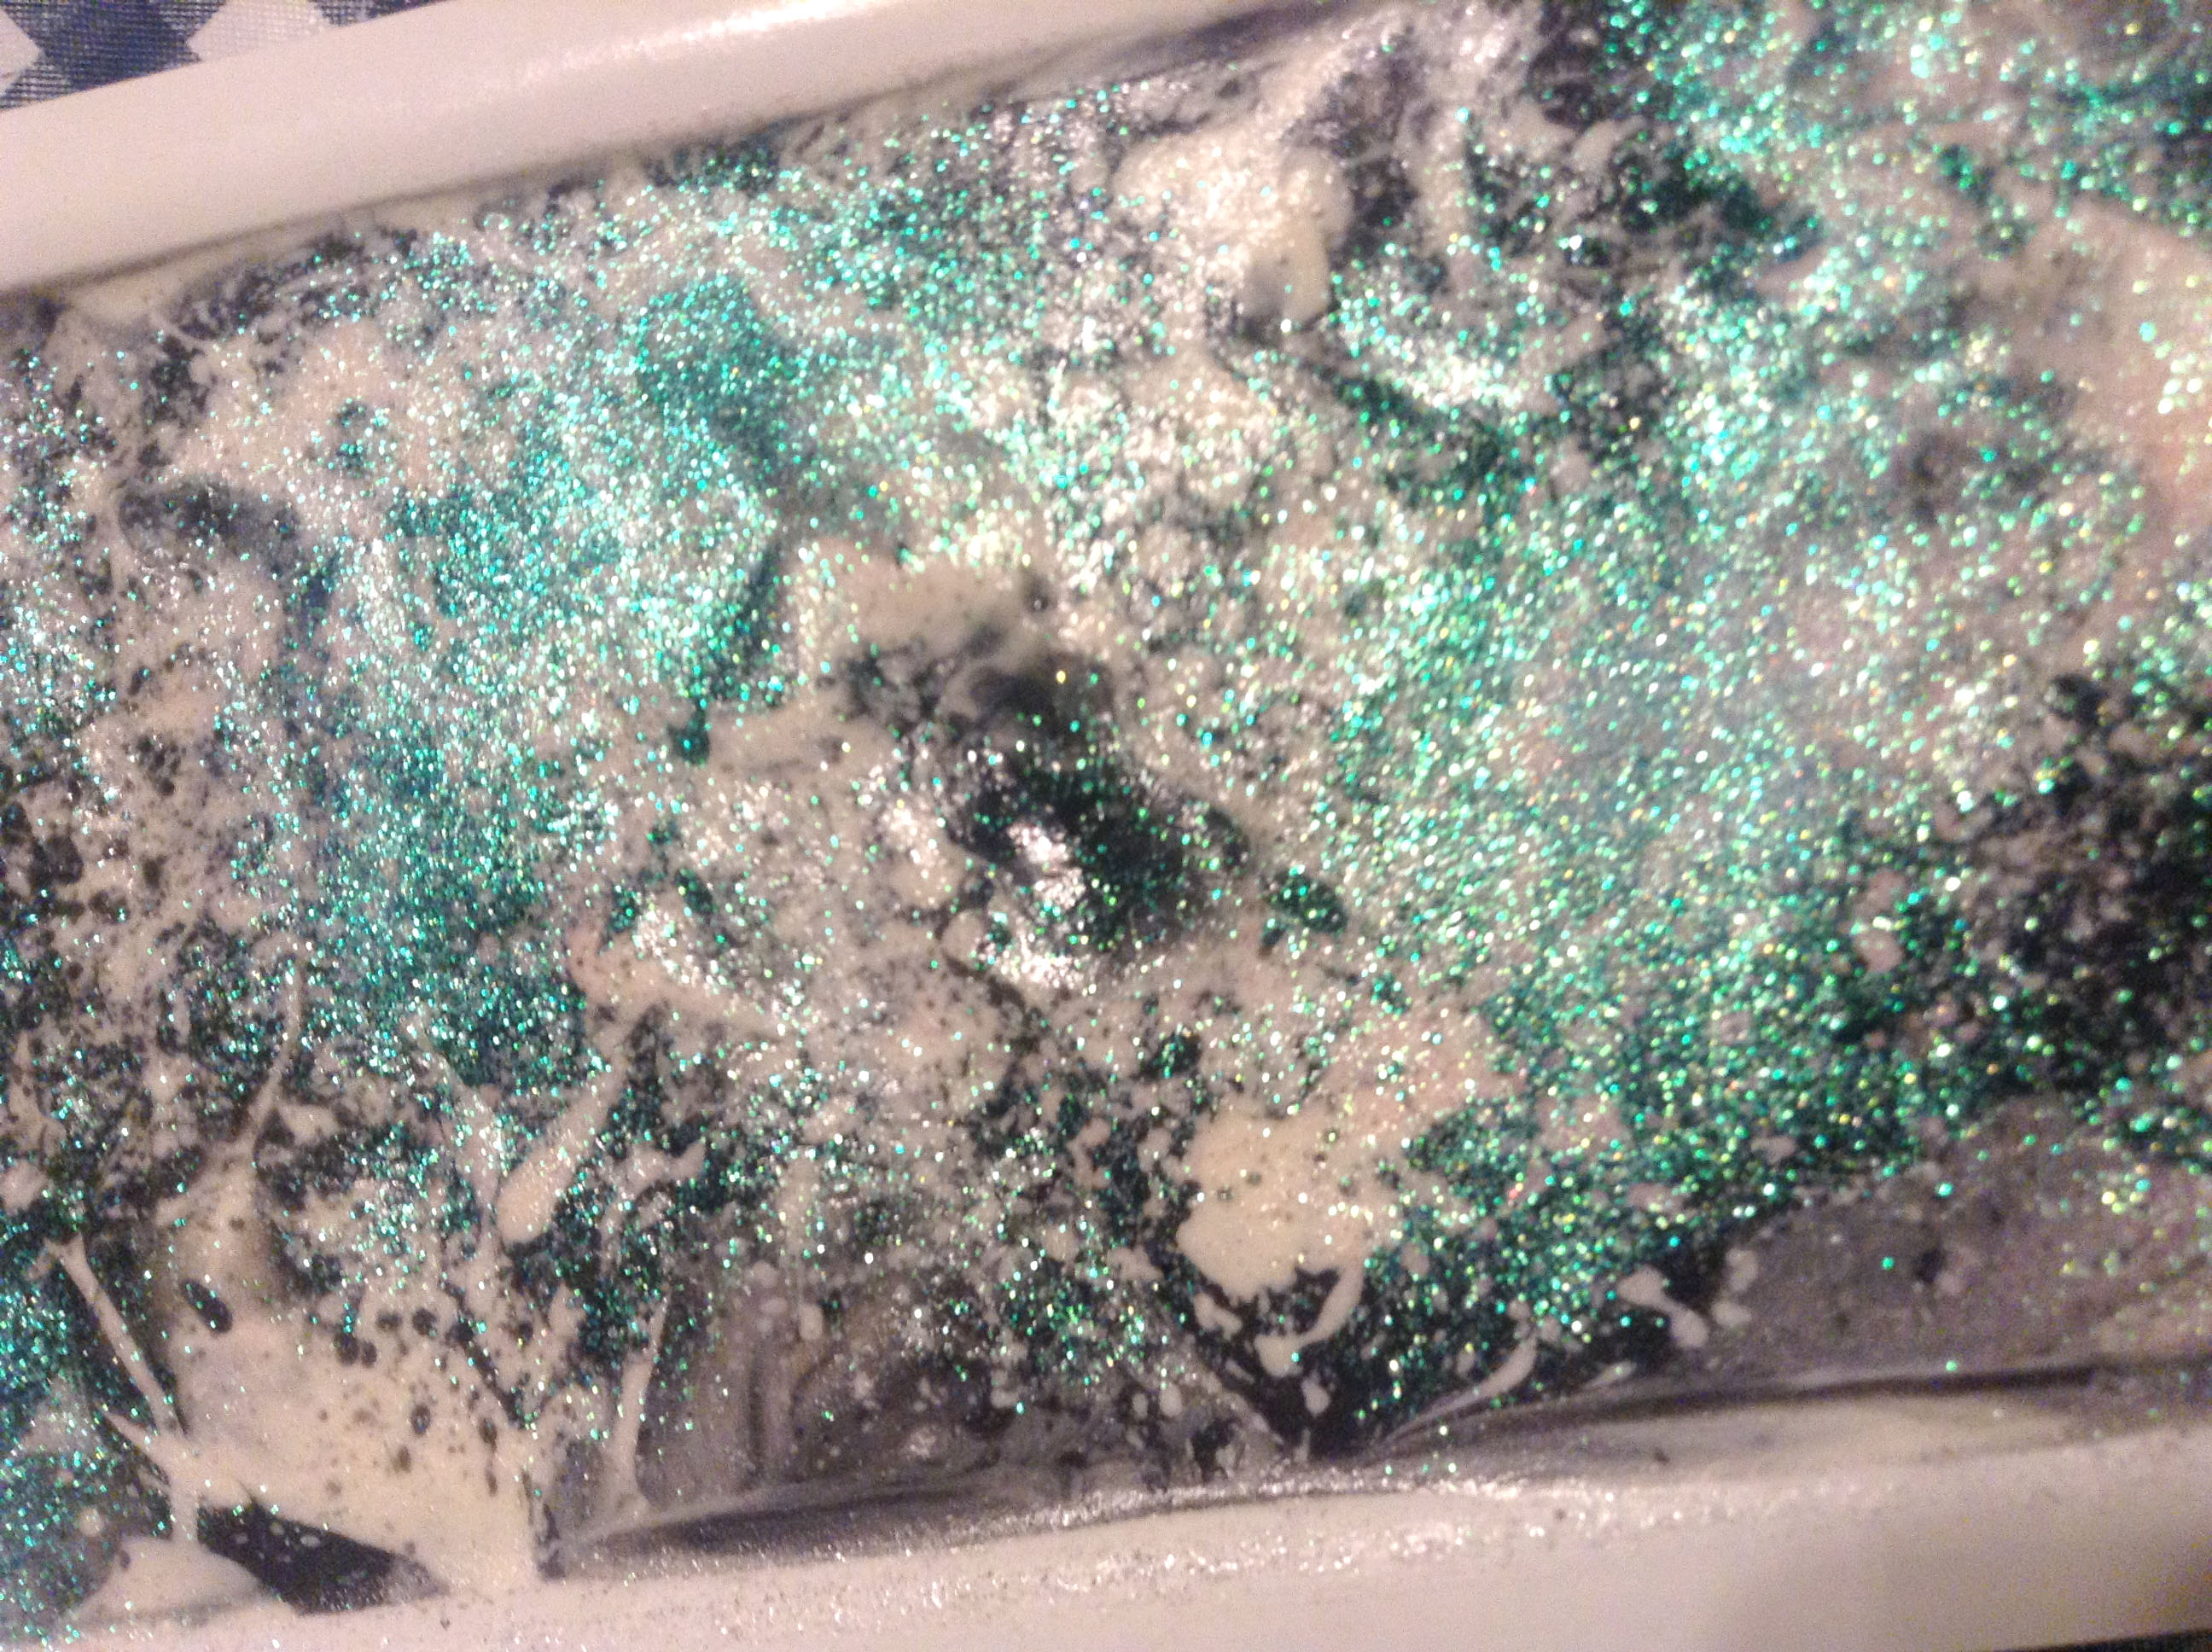
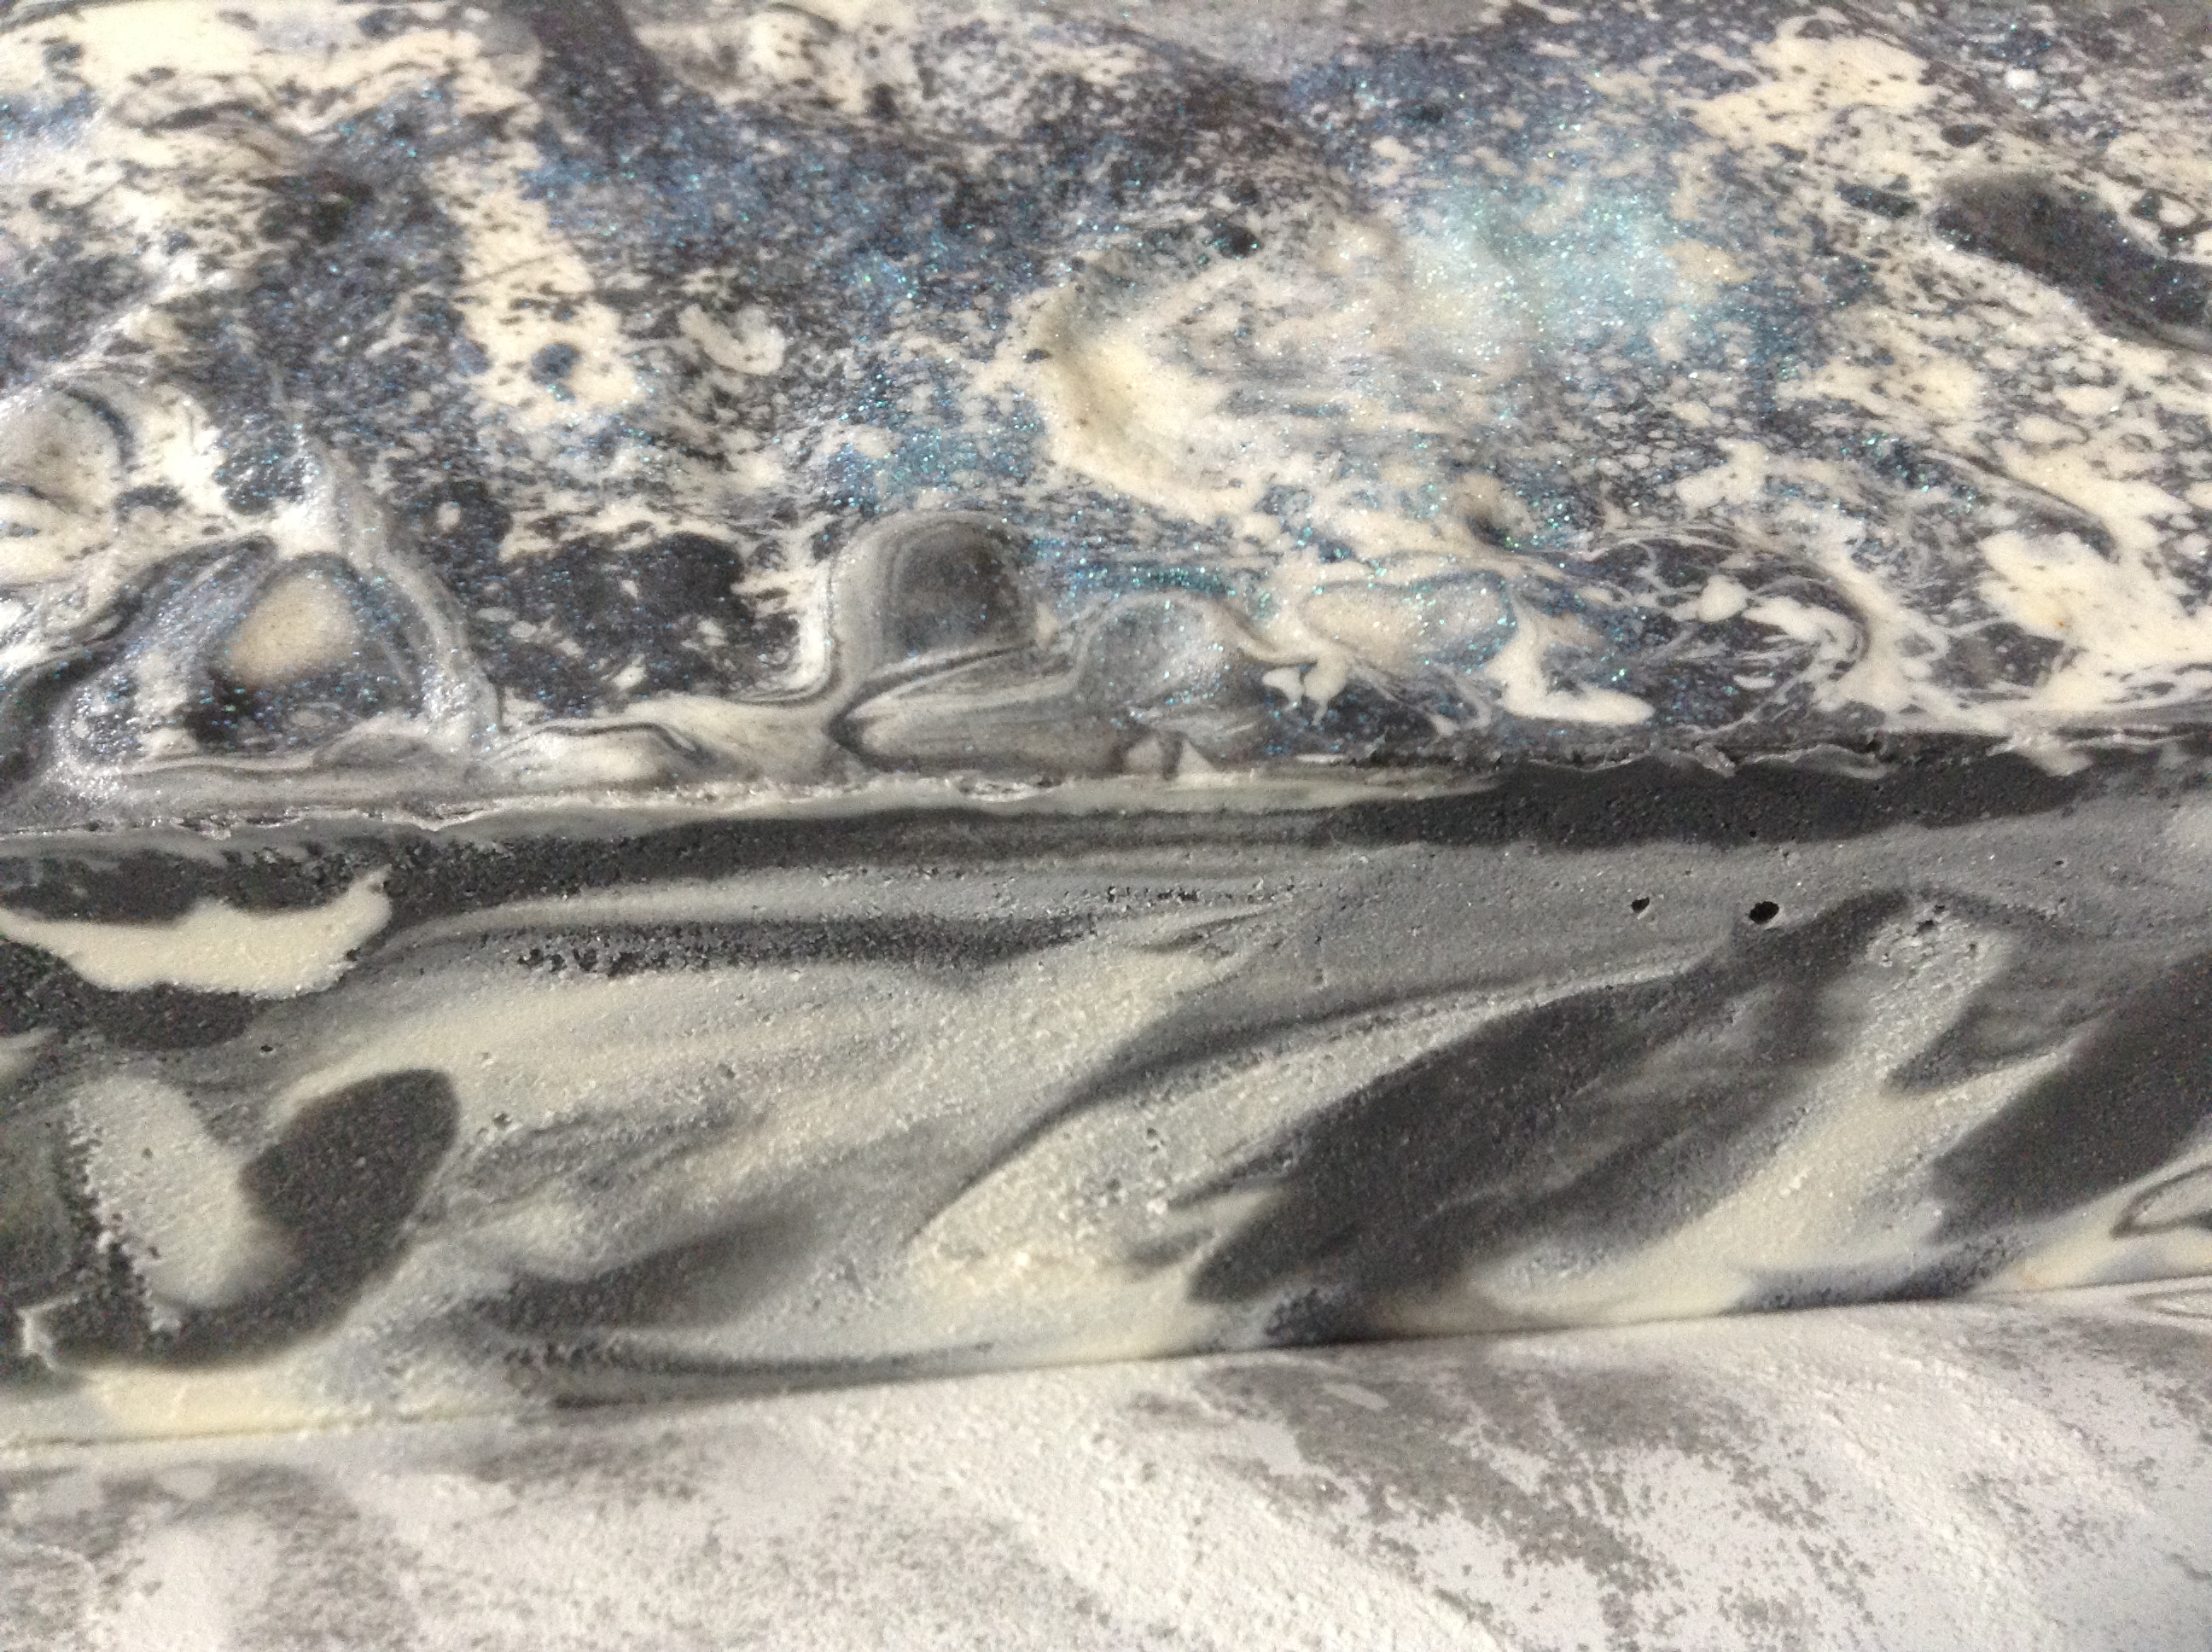
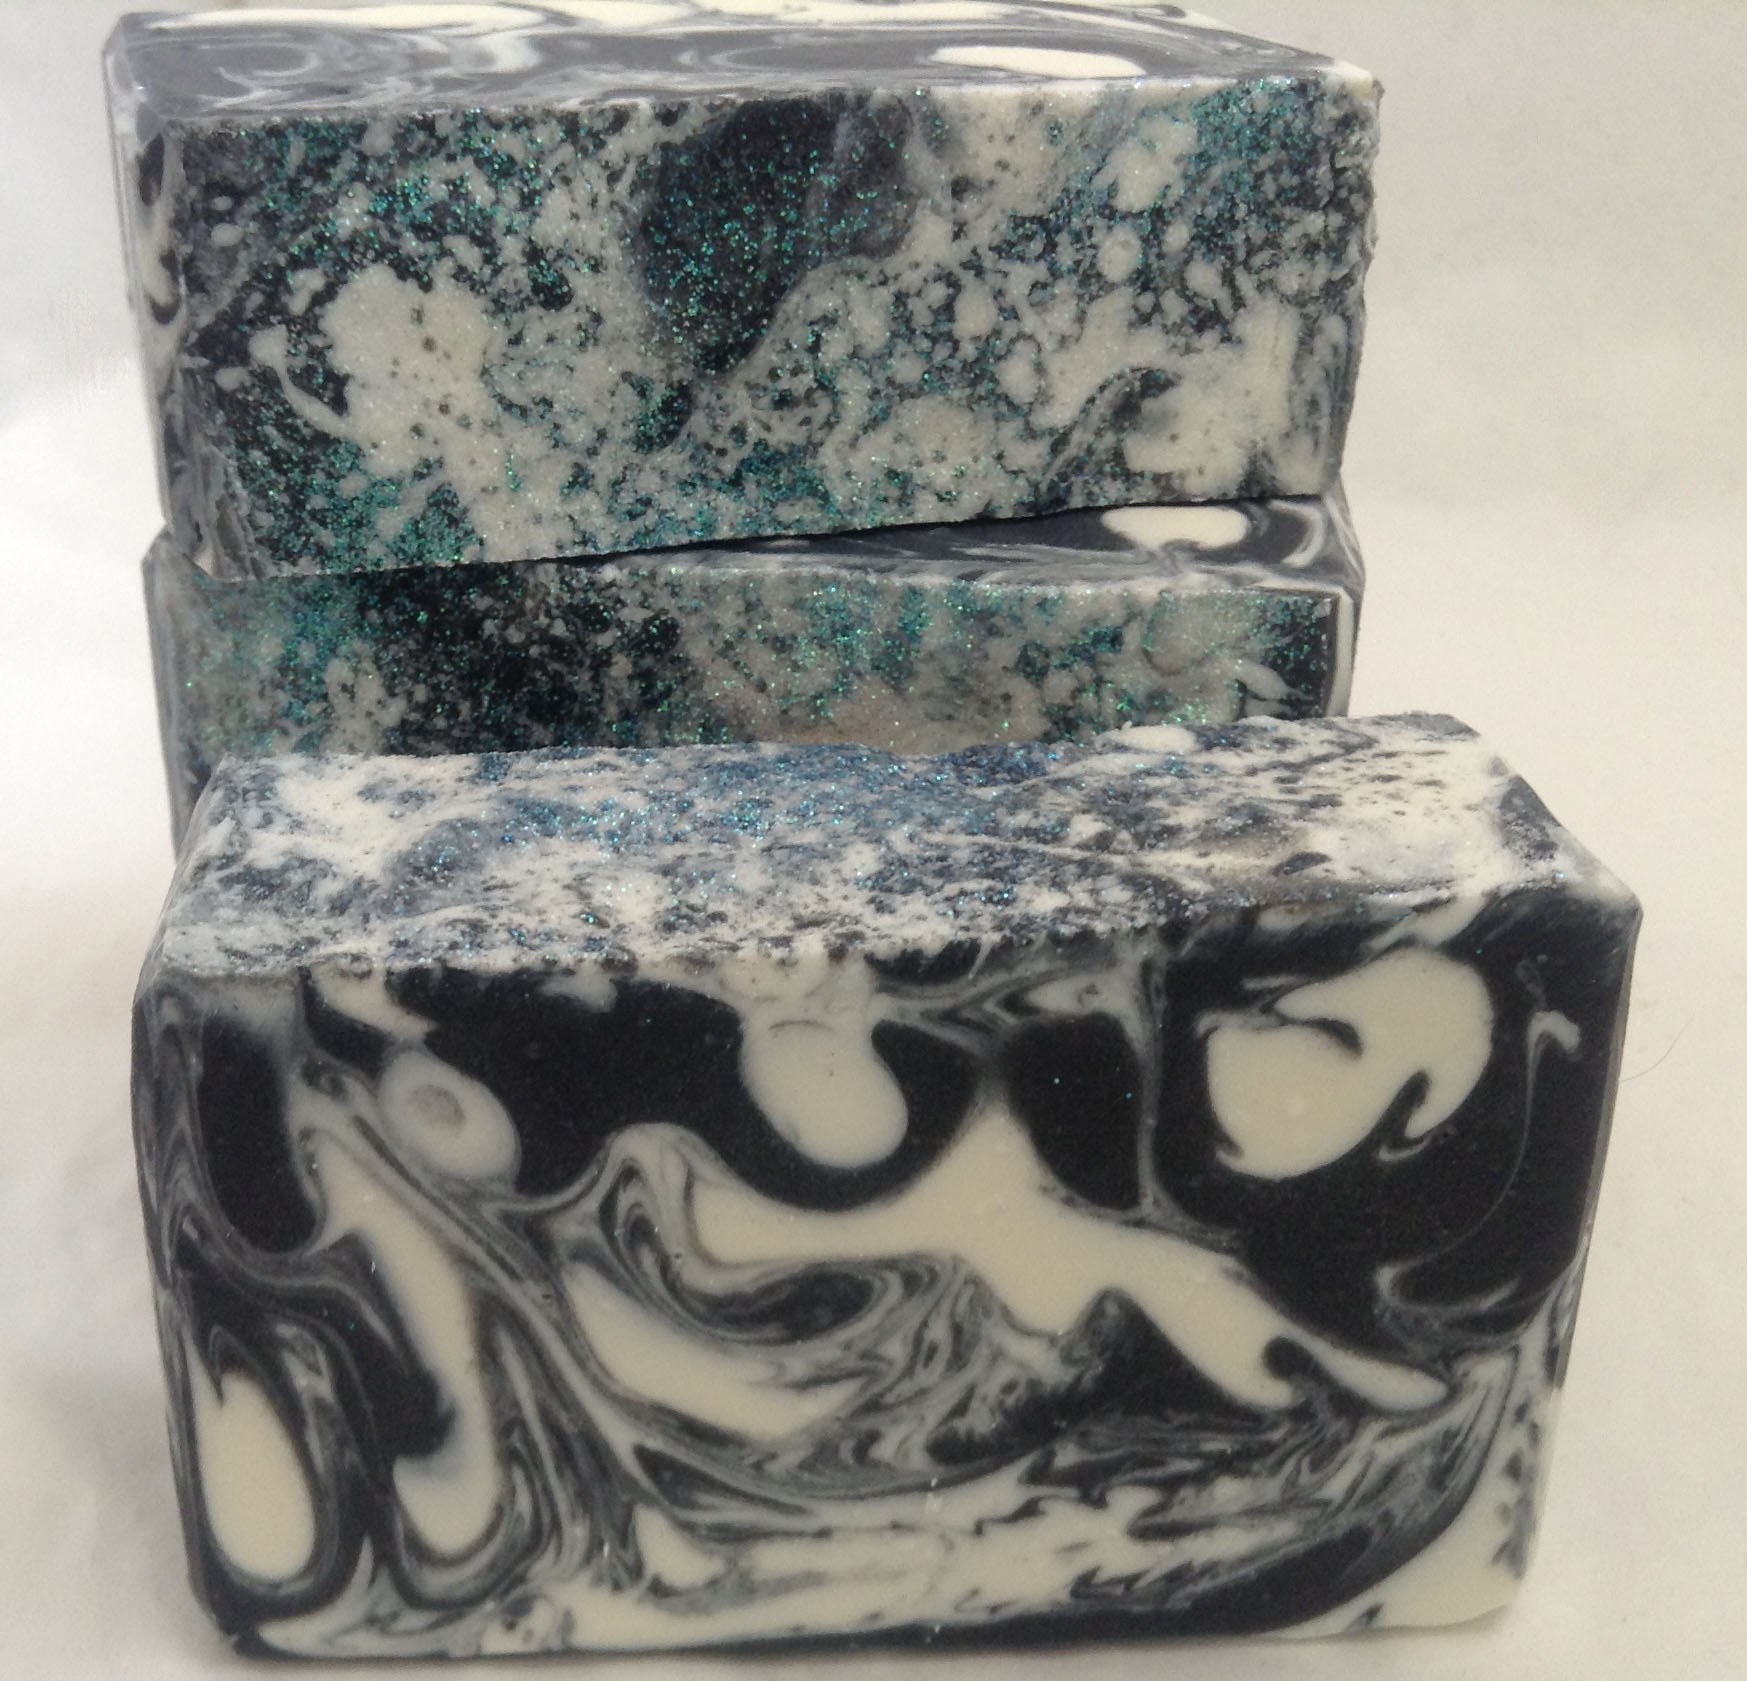
I knew the soap would likely discolor because it was such a dark, reddish color. As you can see in the video, I separated the soap into three parts, two of which I colored. I was still able to get a nice swirl with a spoon, but I was really afraid the soap would be ruined because it looked like it was starting to rice in the mold, and if I had tried to stick blend it at that point, the soap would have been utterly ruined.

I took the soap’s temperature before I put it away, and it was already 104° on the bottom of the mold. Even if I had wanted to, there would probably have been nothing I could have done to prevent the soap from gelling. If I had tried to decrease the temperature by putting it in the freezer, it would have at least partially gelled. I am not a fan of partially gelled soap.

I decided the best thing to do was just to let it gel and monitor the temperature closely. If the soap looked like it was heating up too much in the mold, I planned to let it sit in a cool spot, perhaps even turn a fan on it. The temperature stayed within a “safe” range under 140°, so I did not worry too much about it getting hot.

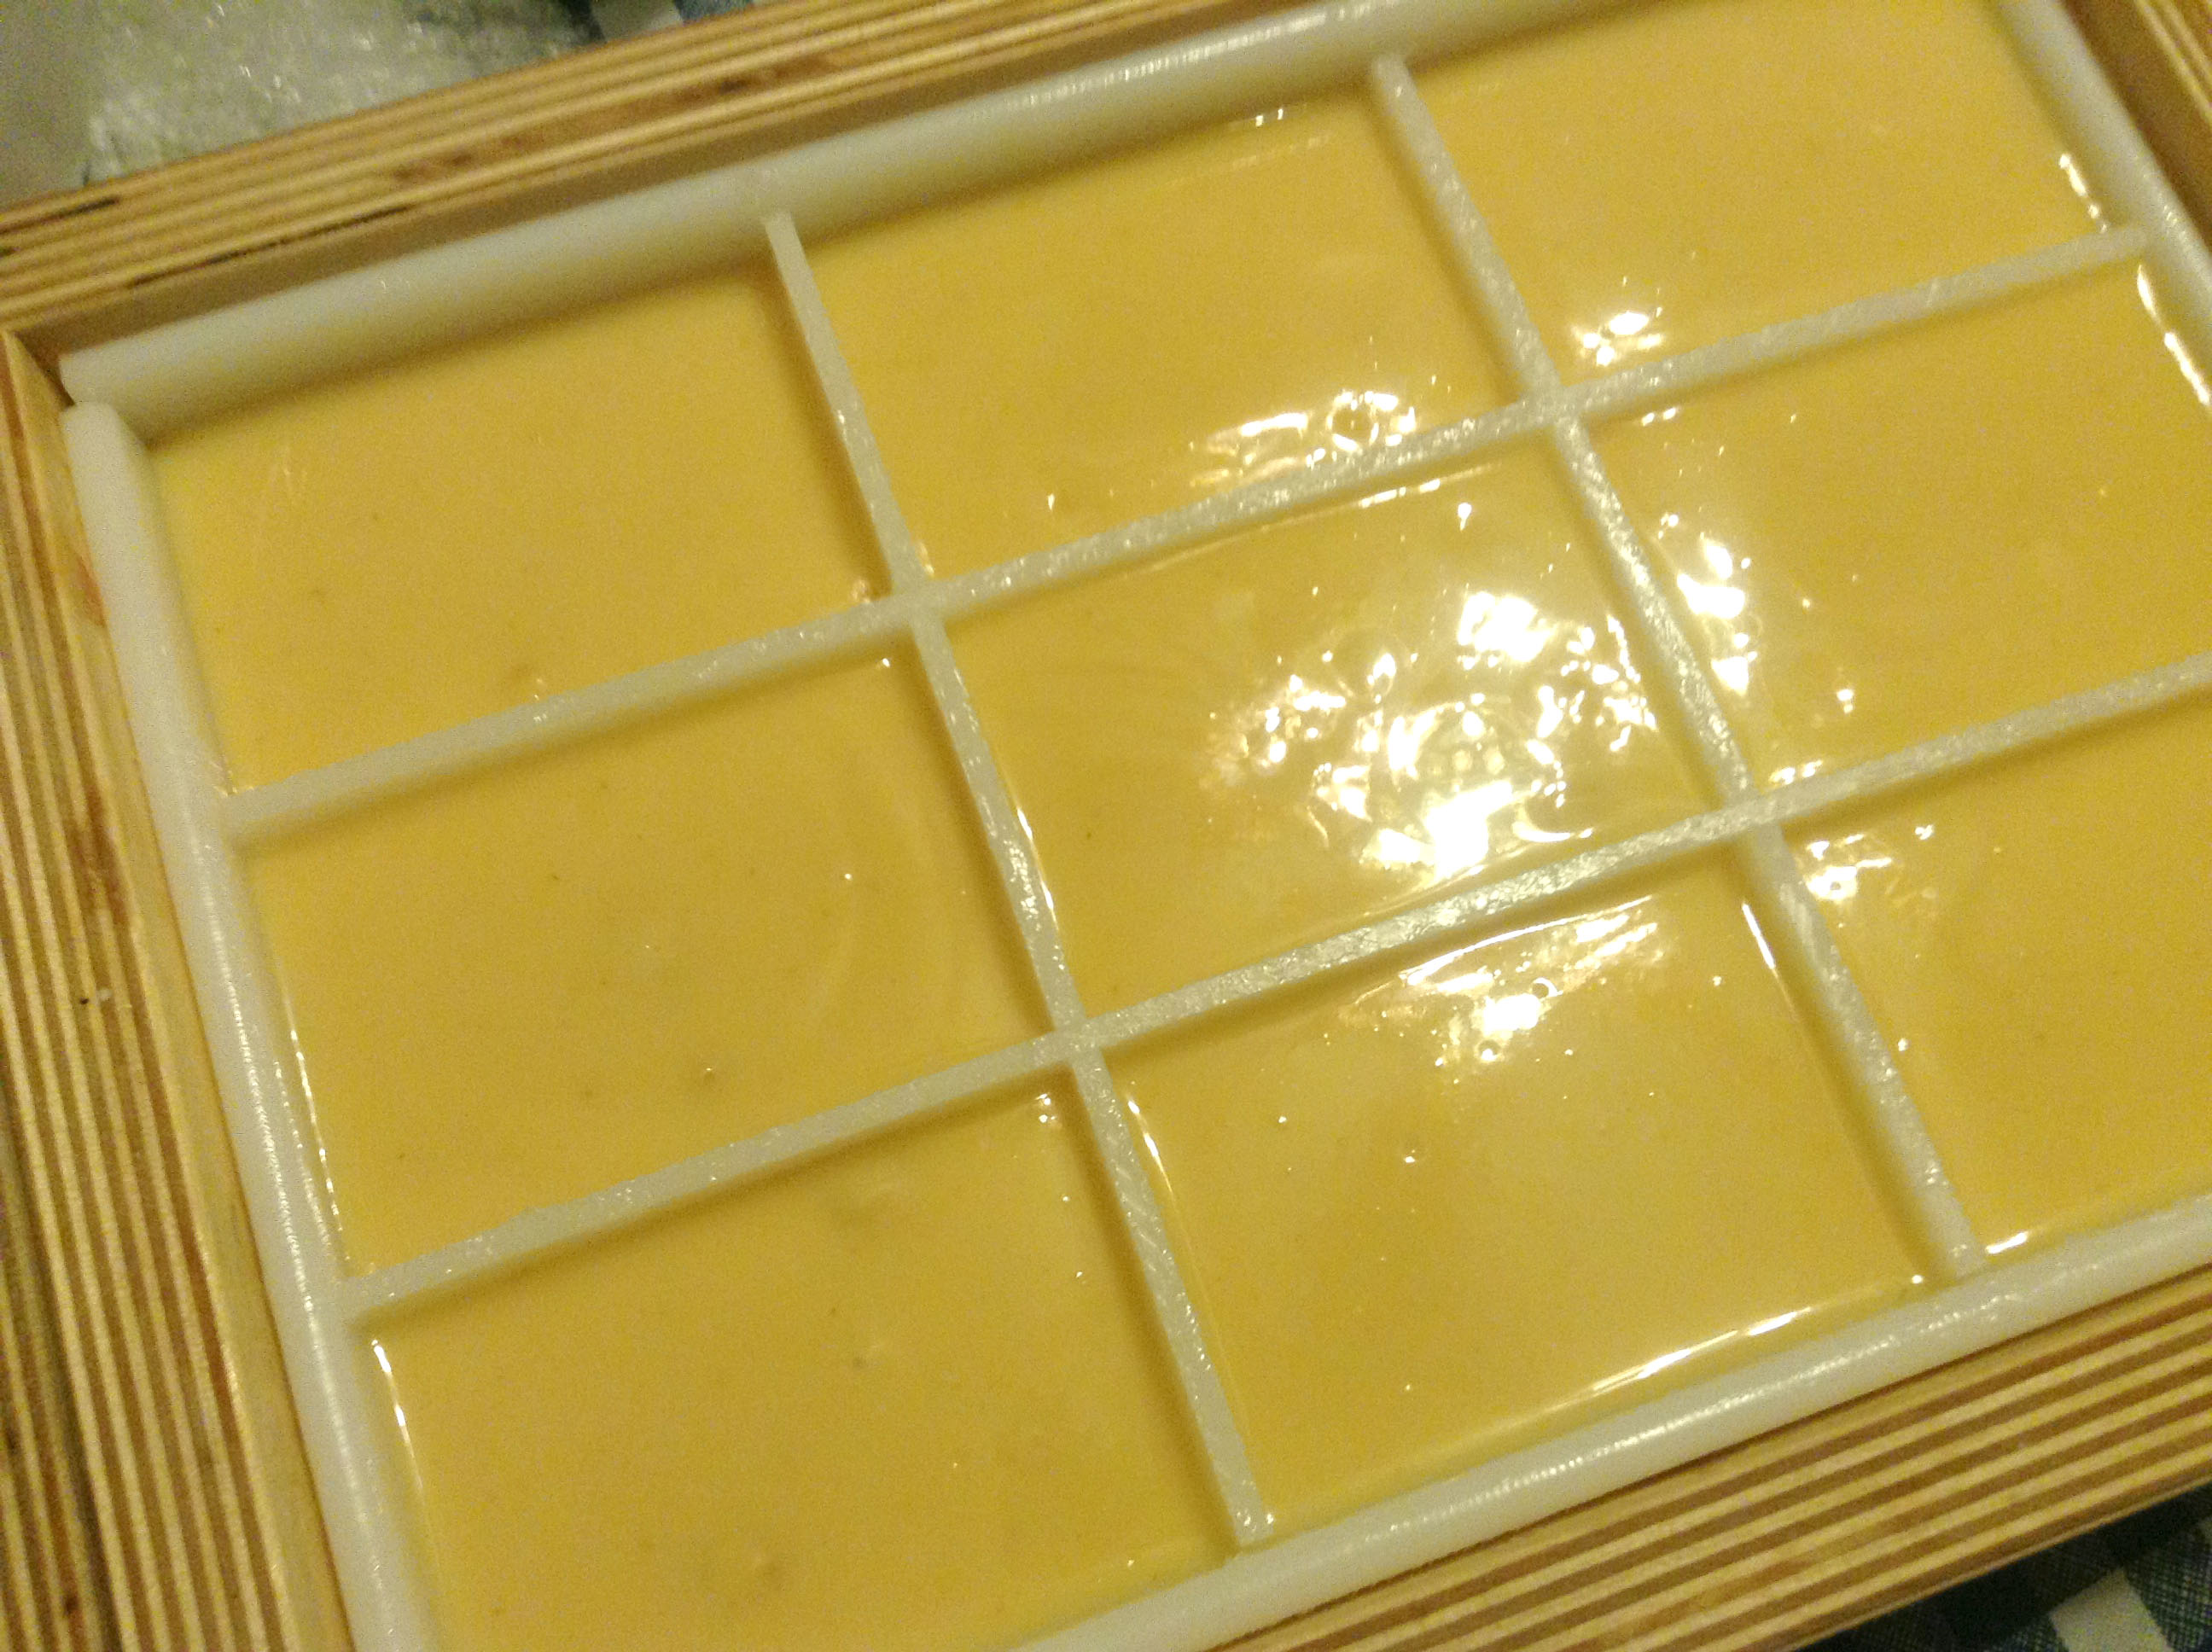
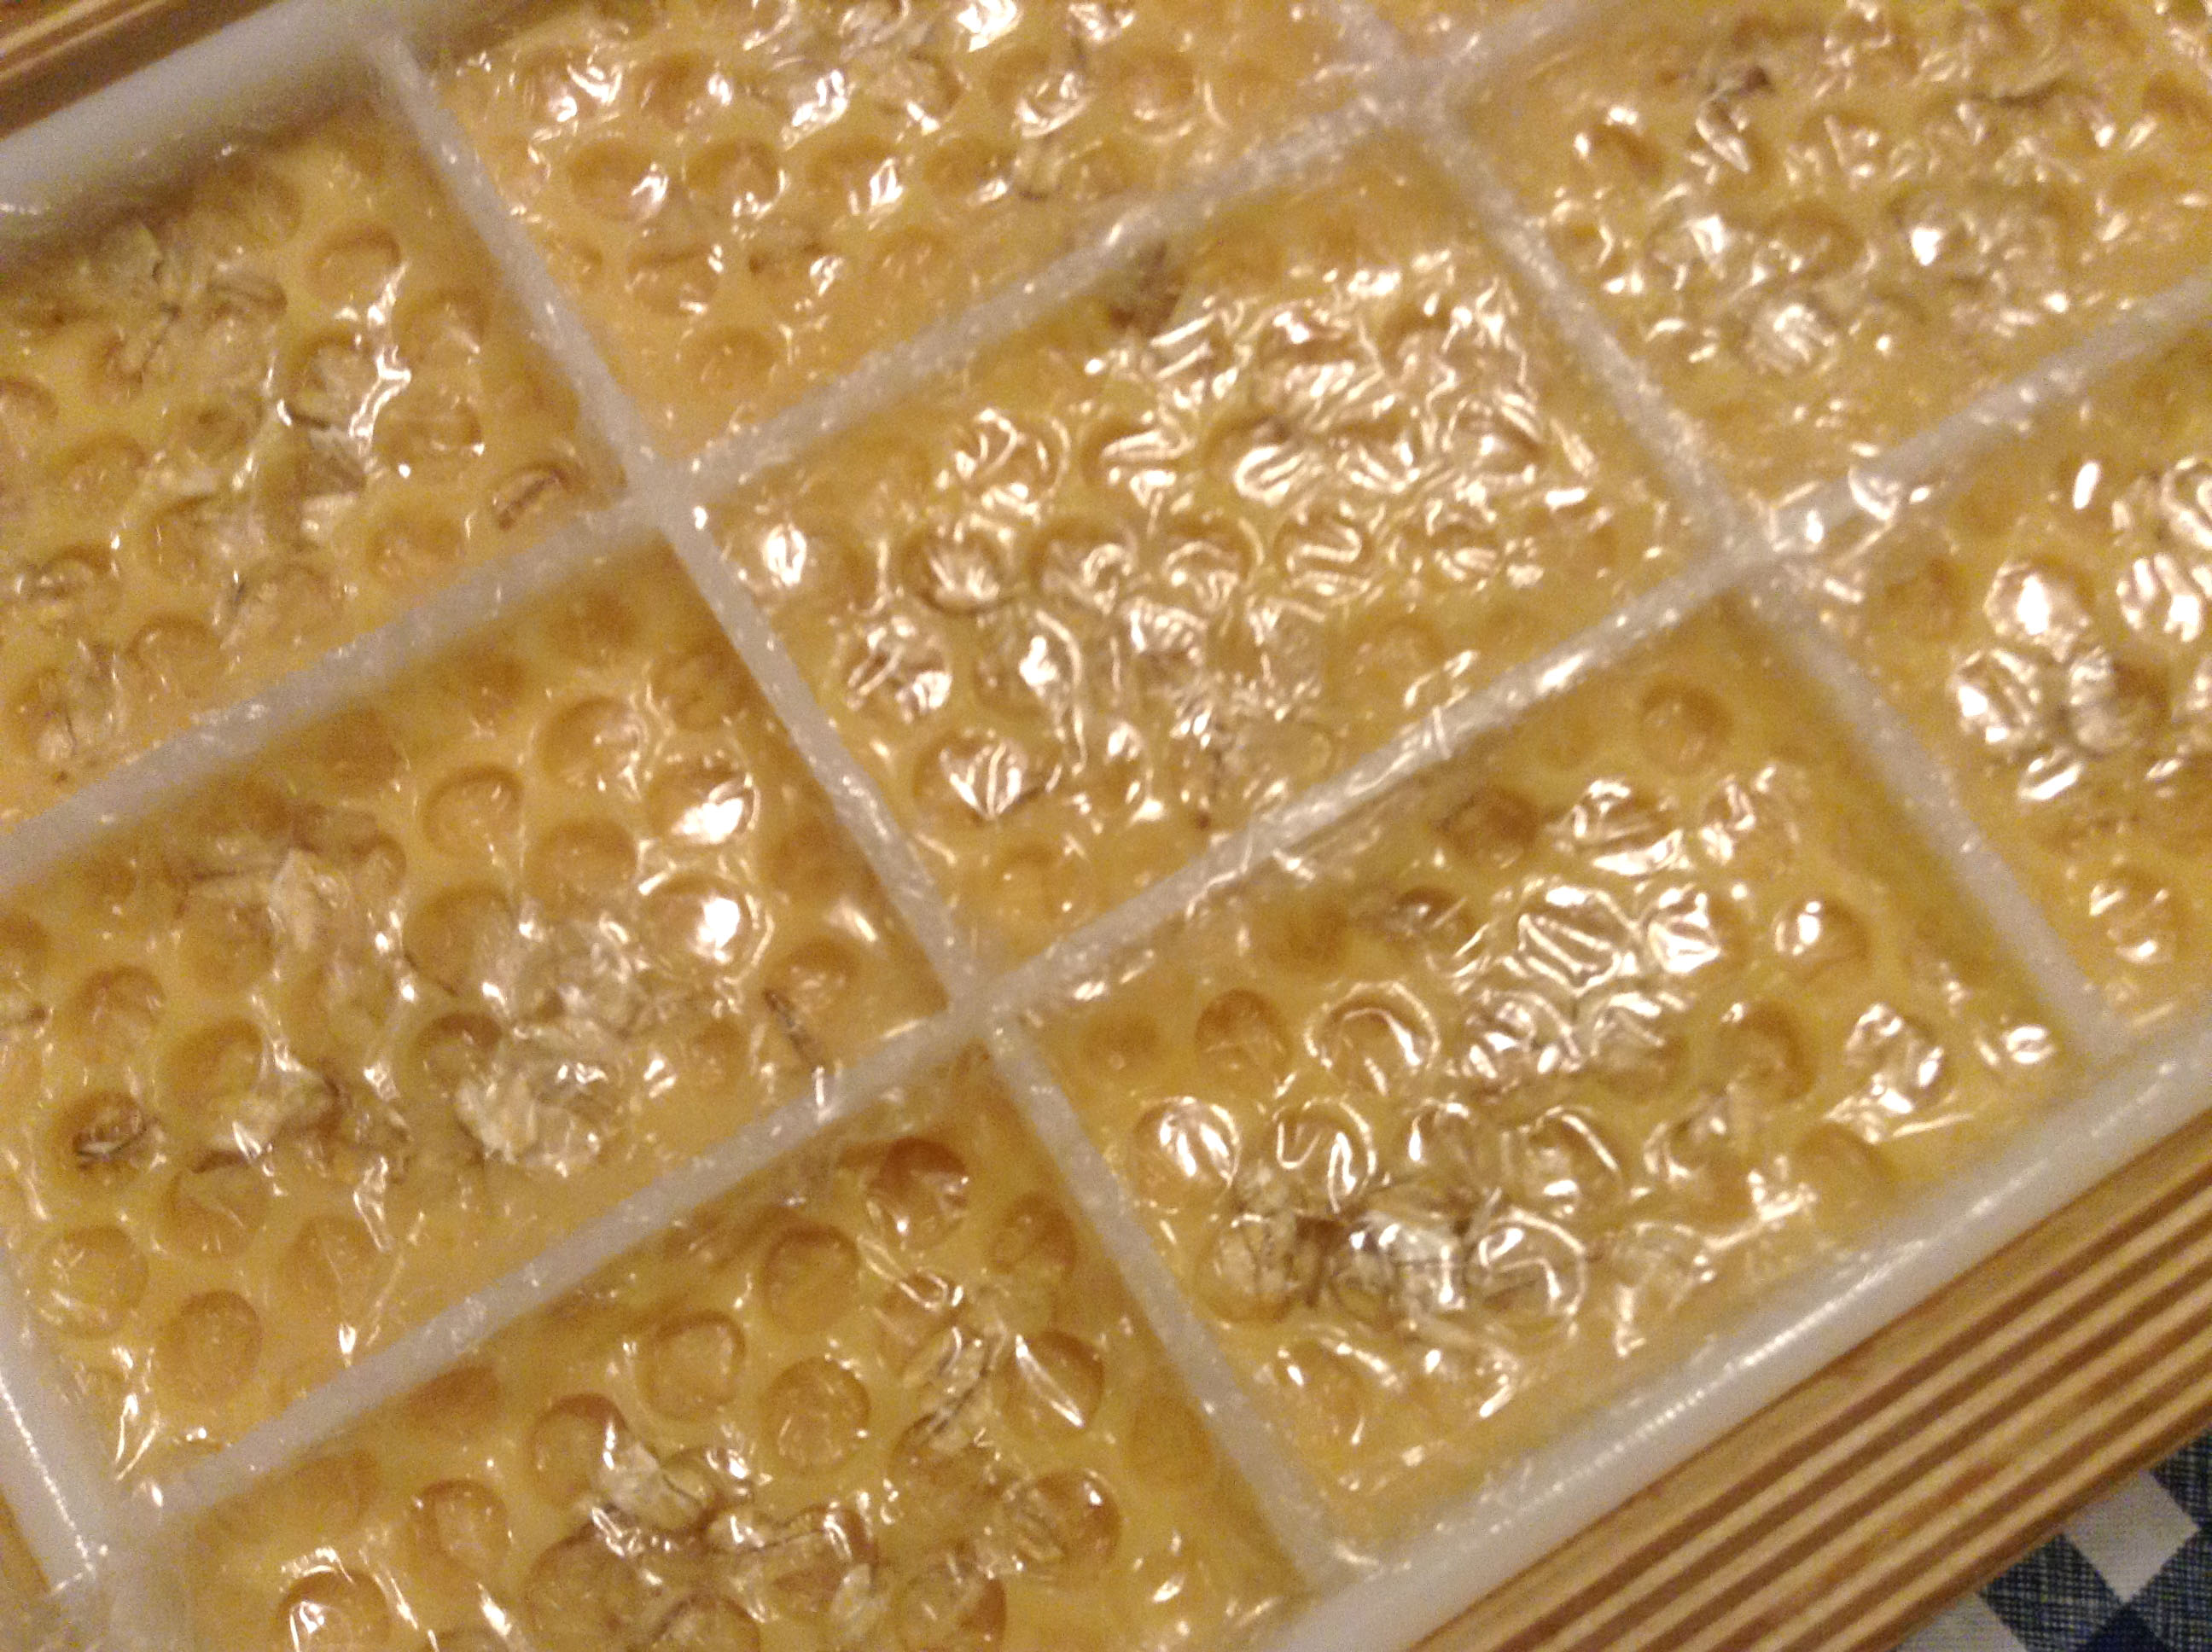
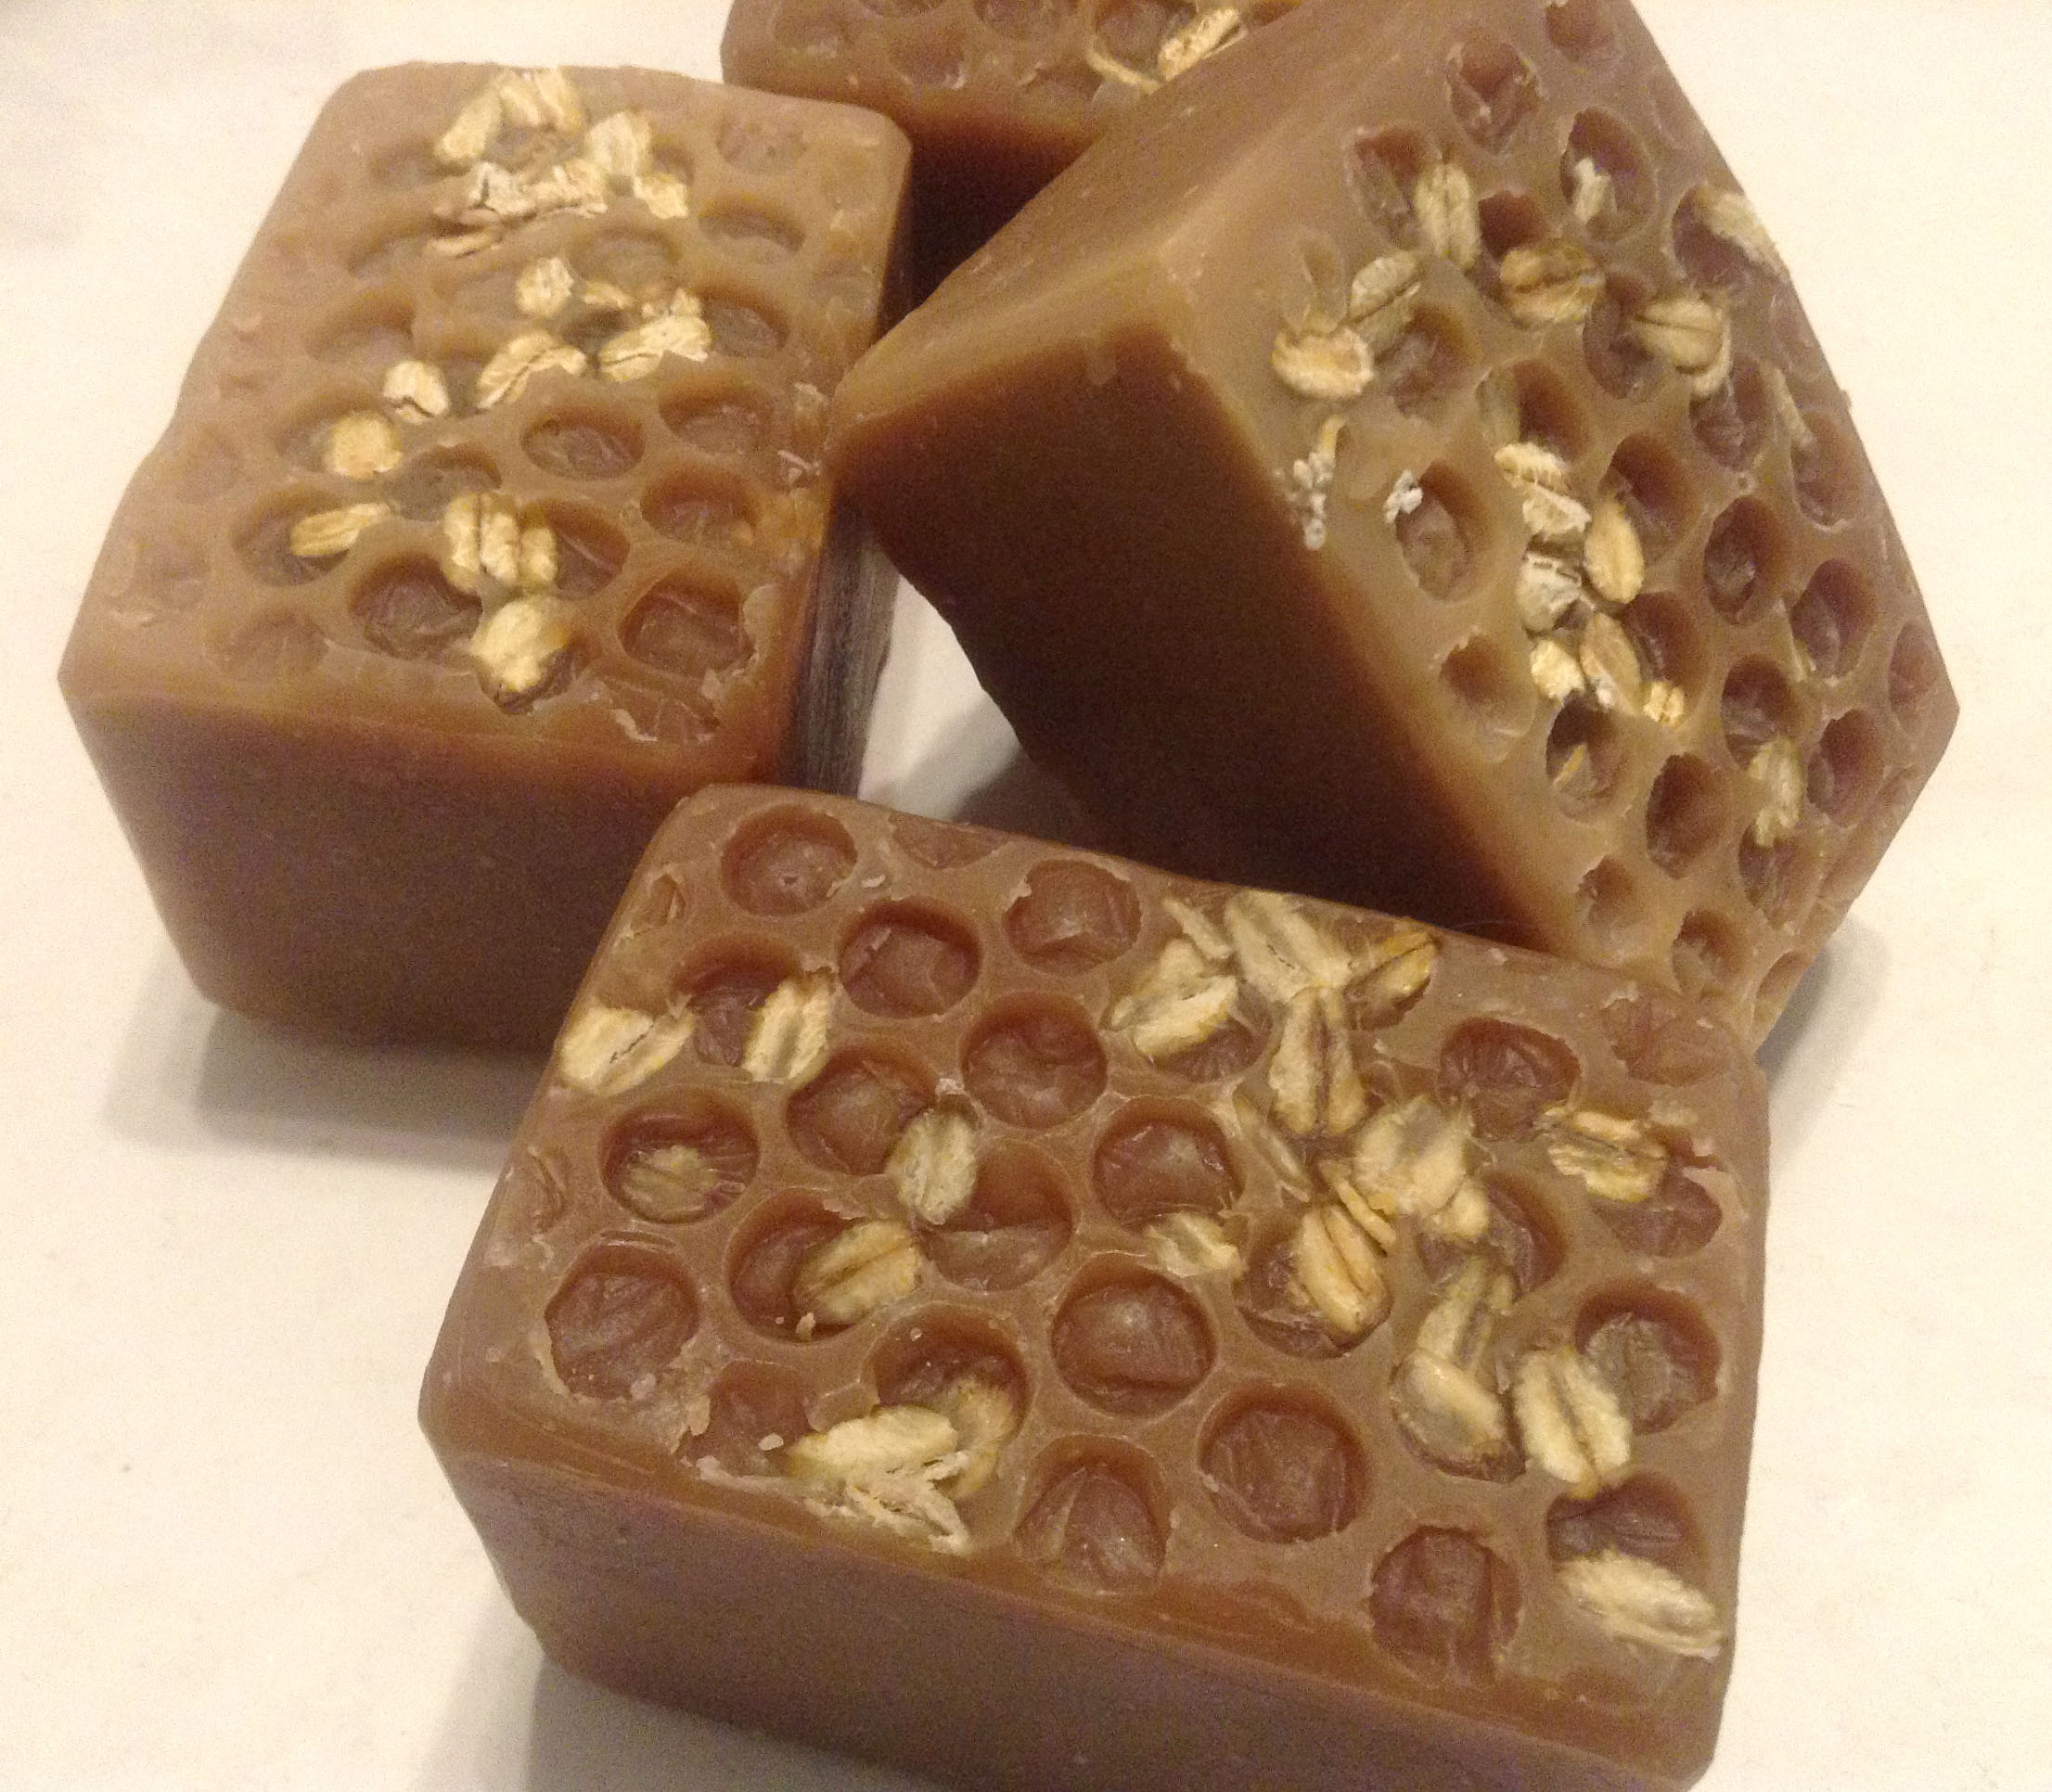
I expected I might have some glycerine rivers in the soap, and I did, but not as bad as you might think, given the way this soap moved. Glycerine rivers can result when soap gets too hot. Essentially, they look like clear veins in soap, and they can give a sort of “crackle” effect to a finished bar. I think they actually can look pretty cool sometimes. But I don’t always want them!

If I use the fragrance again—and despite how it behaved, I might because it smells absolutely delicious—I would not stick blend after adding it to the soap. I would just stir it well. I would also lower the temperature at which I planned to mix the soap to 90° rather than about 100°, which was about the temperature I used. I already used full water, but I think that lowering the temperature and stirring rather than stick blending will make this fragrance more workable.

If you have a fragrance that sets up your soap really quickly, here a few tips to try so that you can save your soap:

  • Examine your recipe. Some oils, such as palm oil and cocoa butter, can accelerate trace. If you are working with a cranky fragrance, try increasing the amount of olive oil and/or eliminating oils that accelerate trace. Always run changes through a lye calculator so you don’t wind up with lye-heavy soap.
  • Lower the temperature at which you mix your soap.
  • Use full water (if you discounted; if you did not, adding more water might cause other problems).
  • Add the fragrance before you add the lye. You can more carefully monitor for signs of acceleration.
  • Don’t stick blend your fragrance in. Just stir it well. Stick blending will cause trace to accelerate more quickly.
  • Bang your mold on the counter. Soap that is accelerating often leaves air pockets.
  • Let it gel. It is already getting hot, and by trying to prevent gel, you will likely cause more problems.
  • Monitor the temperature as it gels. I checked my soap every so often with my infrared thermometer.

I find that gelling the soap will fix a lot of the problems you see with accelerated trace. Just let the soap do its thing. If it doesn’t work, chalk it up to a learning experience.

There are some actual benefits to accelerated trace. The soap is ready to cut faster than soap that took longer to trace. If you want to sculpt the tops, a fragrance that accelerates trace will give you a great opportunity to create peaky tops.

Some types of fragrances that tend to accelerate trace include floral fragrances (I use a lilac one that moves terribly fast) and spicy ones (which often contain clove oil or cinnamon). Sometimes sugars can accelerate trace, too. For instance, using honey or beer in soap can cause it to move more quickly.

The soap actually turned out really well considering the problems I had. You can see I had a little minor “glycerine river” issue, but in this case, I kind of liked the look. Lucky me that i liked it because if I didn’t, oh well! I suspect the bottom part to which I added the fragrance may darken more. So what caused this fragrance to misbehave so badly? It’s hard to say, as companies do not need to publish fragrance oil ingredients, which are considered trade secrets, and this particular fragrance had no reviews.

Pumpkin Cheesecake

Honeycomb Soap

Before I started making soap, I used to purchase handmade soap from a farmer’s market near my house. I actually started making soap because I didn’t think it would be practical to order it from this soap maker anymore, and I found her soaps so interesting that I really wanted to try making my own. I actually researched for some months before I made my first batch.

One of the soaps this soap maker at the farmer’s market sold had a cute honeycomb effect, and I wondered how on earth she achieved it. As it turns out, it’s pretty easy. She used bubble wrap!

I use bubble wrap on some of my soaps. My Oatmeal, Milk, and Honey soap is a big favorite, and here is a tutorial for achieving a honeycomb effect in this soap.

The ingredients in my Oatmeal, Milk, and Honey soap are olive oil, goat milk, coconut oil, sustainable palm oil, sodium hydroxide, shea butter, fragrance, castor oil, finely ground oatmeal, honey, whole oats.

You can purchase colloidal oatmeal, or you can grind it very finely in a coffee grinder. I use a coffee grinder. The fragrance I use is an Oatmeal, Milk, and Honey fragrance.

First off, start with frozen goat milk and slowly add your lye, a little bit at a time, making sure to incorporate all of it. Don’t rush through this part.

Goat Milk

If you are using milk, it’s best to freeze the milk and add the lye to the frozen milk. This might sound stupid, but I figure other people might not know it, so I’ll share: frozen goat milk has the same mass as liquid goat milk. So you can freeze it in ice cube trays first, then weigh the goat milk. You don’t have to weigh out goat milk portions and freeze in portions, but you might find it convenient.

I also use a stainless steel pot every time I mix my lye with any liquid because I can more easily control the temperature. Pots are made for that sort of thing, after all. I got this idea from Anne L. Watson in her book Milk Soapmaking.

Some soap makers don’t freeze the milk all the way and just let it get slushy. I find my temps stay lower if the milk is completely frozen. When the temps stay lower, the milk is less likely to discolor. If the temperature is too high, the milk scorches and turns orange.

Mold

I prepare my mold by laying a sheet of bubble wrap in the bottom of the mold. To add interest, I sprinkle a few oats on top of the bubble wrap.

Soap Batter

When I add the milk to the oils, I try to make sure the oils are 100°F or lower, but I no longer worry about the temperature of my milk. For the record, it’s usually in the 70°-80°F range. At this stage, the milk and oils are emulsified.

Soap Batter

At trace, I add honey diluted in distilled water. I am so lucky! One of my co-workers is a beekeeper, and she trades me honey for soap, so I can use raw, locally harvested honey in my soap. Honey turns the soap a pretty golden color. After the soap saponifies, it turns a golden brown. Honey will discolor soap, but it is a humectant that draws moisture to the skin and also boosts the lather in soap. Honey is amazing in soap!

In the Mold

Once the soap reaches a good trace, but is not too thick to pour evenly, I pour it into the mold. Notice I removed the dividers. I think it is easier to pour the soap in and then add the dividers, but you don’t have to do it that way.

Dividers

Then I put the dividers in. Bang the mold on the counter or table to make sure the bars are even. I sometimes rock this mold gently from side to side before putting in the dividers just to even out the soap.

Oats on Top

I like to sprinkle oats on the top, just as I did on the bottom bubble wrap. It adds some interest and gives the soap a “homespun” look.

Oats on Soap

Here’s the soap entirely covered in oats.

Placing Bubble Wrap

I cut pieces of bubble wrap to fit the bar tops and gently press them into place.

Bubble Wrapped Soap

And here is the soap with the bubble wrap in place. You can also do this with log molds. Just cut strips of bubble wrap that fit the length of the mold and place one strip in the bottom of the mold and another strip on top of the poured soap.

Finished Bars

The finished bars are a golden honey color. They smell awesome! The honeycomb effect totally makes the soap. And it’s so easy!

Soap Crafting, Anne-Marie Faiola: Review

Soap Crafting, Anne-Marie FaiolaThe soap making world has rightly been abuzz about the publication of Soap Crafting: Step-by-Step Techniques for Making 31 Unique Cold-Process Soaps, by Anne-Marie Faiola, the Soap Queen herself.

This book is great for anyone at any level from beginner to expert. The book starts with a basic tutorial and essential equipment inventory as well as a good basic recipe. I wish I had had this book when I started making soap because I like Anne-Marie’s basic recipe much better than the one I tried. Anne-Marie’s book is one of the few I’ve seen that actually mentions the formula for calculating the amount of oils to use in your recipe for the size of your mold (see page 110). Why most books omit this important information, I’m not sure, but it would have been really helpful to me as a beginner. I also like Anne-Marie’s creative suggestions for molds, which is yet another feature I would have liked in a beginner’s book. In addition to a basic recipe and advice on equipment and safety, Anne-Marie offers a good introduction to the different types of soap making oils, types of colorants and how to choose them, and using essential oils and fragrance oils. All of this is advice I have found sorely lacking in most soap making books.

Following the introduction to learning to make soap, Anne-Marie shares 31 recipes, each designed so that the reader can try new techniques, include using colors and different types of swirls, using various types of molds, and using foods other additives. It is easily the most comprehensive soap making book in terms of addressing beginners and advanced users because it includes both a basics section and more advanced tutorials (including some techniques I hadn’t tried or hadn’t heard of). The recipes all have great step-by-step instructions.

I just tried the squirty swirl Anne-Marie describes on pp. 216-221. I think next time I might let the soap get a little thicker beforehand. It is a really cool look. The soap is still too soft to cut, but here it is right after I put it into the mold:

2013-09-01 21.31.33

I like the “Jackson Pollack” look when you get to the end of the bottle. Next time I might leave the glitter off, too.

Here’s the soap unmolded.

2013-09-02 16.35.35

I used anise essential oil and peppermint essential oil to scent it, and I used activated charcoal to make the black soap. Mine will probably turn out to be more of a true swirl than Anne-Marie’s soap in the book because I think mine was at a thinner trace.

In addition to the great instructions and recipes, the book is filled with gorgeous full-color photographs, and the book itself is available in two formats: e-book and spiral-bound. The spiral binding allows the book to lay flat when open, just like a cookbook. It’s interesting to me how few other soap making books are designed in this way, which would make them much easier to use as you’re whipping up a batch of soap.

Anne-Marie’s book is easily one of the best soap making books I’ve read. Highly recommended for soap makers, no matter whether you’re just starting or you’ve been making (and even selling) for years. Love the book, Anne-Marie!

Update: Here is a pic of the cut bars. Love the way they turned out, even if my soap was too fluid, and it was more of a true swirl than the book depicted.

Anise & Peppermint