Trying Bubble Bars

I have been wanting to branch out a bit and try some other products for a while. I have made lotion with great success, and if you’re looking to try lotion yourself, I can’t recommend Anne L. Watson’s book Smart Lotionmaking highly enough. Her recipes have all worked well for me, and I am especially in love with her Almond & Cocoa Butter lotion.

I had been wanting to try making bubble bars for a while, but I wasn’t sure how to go about it. The recipe can take a lot of experimentation, and I wasn’t excited about wasting a lot of ingredients trying to get it right. I have watched Anne-Marie Faiola’s tutorial on making bubble bars, and hers seemed to have come out all right. If you are looking for a recipe to start, you might try hers. Here is a video tutorial.

However, after watching this tutorial by Katie White of Royalty Soaps, I was convinced to try the recipe she used in the video.

The recipe is copyrighted, but you can purchase it from Nicole Gallagher of Two Wild Hares on Etsy.

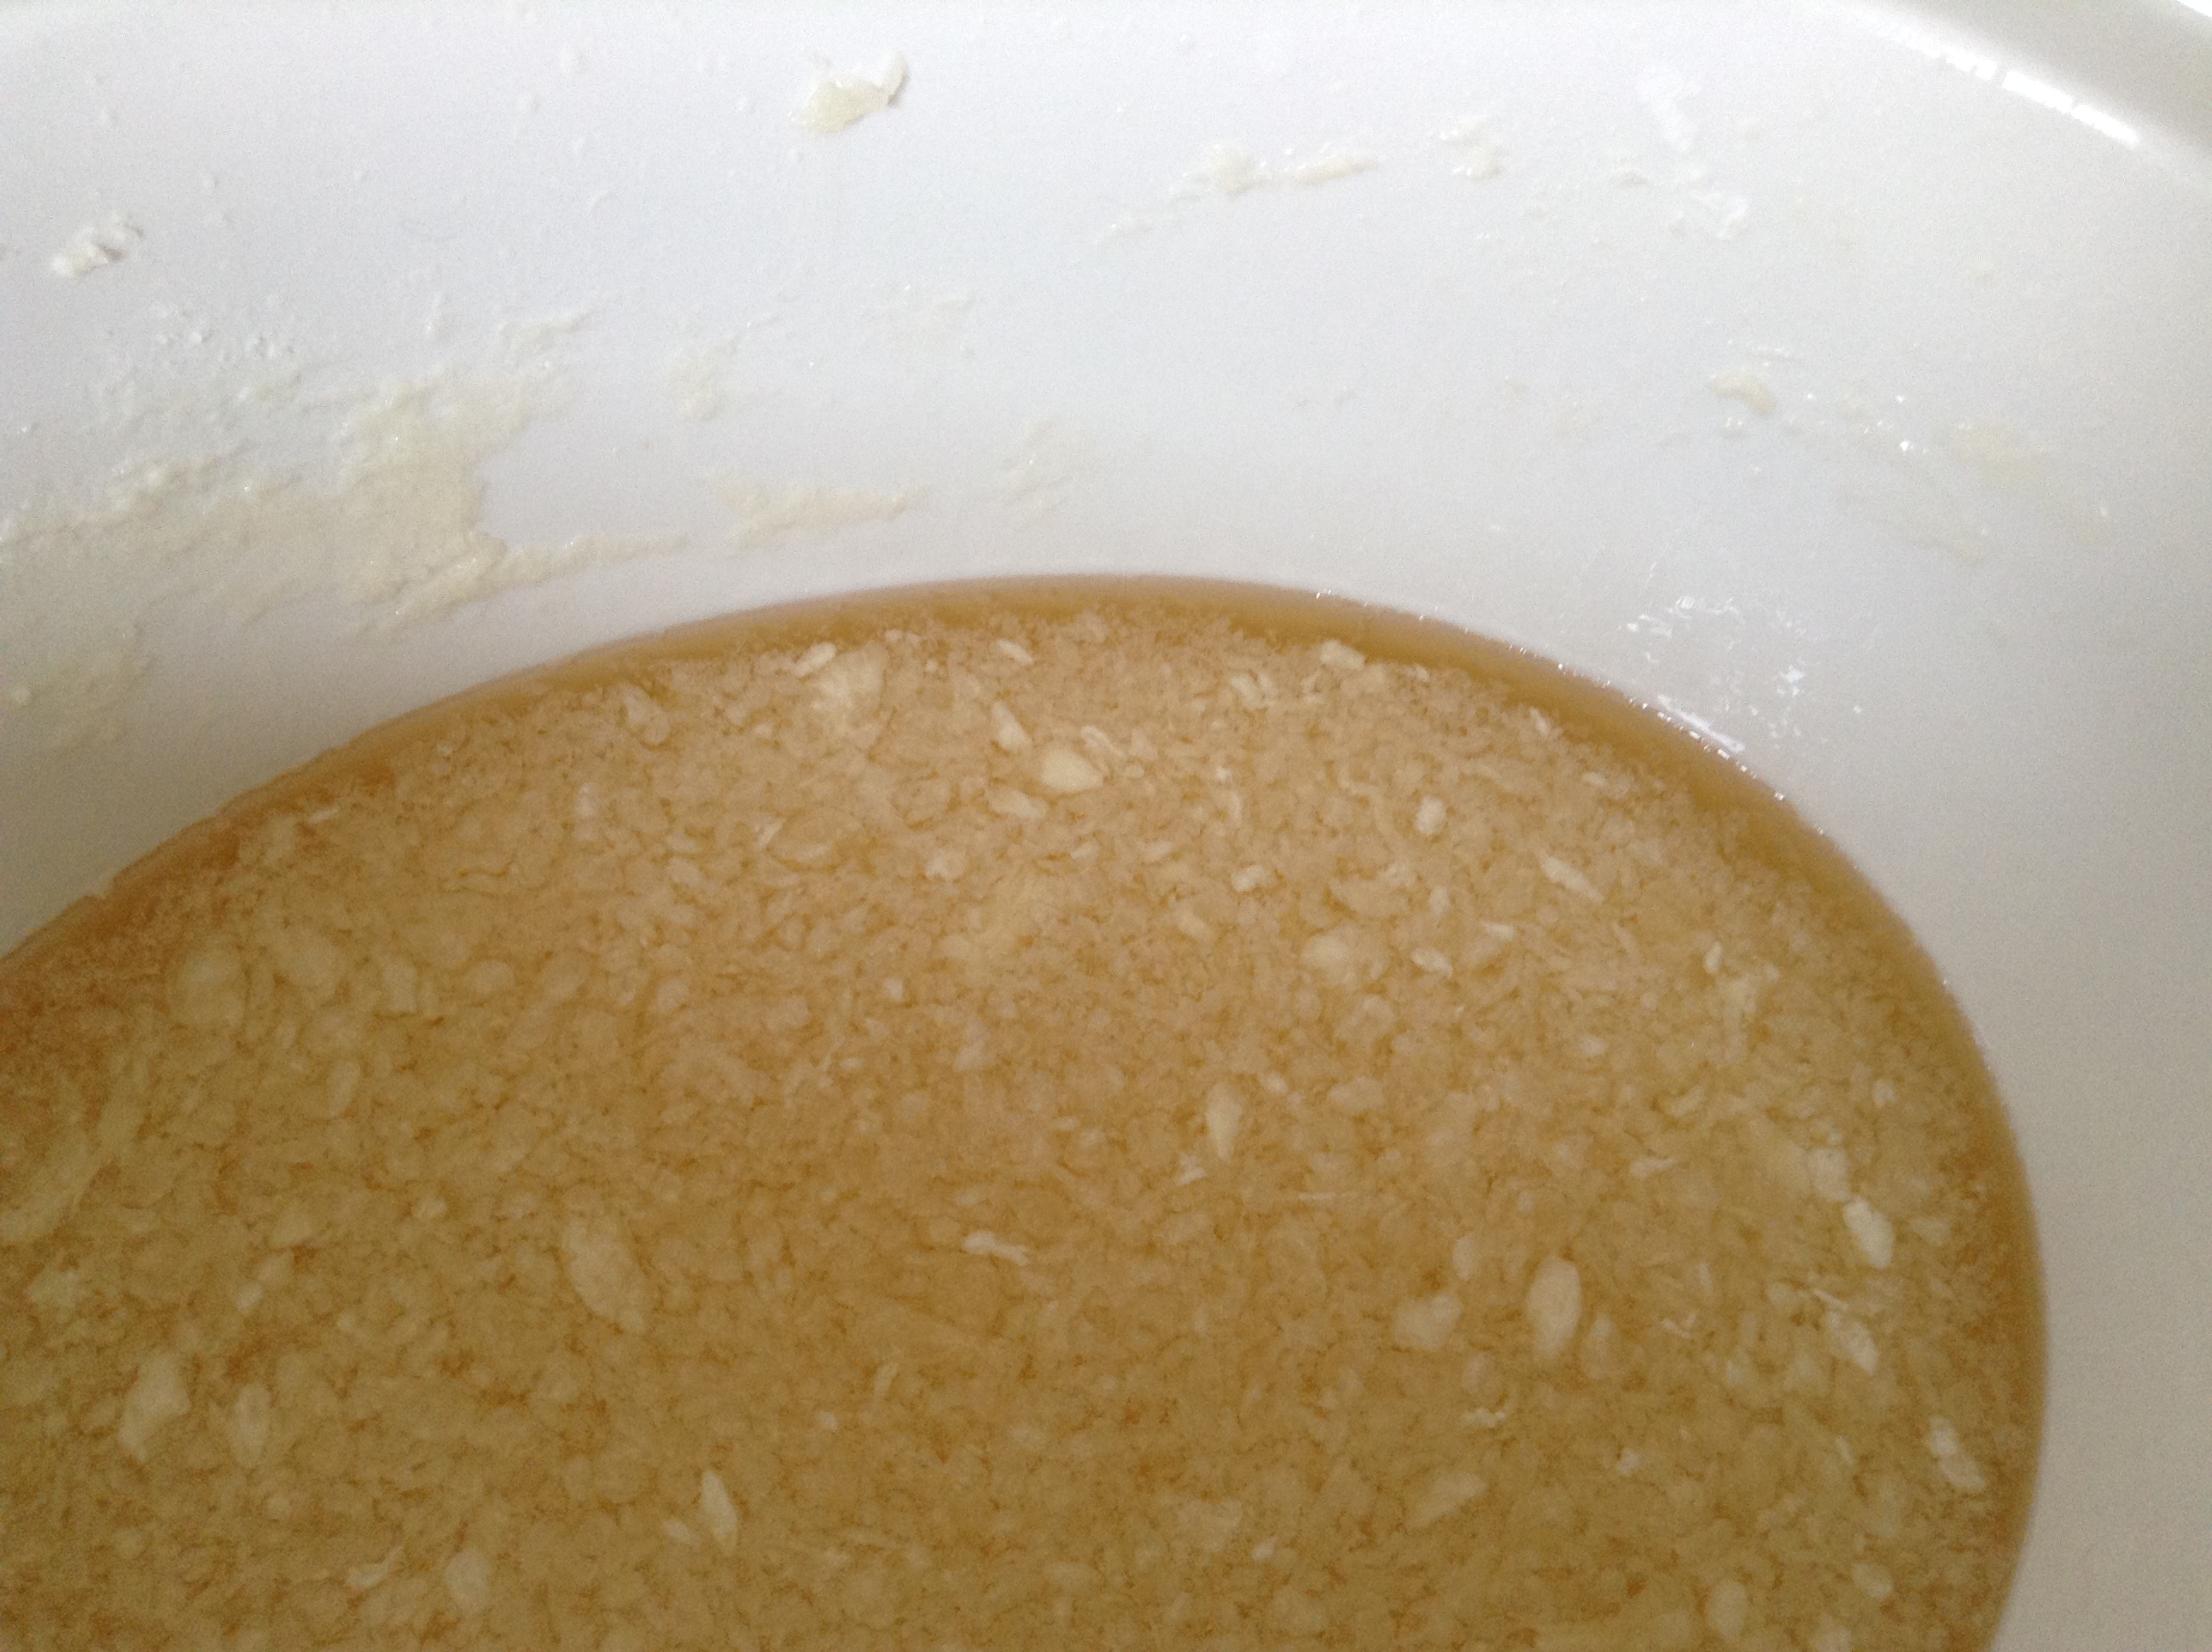
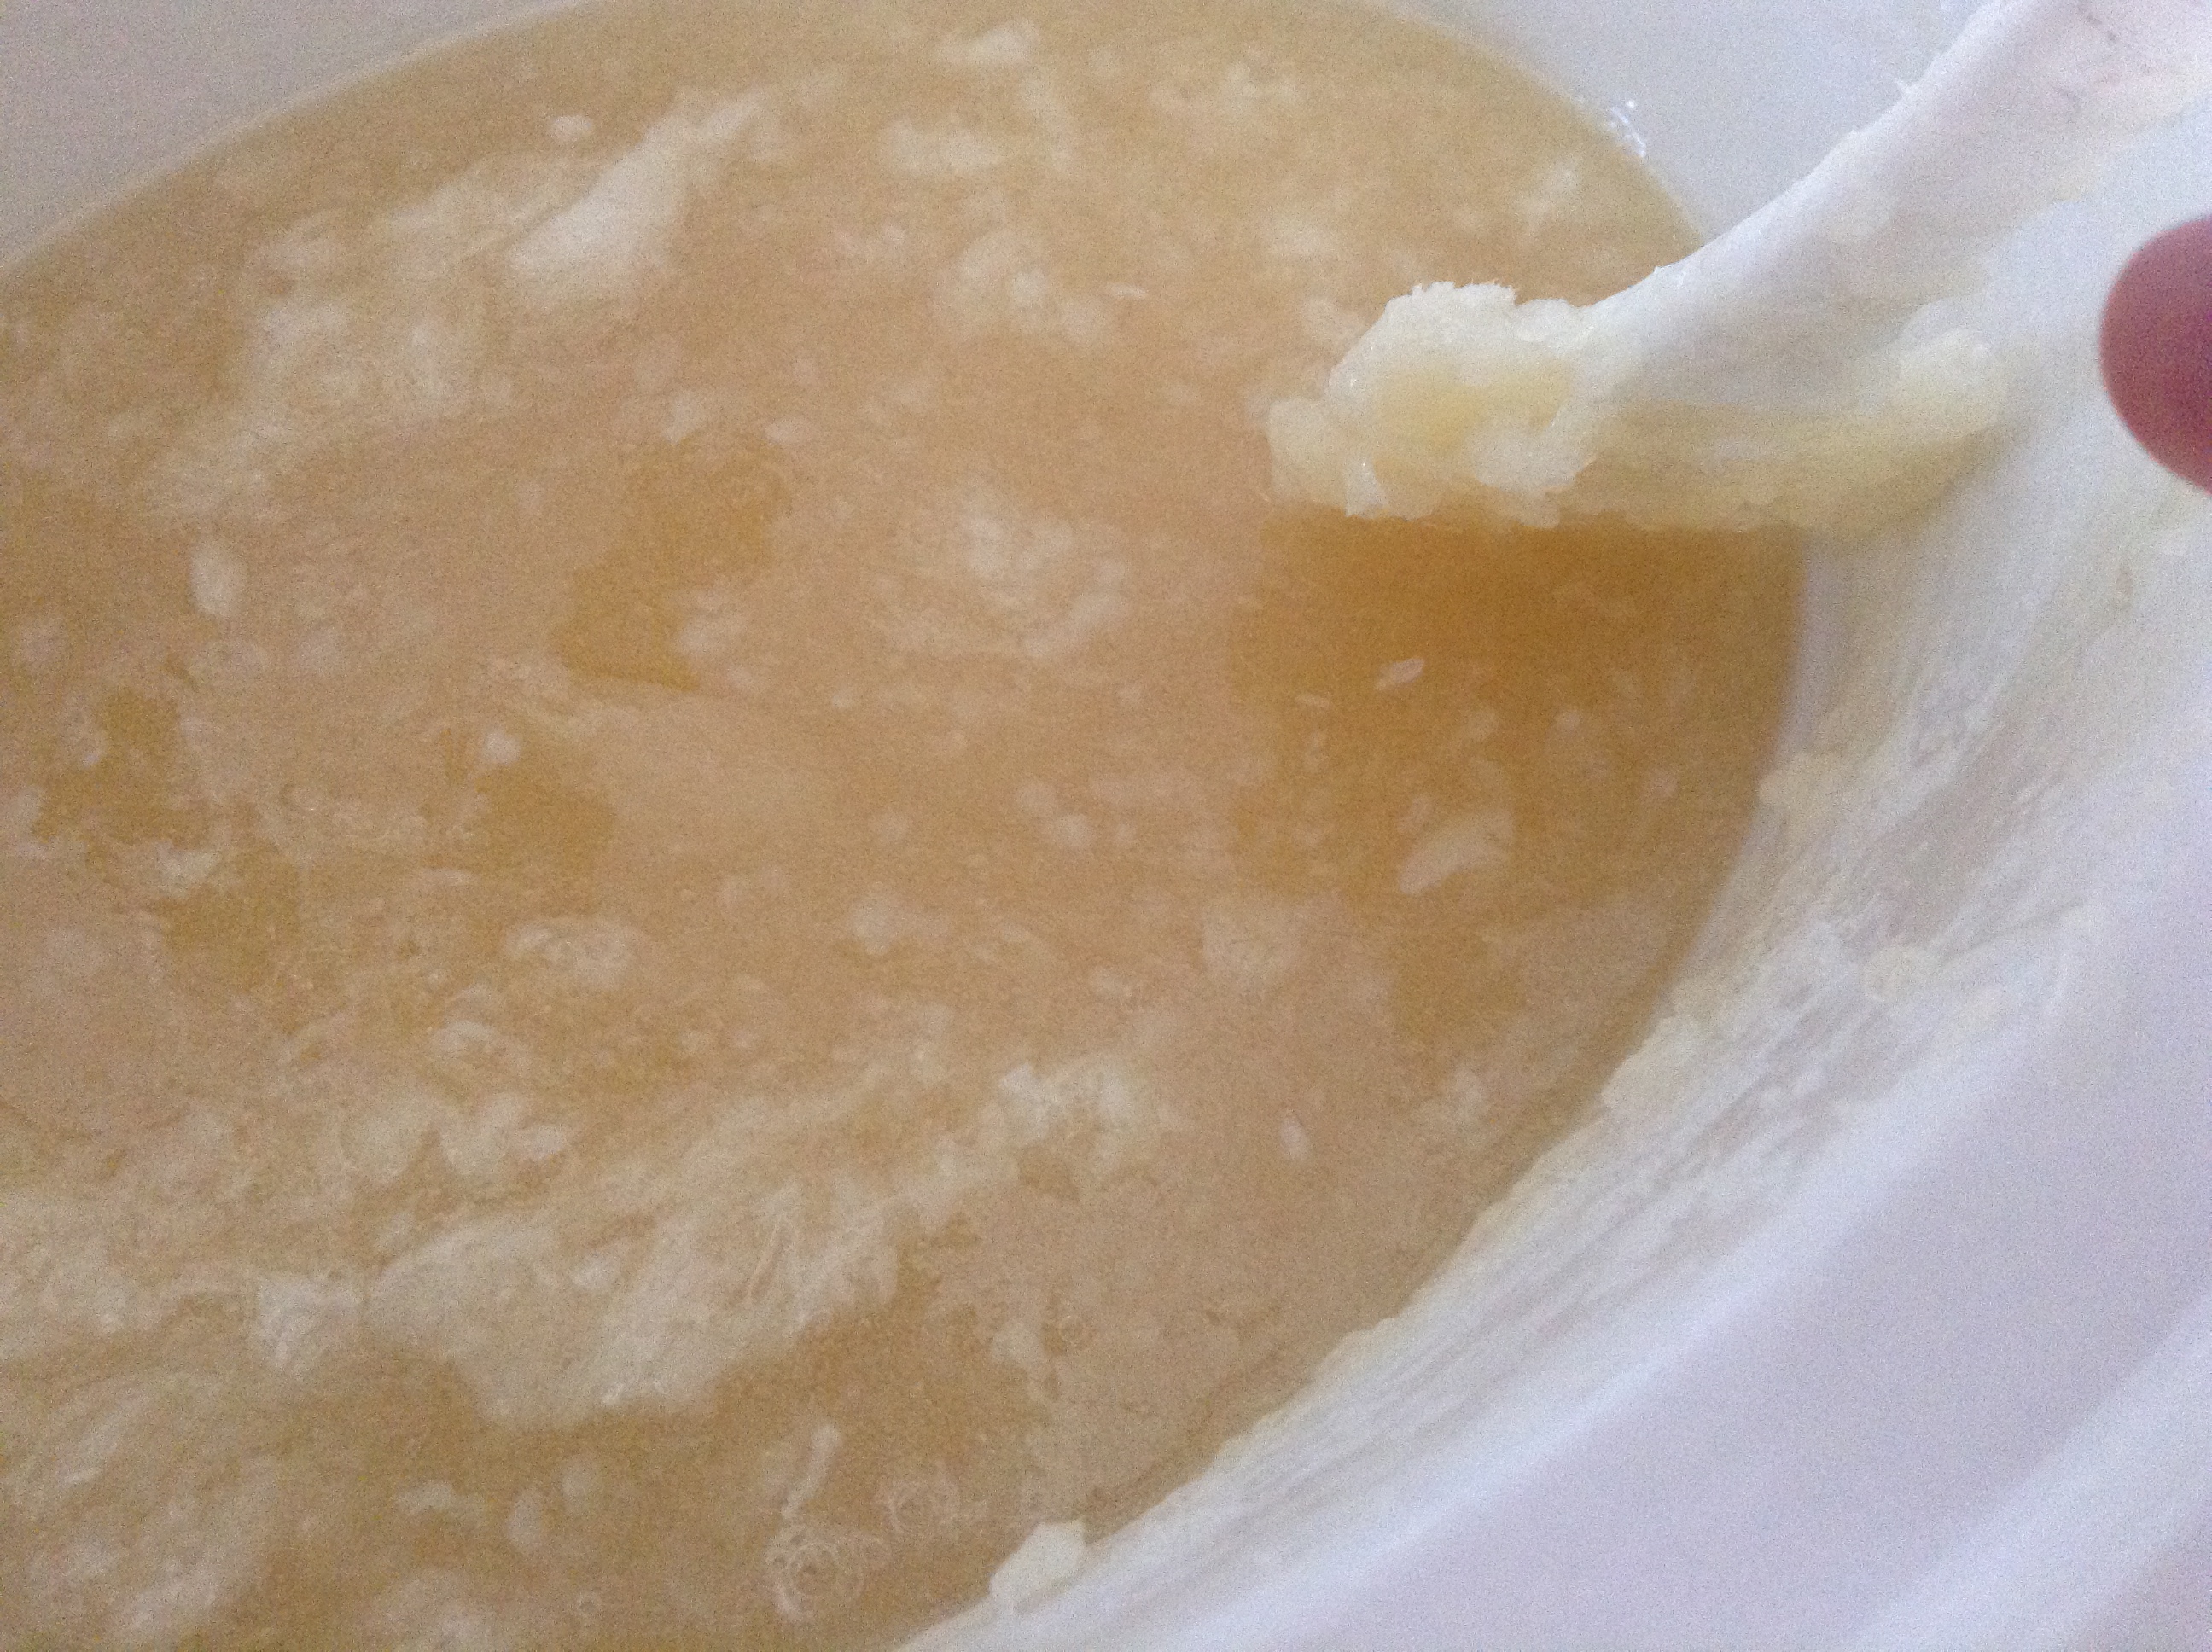
The first time I tried to make the bubble bars, I used too much glycerin, I think. One thing I will say about the instructions provided by Nicole is that they are very thorough. While it’s impossible to account for every variable someone might experience, one suggestion Nicole makes is to adjust the wet ingredients if you are finding your bubble bar dough is too wet (I’m being a bit cagey here out of respect for Nicole’s work, but if you purchase her recipe, you’ll see what I mean). I also couldn’t stop myself from fiddling overmuch with the bubble bars while they dried, the end result of which was that it took a long time for by first batch of bubble bars to harden, and they were lumpy and not very pretty. However, I tried them in the tub, and each time I’ve tested, they’ve produced lots of bubbles that last for a pretty good while.

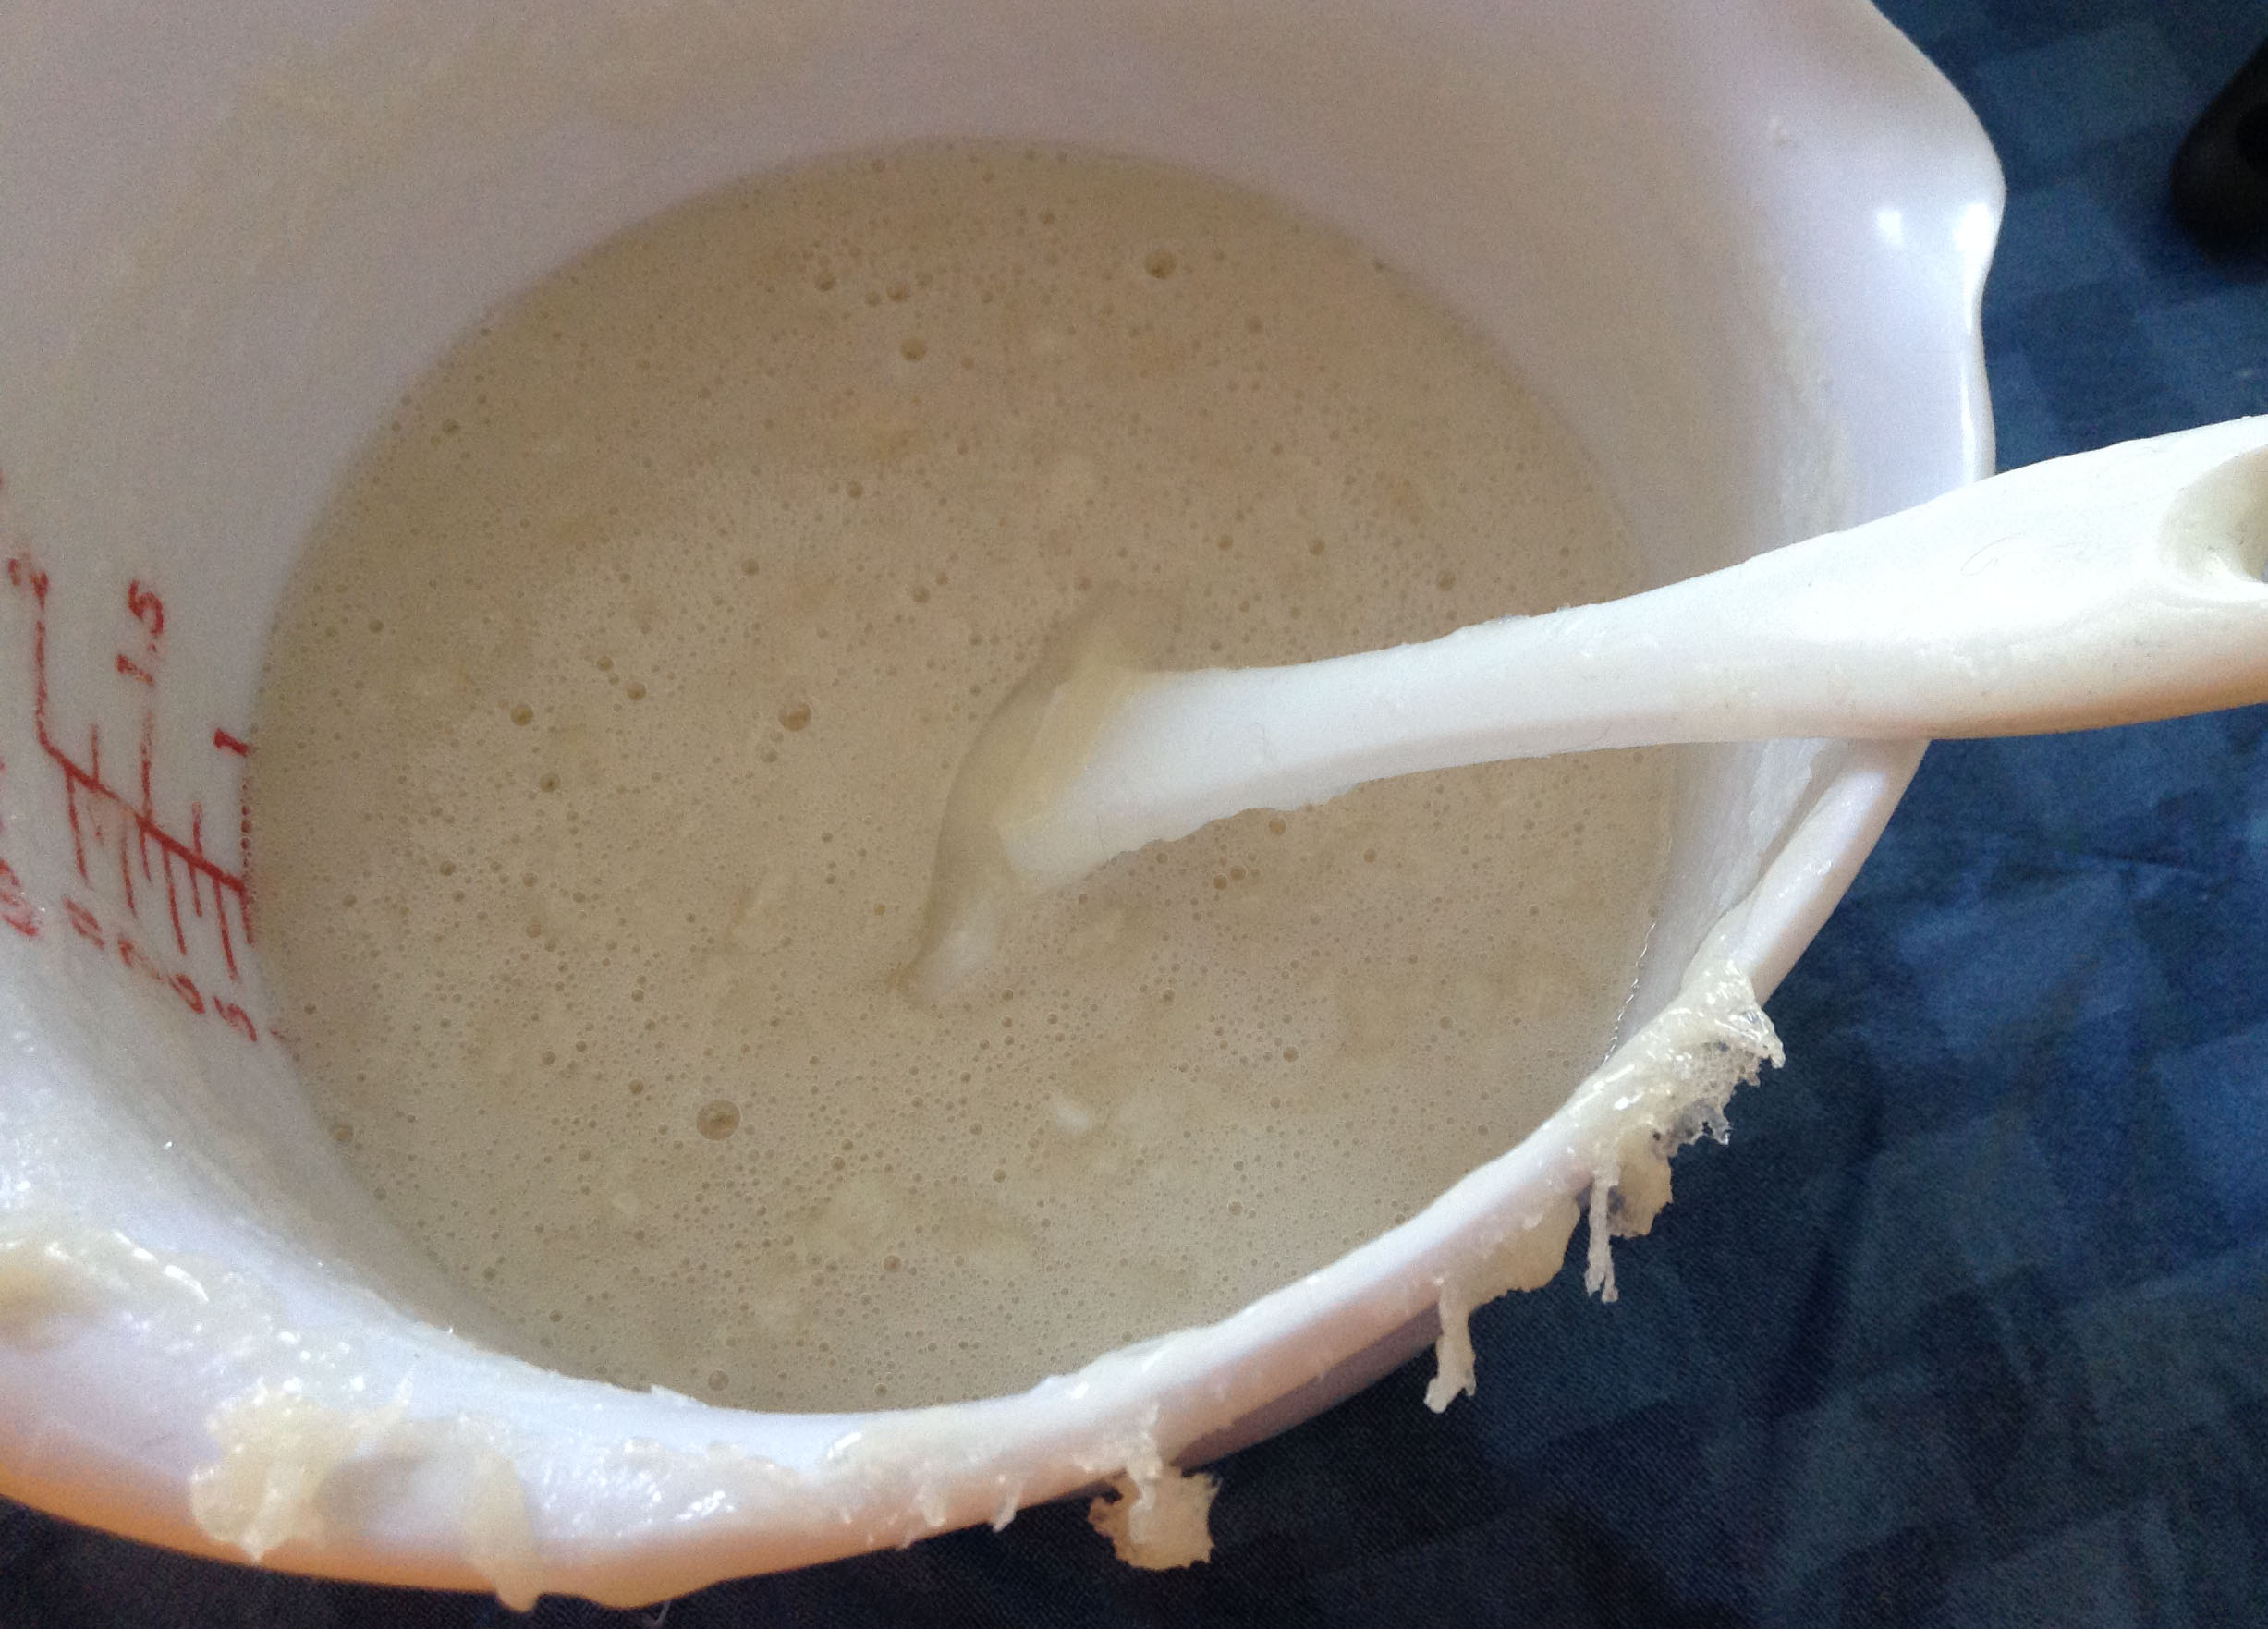
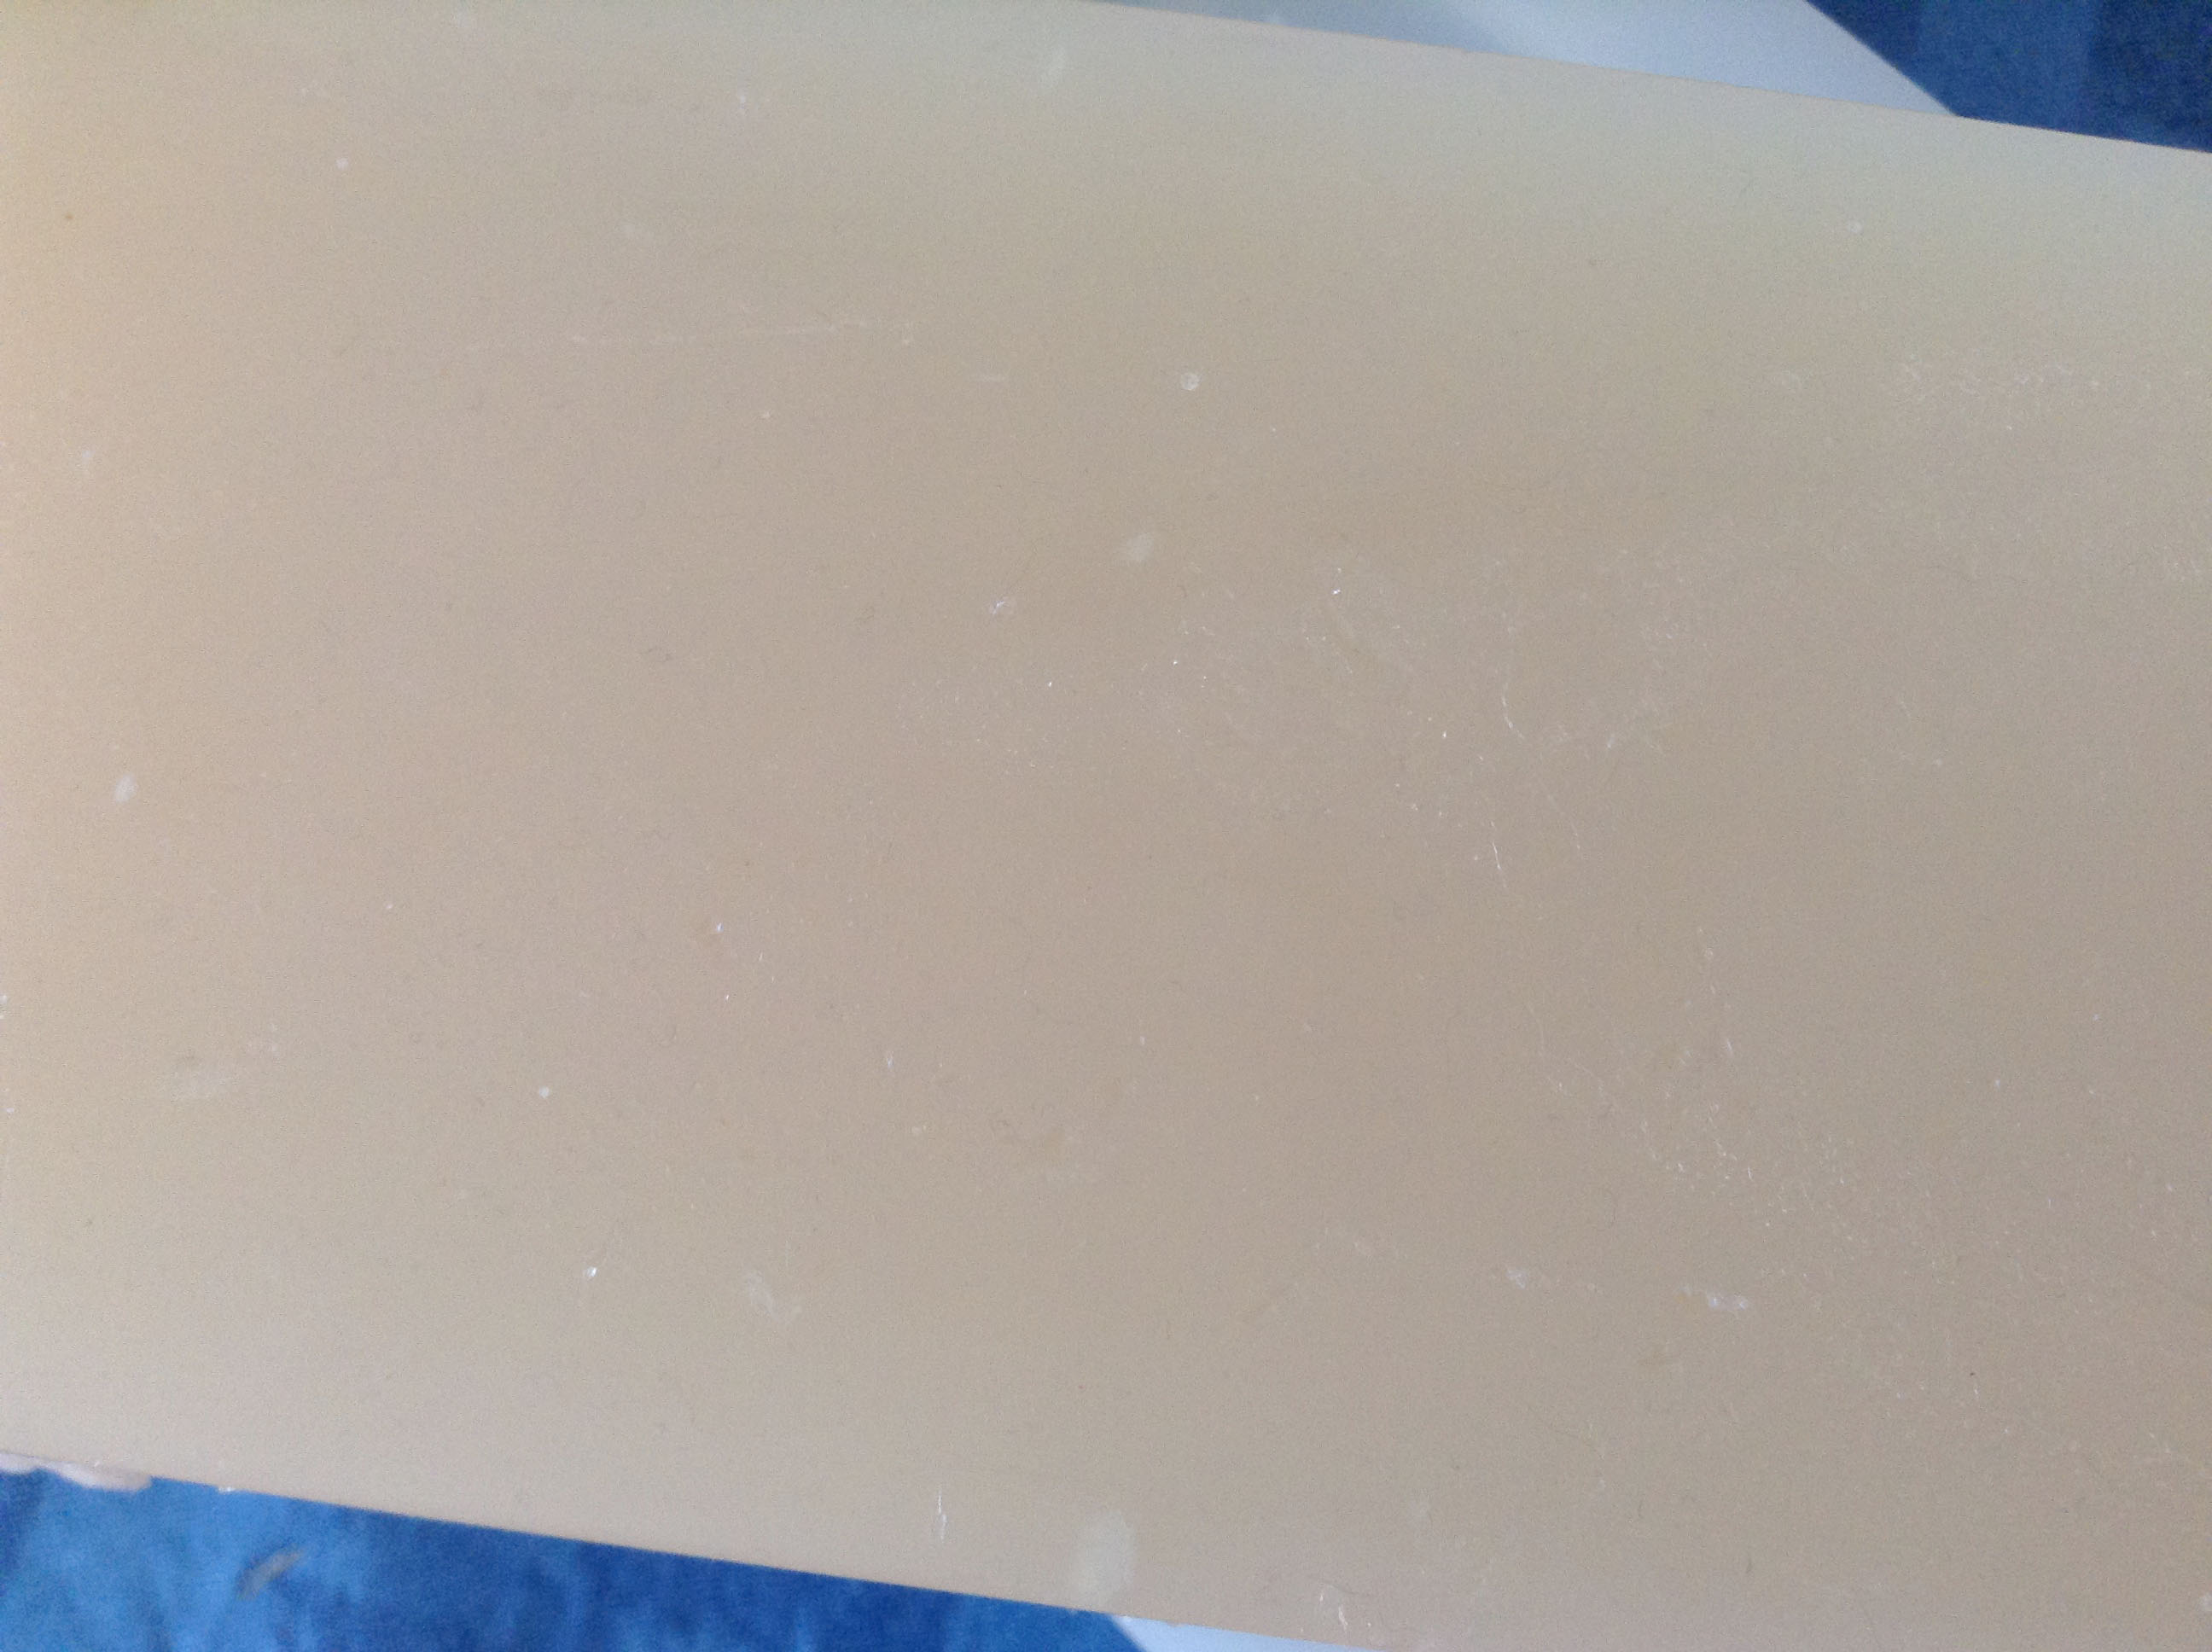
I used less of one of the wet ingredients in my second batch, and I have told myself to leave them alone. I snapped a picture of them. The light is not too good because it was 10:00 P. M. when I took it, but I think this second batch turned out really pretty.

Pikake Flower Bubble Bars

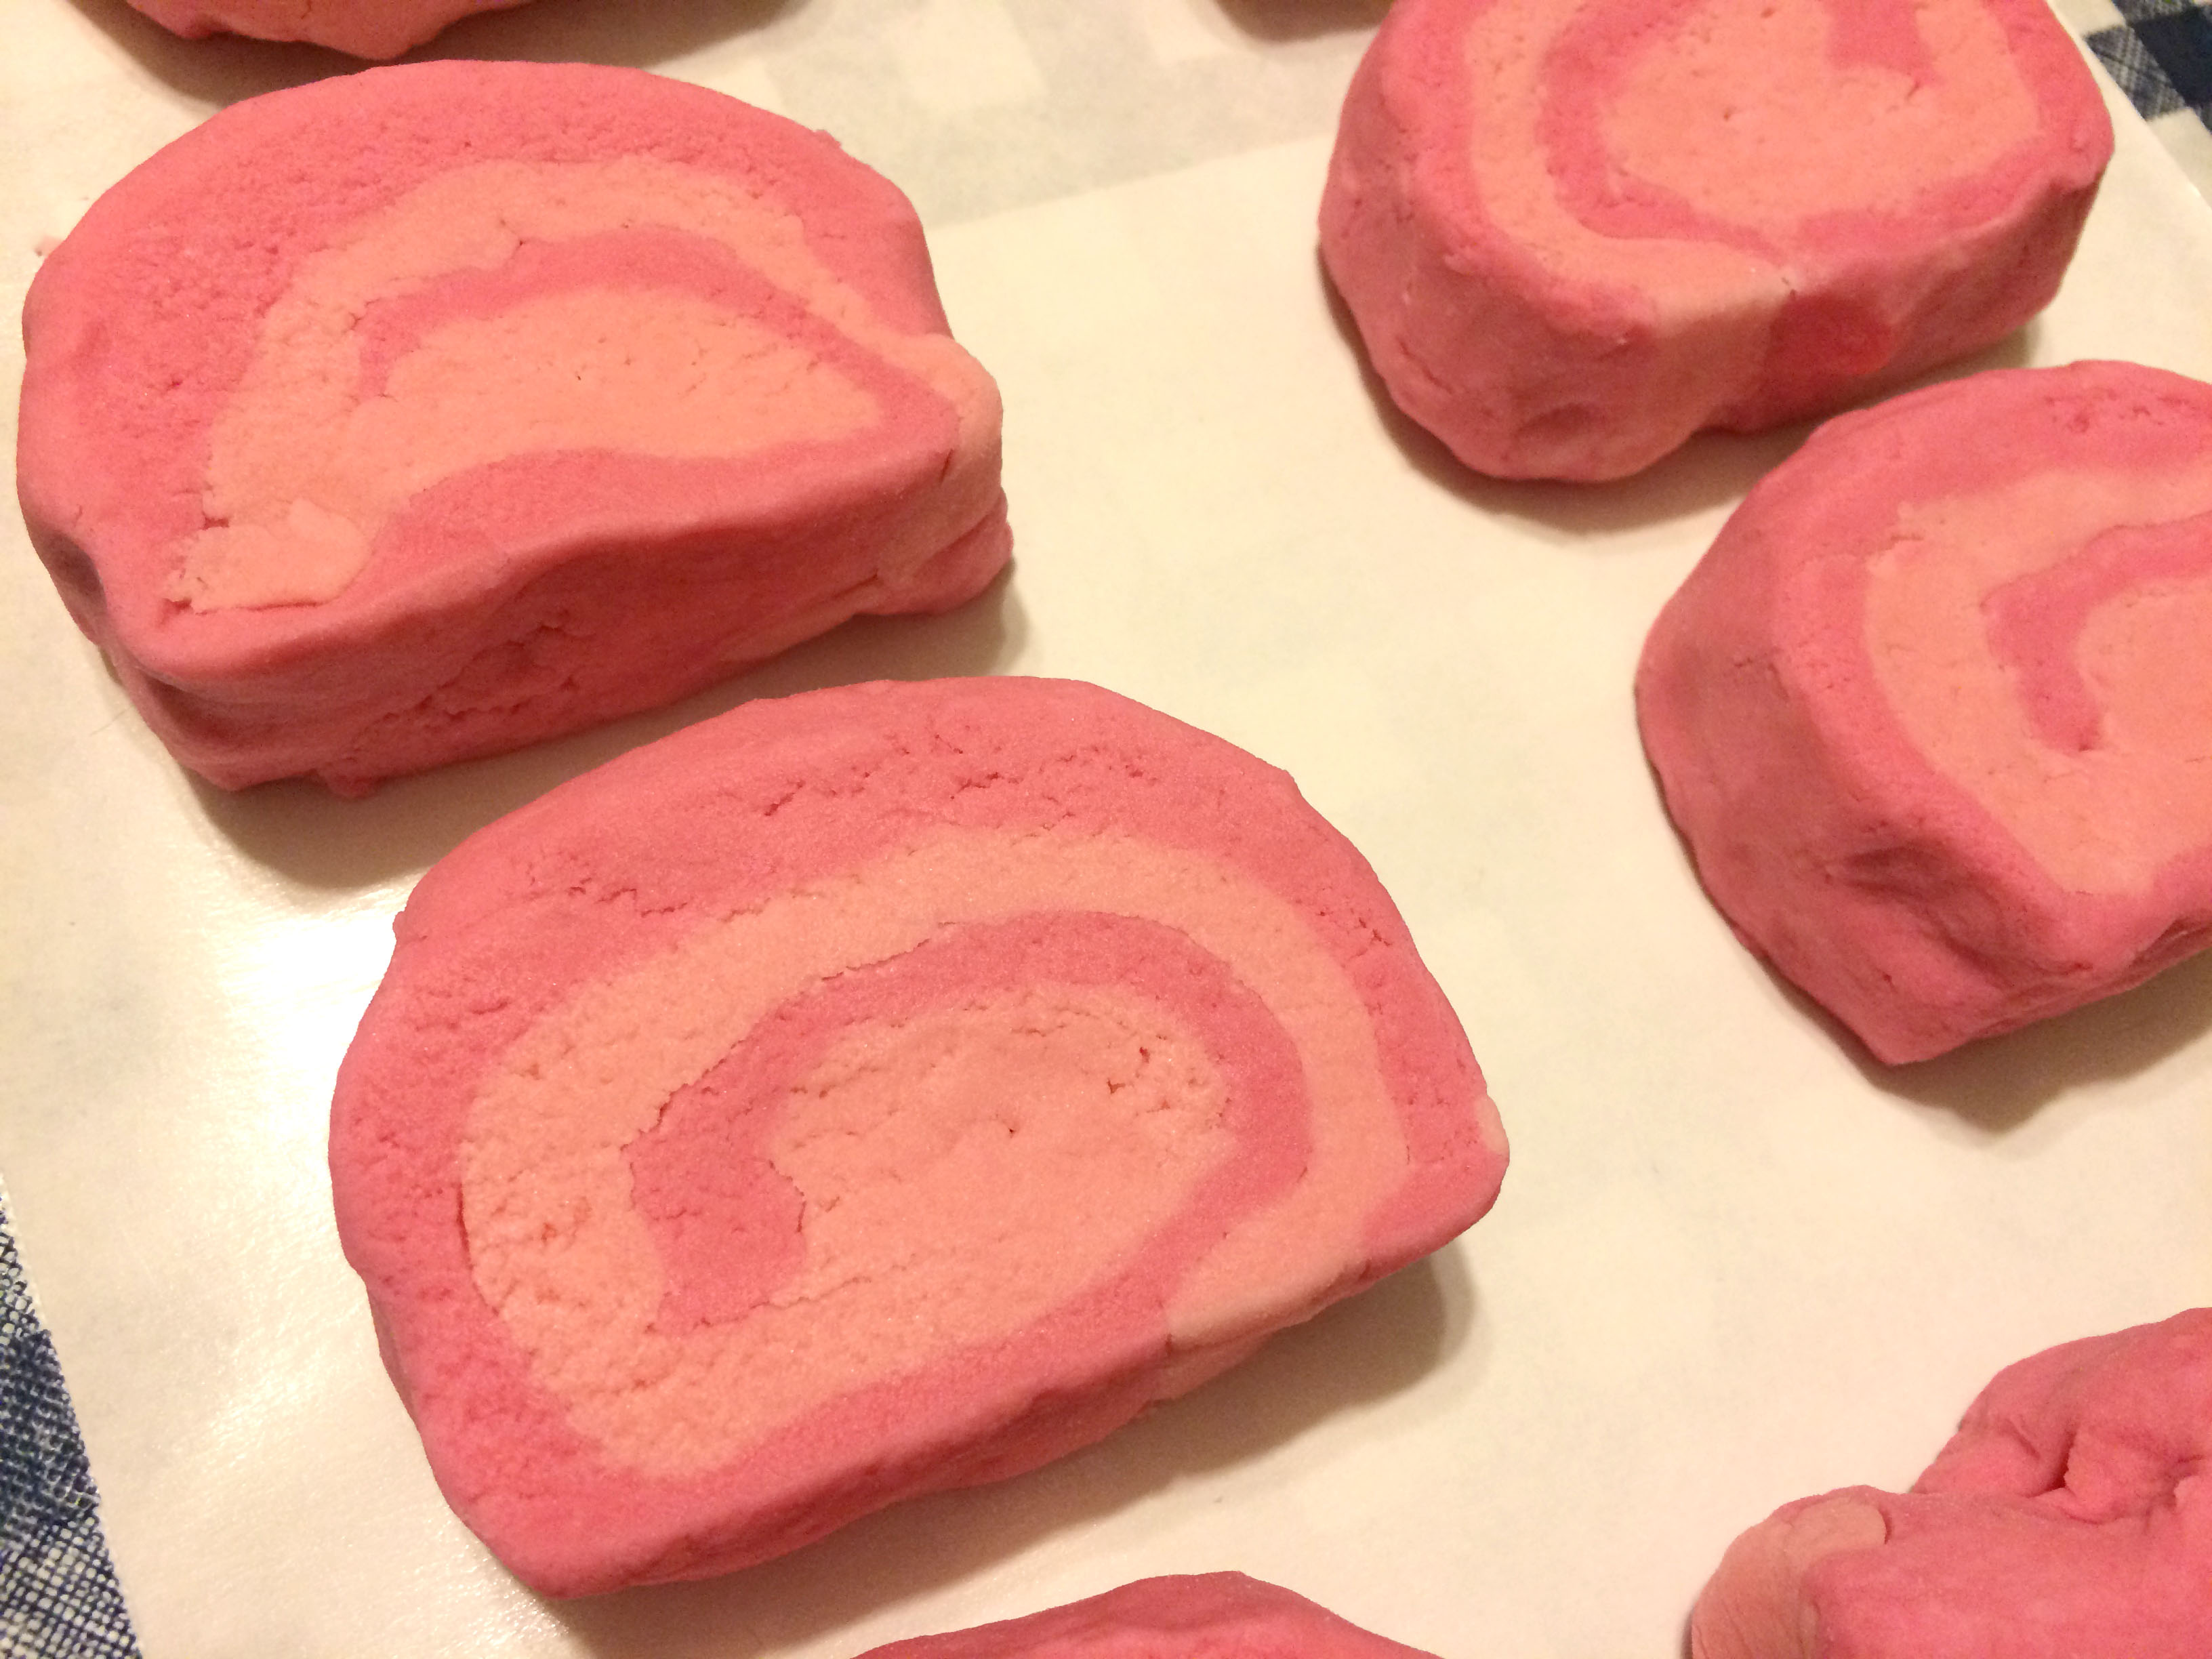
I scented them with a sample of Pikake Flower fragrance and colored them with Nurture micas.

In my testing, I found I could use half a bubble bar to get a pretty good amount of bubbles. And much cheaper (and with a few nicer ingredients) than the bubble bars made by a certain large artisan cosmetics company.

Making Melt and Pour Base

Update, July 3, 2014: We have had a few hot and humid days lately, and I can confirm this soap sweats. A lot. However, you might try Cee’s suggestion of reducing the glycerin to see if it results in less sweat. If MP sweat is not a concern, read on…

Ever since I read about the process of making melt and pour base on Cee’s blog, I have wanted to try it, but I knew I really needed to set aside the time because it was likely to be quite a process. I was right. If you try this, make sure you try it on a weekend or day off, when you can devote the time you will need. Mine definitely didn’t turn out like Cee’s, but it was still quite usable and worked very well when I melted it down to make MP soap.

The first thing I did was put my palm oil, coconut oil, castor oil, and stearic acid into the crock pot.Oils in the Crock PotI let the oils melt.

Melted OilsI like how you can see my ceiling fan in the oils. Ha!

I added the lye water and stirred a bit. Here the soap is at a thick trace.

Thick TraceI let it cook for a bit. Here it is at “mashed potatoes” stage.

Mashed Potatoes StageA little while longer, and it was starting to gel.

Beginning to GelI stirred it well and cooked it to the applesauce stage. Once it started to get fluffy, I tested it for zap.

Applesauce StageAfter there was no zap, I poured in the glycerin and stirred.
Glycerin AddedThen I let it cook and melt. Finally, this was about as clear as my batch ever got. Cee’s was very clear. Not sure if I did something wrong.

Almost ClearEach time I would go stir, I saw a skin of hard soap on the top. I never could seem to get it to completely melt into a clear liquid. I am wondering if the temp was too low. Perhaps next time, I should try turning the crock pot up on high and see if that helps.
Soap SkinFinally, I stuck it in the microwave and poured it into the mold, hoping for the best.

Microwaved SoapBut it got these sort of scummy looking bubbles on the top. And I could still see some unmelted chunks of soap. Oh well, I poured it into the mold and let it set up.

I unmolded just a few hours later. It was already perfectly hard and came out of the mold quite easily.

Bottom of MP Soap BaseThe bottom was translucent (but not transparent). It looks a lot like a more opaque version of a regular MP soap base to me.

Top of MP BaseThe top had this sort of scummy white layer. I don’t know if it would hurt to use it, but I cut a slice and trimmed that top part off. Then I made these cute little heart-shaped soaps using some rose pearl mica, Pink Sugar fragrance, and Vanilla Stabilizer.

MP HeartsSo, I can report that the no-alcohol technique seems to work just fine!

Cee cautions on her blog that this recipe has a lot of glycerin, and it might sweat if used as embeds, but you can decrease the glycerin and perhaps get good results.

Here is a video I made of the process.

Thanks Cee (and Zacil) who shared this technique on Cee’s wonderful blog.

Soap Photography Studio Tutorial

Some soapers’ pictures look so awesome, and I was increasingly frustrated by my own photographs. I decided to make a soap photograph studio, and while I was at it, I thought I’d share my process.

I started with the following materials plus a roll of tape that I forgot to put in the picture.

I recently moved from Georgia to Massachusetts, so we have a ton of boxes around. The other necessary items include freezer paper (which you probably have on hand to line your molds), a glue stick, and scissors. I like how my box informs me it’s designed for multiple uses. This use is probably one that U-Haul didn’t have in mind. (Yes, I know, they meant you could use it more than once.)

Next cut two sides off the box so you have three sides left.

Rub your glue stick on the cardboard and line the box with your freezer paper.

Fold the sides over the box and glue them down. I also used tape to fix the ends. It doesn’t have to be pretty. That part of the box won’t show in your pictures.

See? My tape is not pretty.

Fold the paper over the top and bottom. You will need to cut the paper to get it to fold over corners. If you look hard, you can see my kitty Bella in the background.

Now you’re finished. You can see the purple glue stick hasn’t dried on my soap photo studio yet, but that kind of glue stick turns clear when it dries. I think they make it like that so kids using it have better aim.

Here are some pictures of my soap using my new soap photo studio. Full disclosure: I did neaten up a few spots and cropped the images in Photoshop, but this is not by any means a complete retouch.

I considered using this one for my new banner image. My need for a new banner image prompted me to create my photo studio in the first place.

I love how this one came out. Pretty soap! And for once, I’m not distracted by what’s in my background.

A cropped version of this photo is my new banner image. I love the way the shadows look in this one. I took these in the late afternoon/early evening near my kitchen window with just my overhead kitchen light on. It looks like natural morning light.

So that’s it! Now you can make your own soap photo studio so you can take awesome photos of your soap. You can use whatever color paper you want to line the box. I chose white so that the background would draw as little attention to itself as possible. Plus it’s easy since I had it. I took the pictures with my iPhone, so no fancy camera tricks, lights, or techniques.